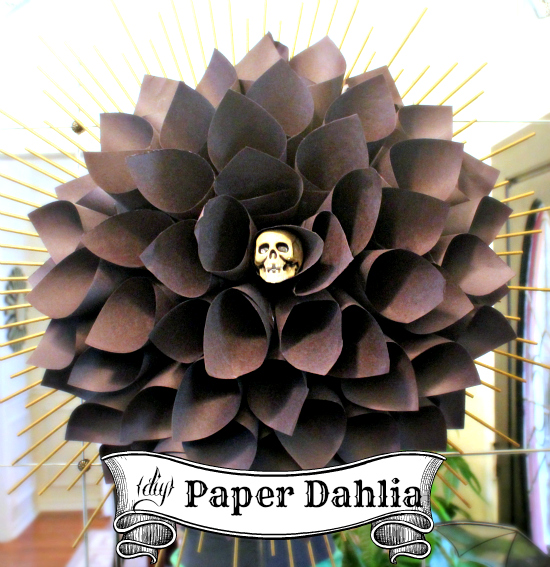
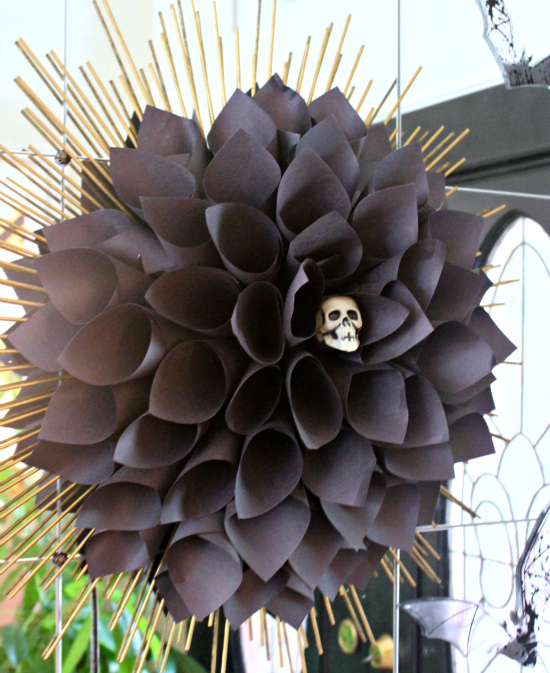
Today I'm excited to dive into Halloween! I'm not big on themes and decor for every holiday, but we love us some Halloween around here. Most of it likely stems from having young kids in the prime of their 'excited about everything' years. Slow down, Father Time!!! Our first project of the season is a Black Paper Dahlia...Halloween style!
This project has made the rounds all over Pinterest for months, but there is no original source. Fortunately the pinned image was fairly detailed, and I was able to easily reproduce it.
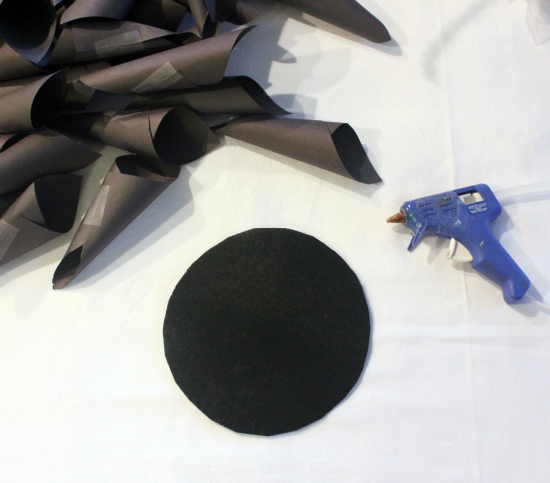
All you need is a cardboard circle, paper squares and glue. My circle is from an empty box, then painted black just in case any of it peeked through (it doesn't). I picked up a pack of black construction paper, and cut them into squares (mine are 4-inches). The size of your circle and paper squares dictates how large your flower will be.
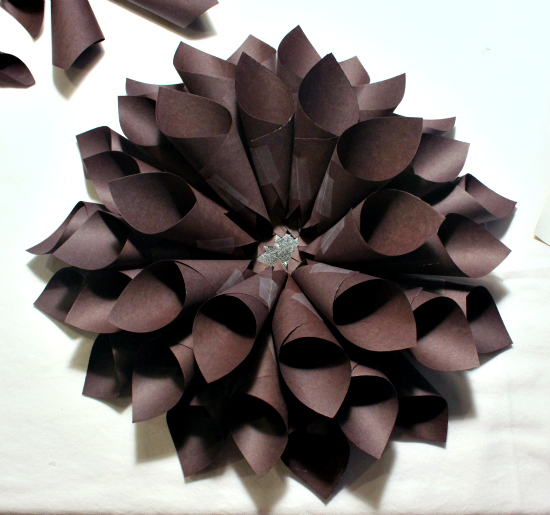
The hardest part of this project, is figuring out how to roll the paper into cones! My Advent Calendar used a similar technique, so I made a big pile of them while parked in front of the TV one night. I secured them with tape since that part of the cone doesn't show.
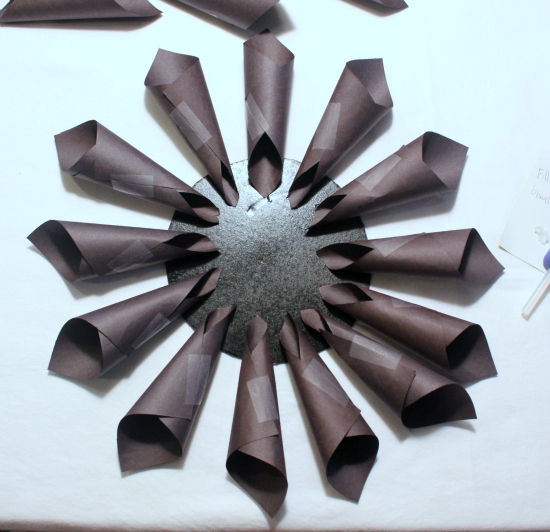
Start around the outer perimeter, and glue the ends to the edge of the circle. Don't leave as much space between the cones as I did, but just enough so the next layer can sit in the middle.
And just like my Convex Starburst Mirror, glue another row of cones, staggering them with the first row.
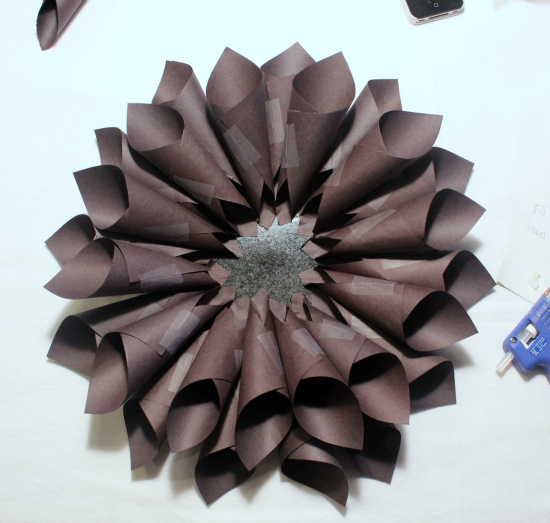
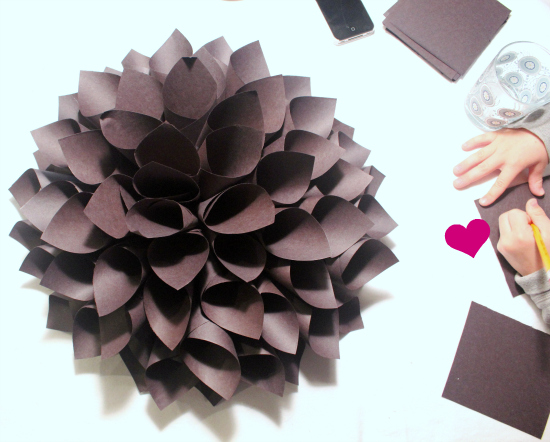
And another row, gluing just the ends so the cones stand up a bit.
To avoid crumbling the paper, I used a pencil to press the ends of the final cones to the center. I zoomed out a bit on this pic so you can see my little helper, too. She's usually right next to me, busy with something.
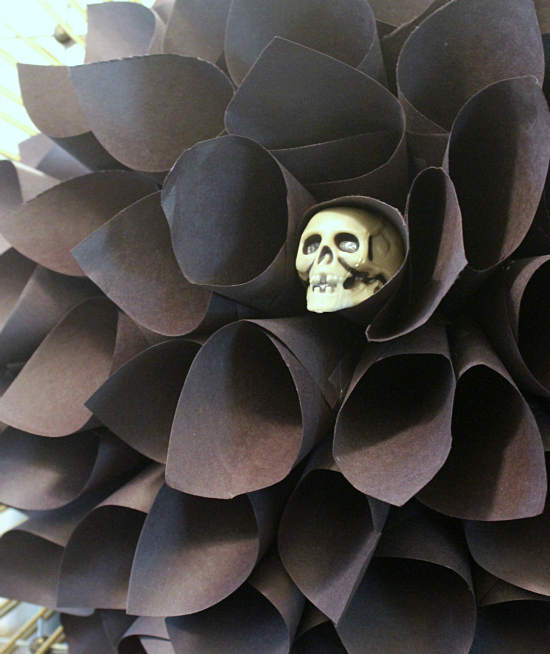
Using black paper for this flower feels really Halloweeny already, but I kicked it up another notch by adding a mini-skullhead to the center.
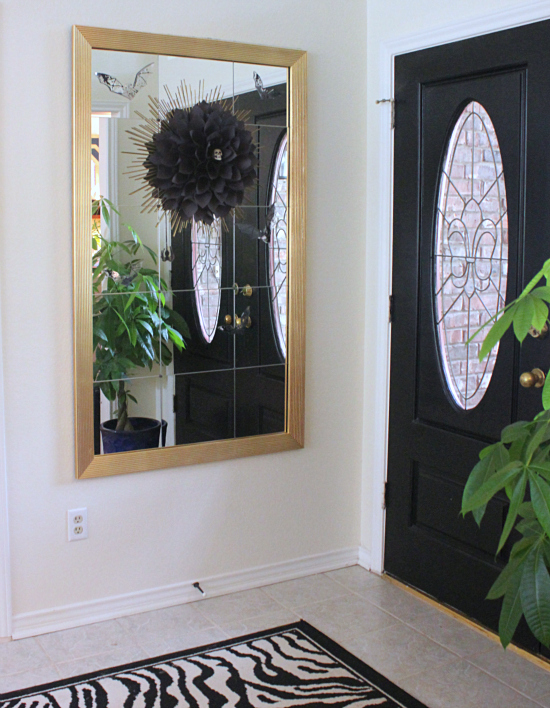
Using Command poster strips, I mounted it in the worst possible spot for photographing...on our DIY Wall Mirror and next to black doors! Doh! But along with some bat and spider window clings, it makes for a fun vignette by the front door.
I'm pretty smitten with this flower, and how easy it was to create. Don't you love when projects turn out better than you expect? Have you added any Halloween touches to your home? Are your kids as wild for Halloween as ours?!
See more Halloween and Fall Projects here.
0 comments:
Post a Comment