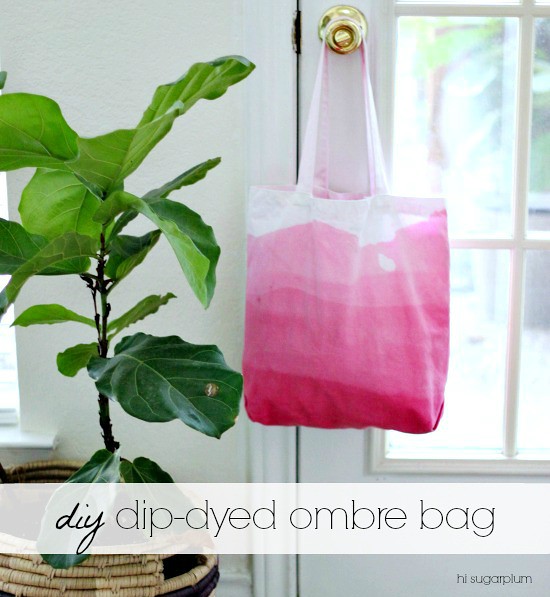
I tend have tunnel-vision when I get a project idea. And am also a bit of a procrastinator. Which isn't usually a great combination. Case in point, several weeks ago, the day before the Haven Conference actually, when I was supposed to be packing, I had a wild hair to make a dip-dyed bag. So my suitcase didn't get packed until the next morning, but I did have a cute new tote bag to bring with me!
I guess I'm also a hoarder of craft products, because I already had all the supplies in my stash.

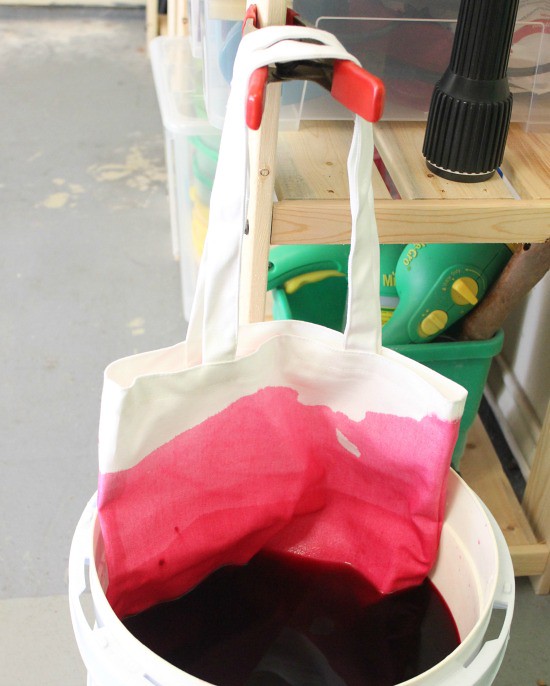
I haven't worked with Rit dye since the days of tie-dye t-shirts and Summer camp, so I was kind of winging it. I poured the liquid dye into an old (clean) bucket of hot water until it looked like a good color. Then dumped some salt in and stirred with a metal spoon. Winging it, remember?
Do this project outside, or in a completely covered work surface, because the power of this dye is not playing around. Wear gloves, too, unless you want to look like Dexter's Kill Room. Decide how far you want the color to extend, then lower the bag into the dye. It's probably easier if you get the entire bag wet with clean water first.
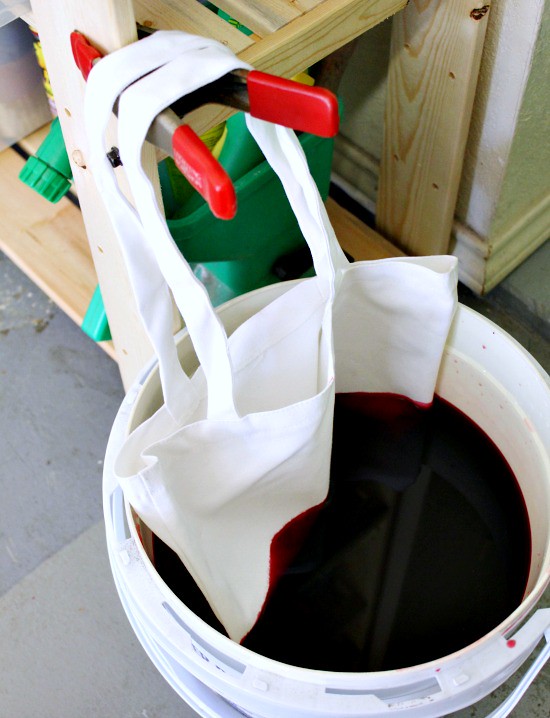
I hung the bag on a clamp so I wouldn't have to hang out in the steamy garage while it marinated.
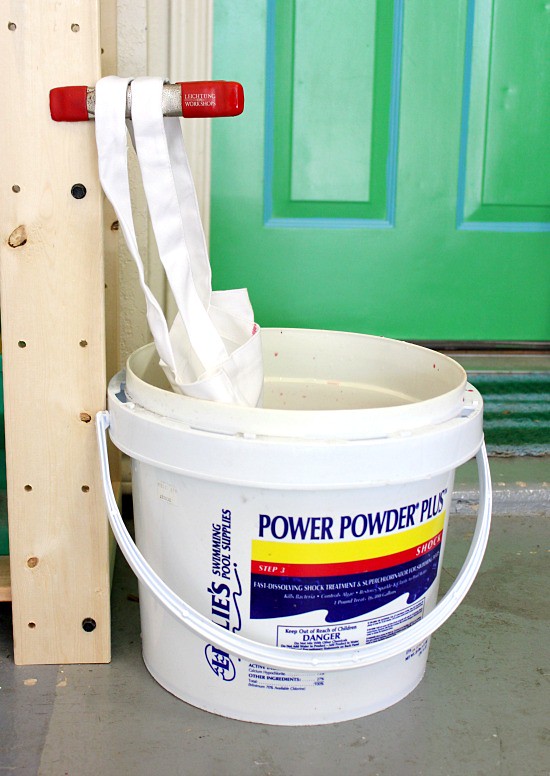
Every few minutes, move the clamp up 1-2 inches, so that each section spends a little longer in the dye bath. My dye was really concentrated (turns out winging it isn't the best way to go), so the initial dip was already pretty dark.
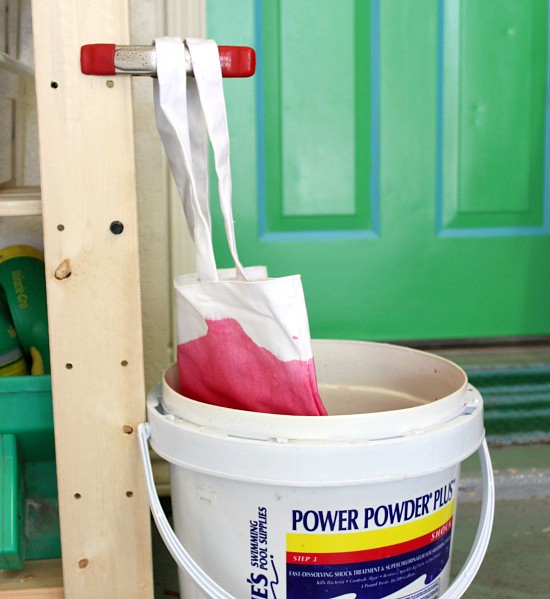
I left the bottom few inches in the longest so it would be noticeably darker. Then remove the bag from the dye, and allow ample time for it to drip-dry.

Once you're sure it won't leave a trail of dye through your house, rinse it with cold water until the water runs clear. I wanted my handles to be a little pink, so I allowed the water to rinse over them. If you don't want dye on your handles, just make sure to rinse the bag from the top down.
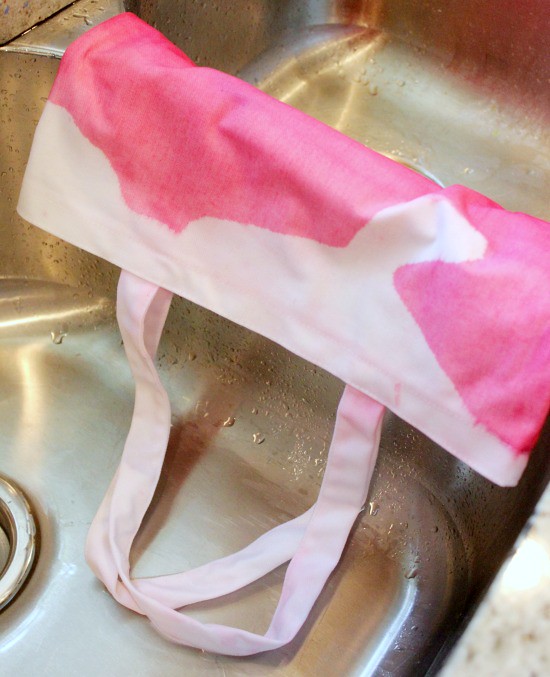
Then machine-wash in warm water with detergent, and air or machine dry. I washed it by itself just in case I hadn't rinsed out all the excess dye. Ain't nobody got time to fix a full load of pink clothes.
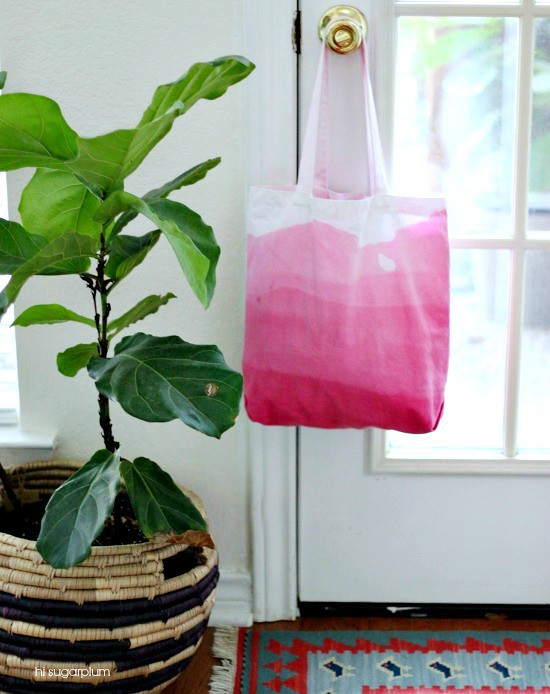
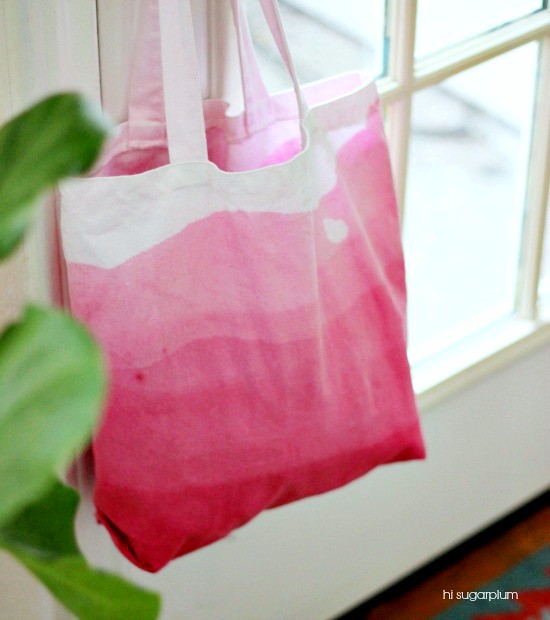
The ombre is subtle, but I think it gives the bag a nice weathered look.
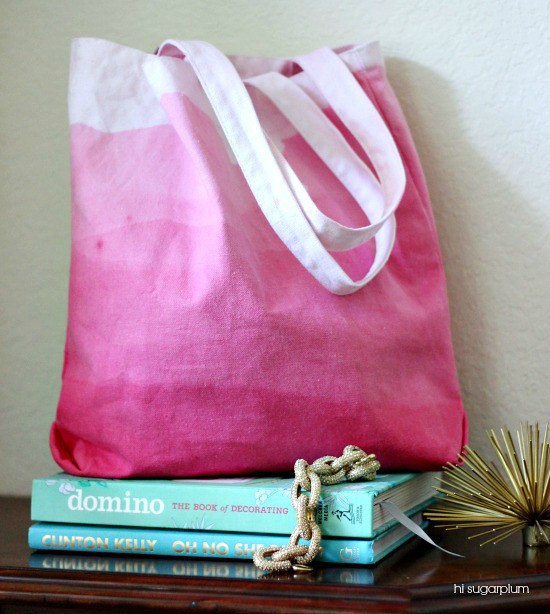
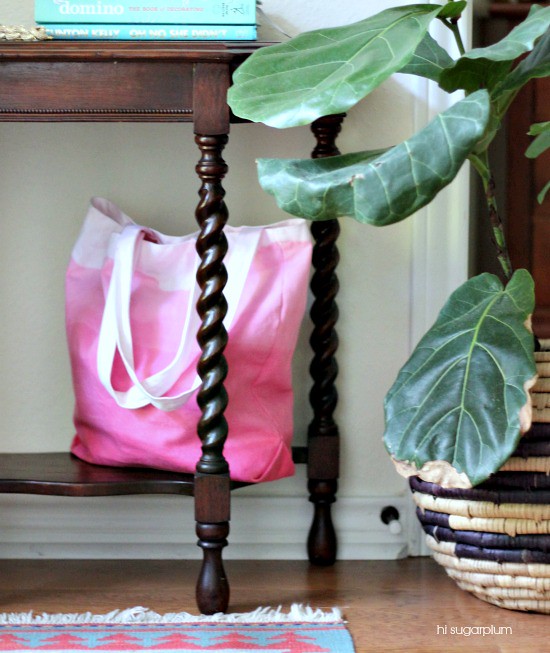
Pretty cute little bag, right?! I don't think you can ever have too many tote bags...I use them for everything from library books and picnics, to travel carry-ons and sleepovers. I've been carrying this one as my purse for the last few weeks...it's a cute accent to outfits. Are you afflicted with project tunnel-vision, procrastination, or craft hoarding? What about winging it? I like to think I'm just a focused multi-tasker.
If you're admiring my cheery, organized garage, you can check out the details here.
0 comments:
Post a Comment