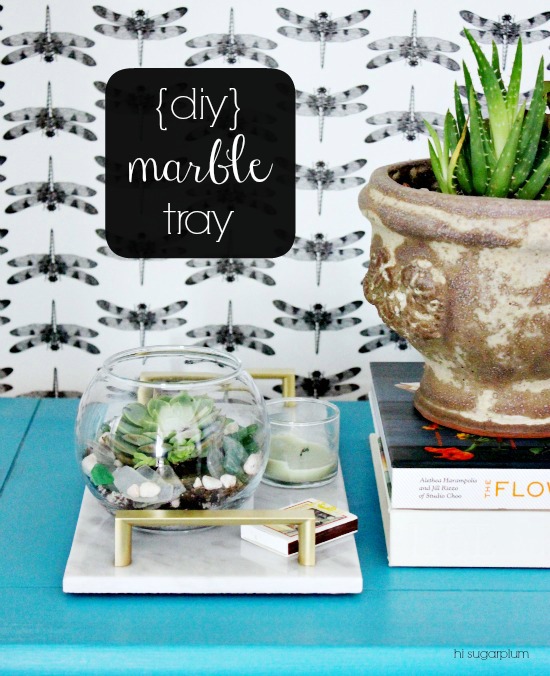
The new Elmer's ProBond Advanced claims to be the strongest and safest multi-surface glue that is able to provide strength, durability, and ease of use with a clean finished appearance. So I knew just the project to test that theory.
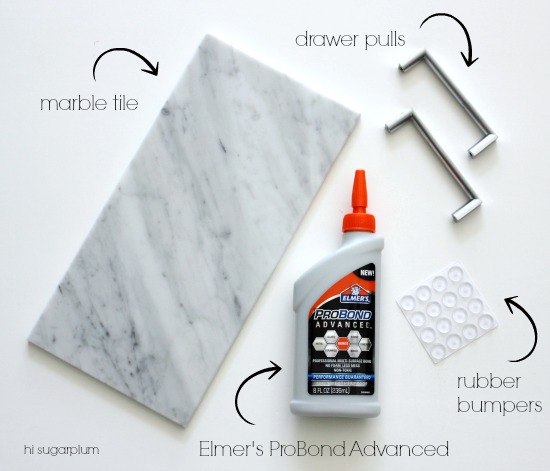
{WHAT YOU NEED}
Marble Tile from hardware store (mine is 6x12 and was $2.50!)
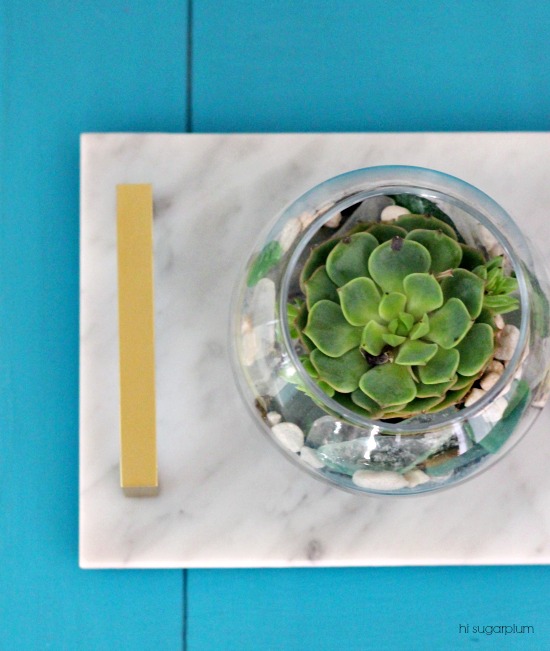
Drawer / Cabinet Pulls (I sprayed mine gold for more glam)
Rubber Bumpers
Elmer's ProBond Advanced Glue
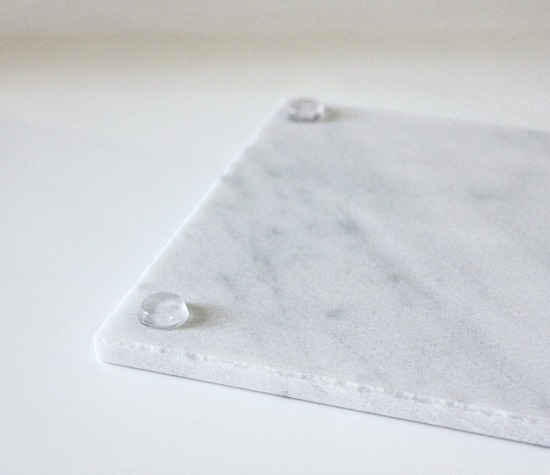
Start by applying the self-adhesive rubber bumpers to each of the corners on the bottom of the tile. This will help it sit level, and not scratch your surfaces.
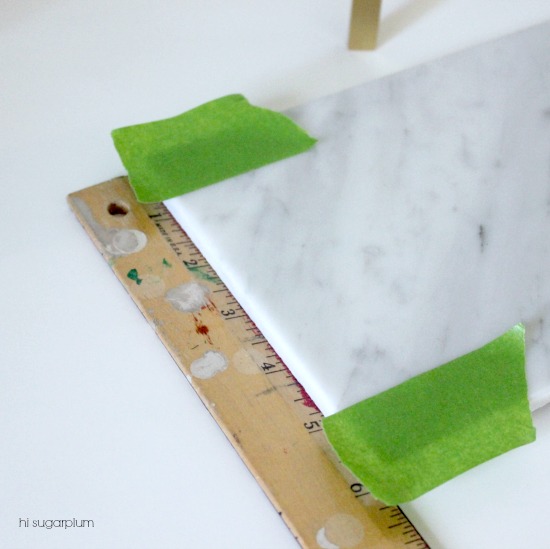
Measure your hardware and determine the center-point for positioning it on the tile.
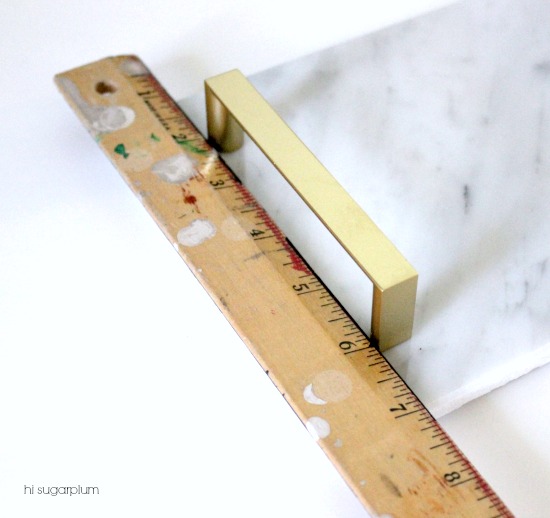
Use painter's tape to mark the position.
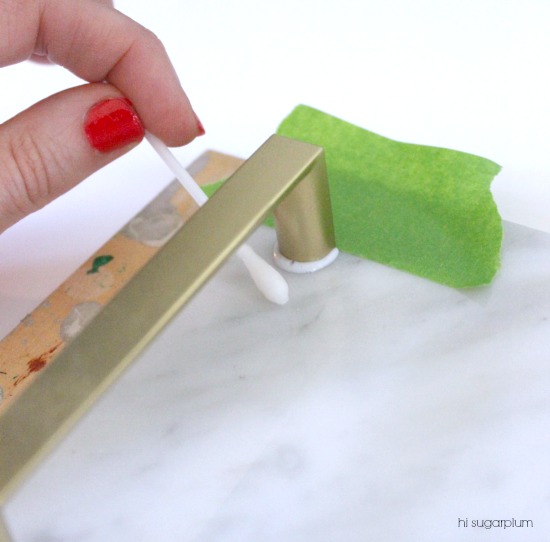
Apply a thin layer of Elmer's ProBond Advanced. I love that it's got a slight gray tint, so it's easy to see where you're applying it, and it's thick enough to not drip.
Tip: Make sure to choose handles that have a flat surface for gluing, and don't have visible holes for screws.

Place the handle in place, and push down firmly for a few moments. It doesn't set instantly, so you have time to move it around and adjust. But that also means you need to make sure it's not bumped during the drying process. A damp cotton swab quickly cleaned up the excess glue.
Repeat the process on the other side, then let dry overnight. There was no foaming, expanding, or messy residue!

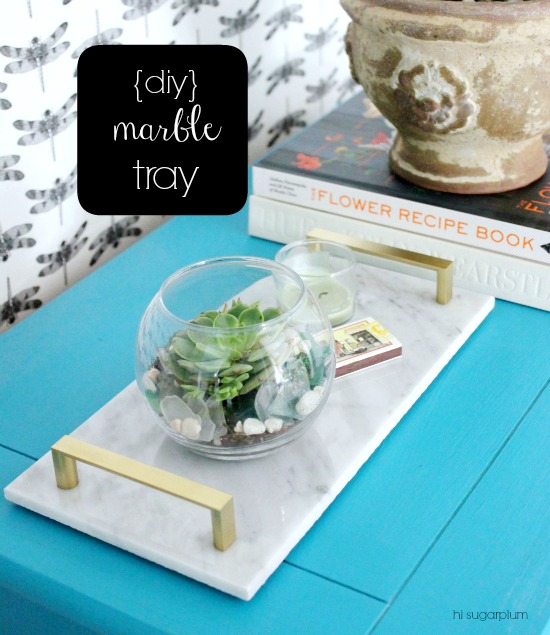
Then have more fun than Miley Cyrus at a lollipop shop styling it around your home.
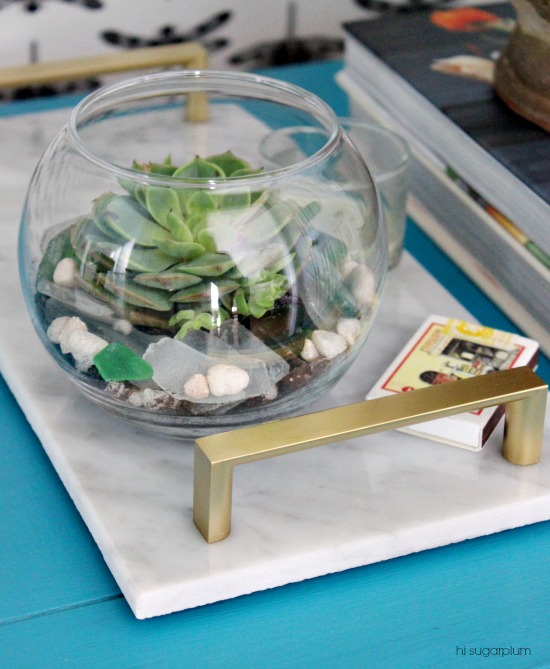
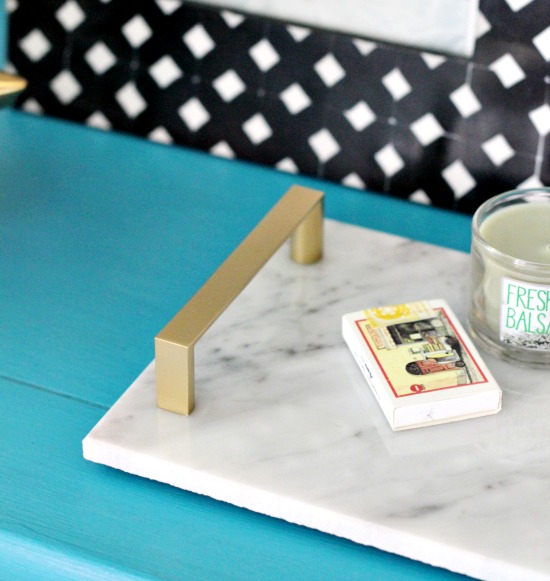
The marble and gold combination is gorgeous in virtually any vignette, and no one would ever guess you DIYed it for less than $10!
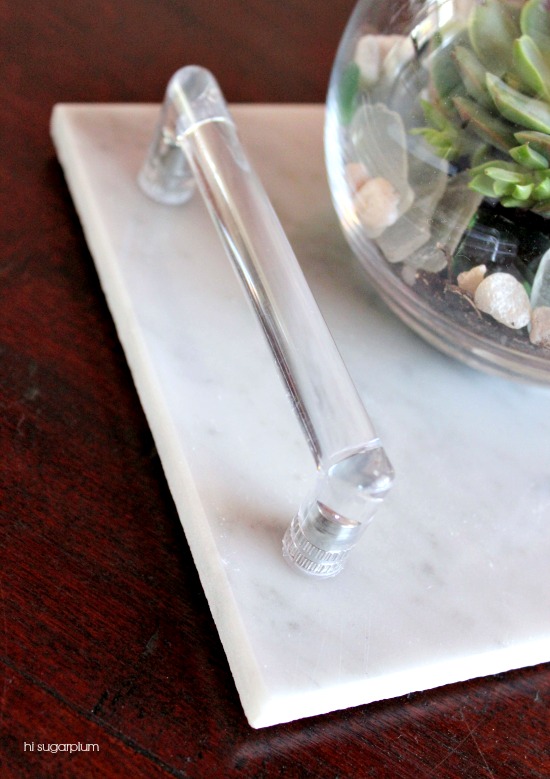
I'm so smitten with the tray, I used some acryllic pulls I had on hand to make another! This glue has no problems adhering mixed materials like plastic to stone, or metal to stone. My wheels are already spinning with ideas for more uses. And the fact that the ProBond Advanced doesn't foam or expand, opens up a whole new array of projects!
Bathrooms, Kitchens, coffee tables...the tray works everywhere! And the marble is food-safe, so you could even make a larger one as a serving dish.


What projects are a possibility for you now that we have this sweet new glue?! Check out the Elmer's Mixed Materials Pinterest board for ideas.
This is a Sponsored post written by me on behalf of Elmer’s ProBond Advanced for SocialSpark. All opinions are 100% mine. Thank you for supporting Hi Sugarplum sponsors!
0 comments:
Post a Comment