Hey, hey, hey!! I hope you guys had a fabulous weekend. I spent a lot of time in my pajamas since my real clothes are still a little snug from a gluttonous holiday. (I blame these!) Oh yay, back to the Lean Cuisines. That was sarcasm...fortunately I didn't eat that.
How about we get back to projects and original posts?! As nice as breaks are, I start to get a little twitchy after too much down time. So when Home Depot contacted me about participating in another Style Challenge...this time involving their new line of Chalky Paint...I jumped at the chance. I've never used the medium before, but was excited to see if it really sticks like 'they' say it does.
How about we get back to projects and original posts?! As nice as breaks are, I start to get a little twitchy after too much down time. So when Home Depot contacted me about participating in another Style Challenge...this time involving their new line of Chalky Paint...I jumped at the chance. I've never used the medium before, but was excited to see if it really sticks like 'they' say it does.
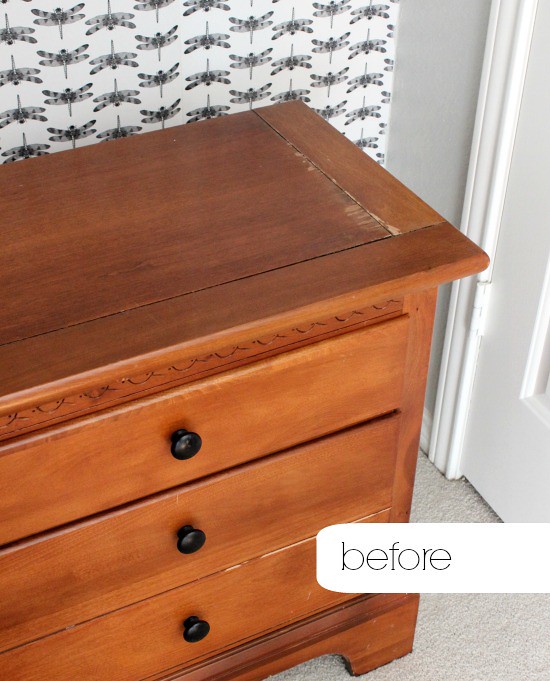
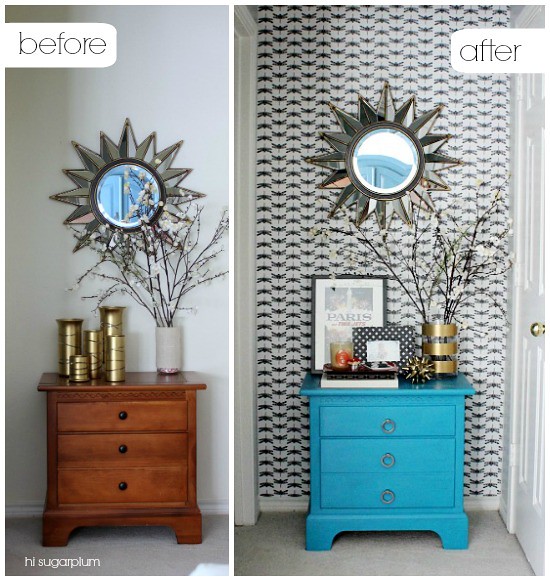
My victim? This banged-up, no-character, laminate-coated, too-orange, old nightstand. How's that for an introduction?!
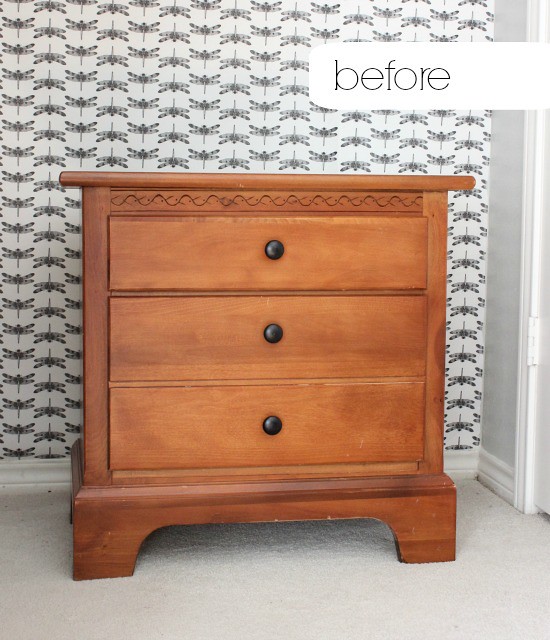
If it looks familiar, that's because virtually every bedroom set in the '90s came with one. We've been using it as a little hall storage chest....but really, it was just a space-filler until I could find something better. Hence why I'd never taken the time to sand, prime, paint and seal it. Why bother when I knew it was destined for the curb?!
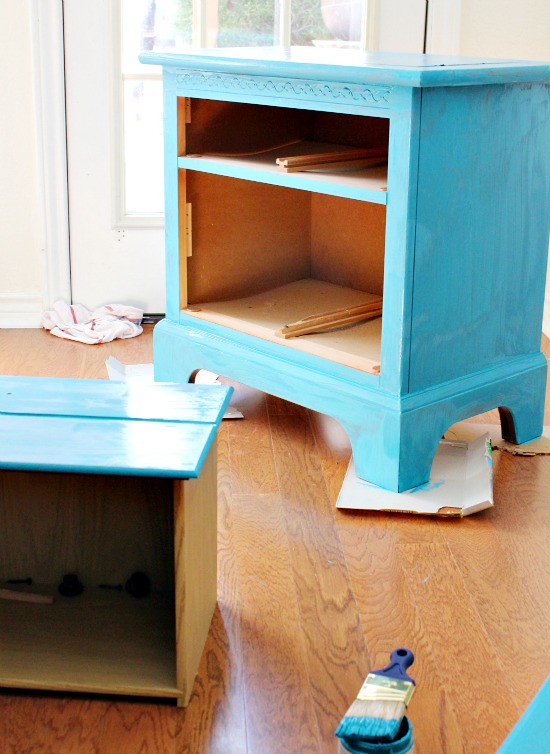
But with chalk paint...there's no need to sand or prime...even on laminate surfaces like this sweet baby. And since the paint is latex with virtually no smell, I was able to paint it in the Living Room with no prepping. Which is a bonus considering the frigid temps outside.
Switching out the hardware is always a simple way to upgrade a piece, so I added these inexpensive ring pulls, then got busy styling (my favorite part).
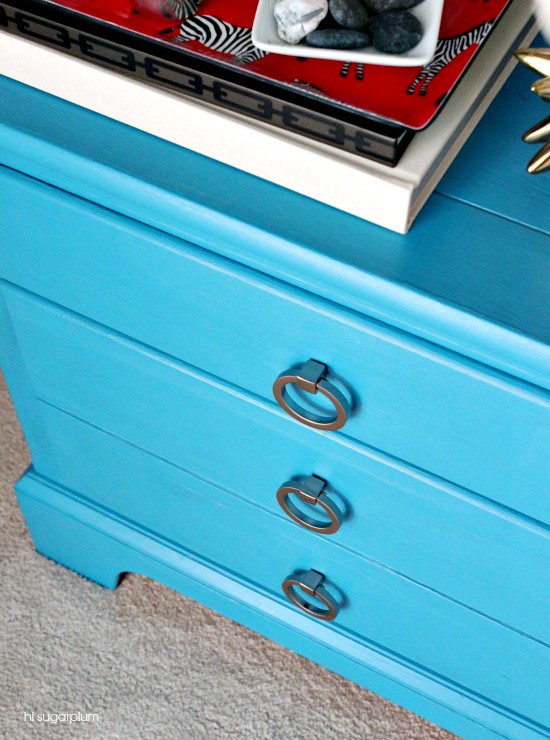
So much for curbside-destiny....this pretty little chest has found a forever home with us now!
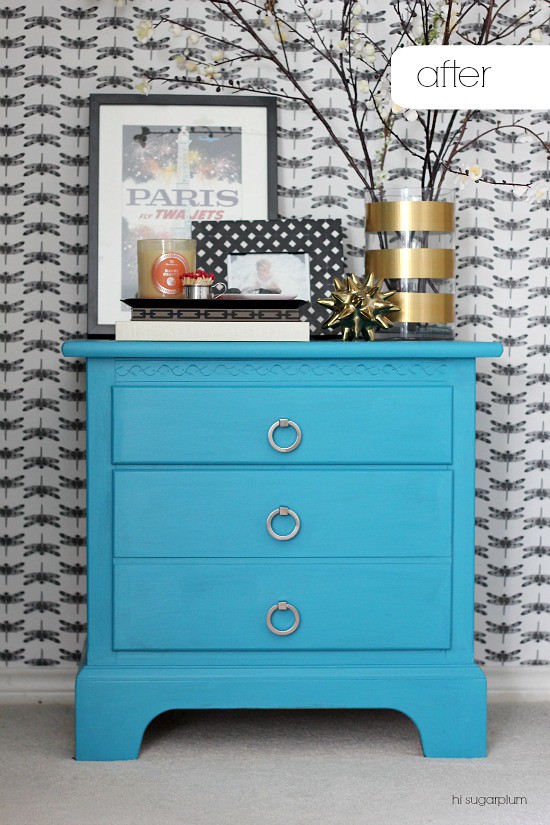
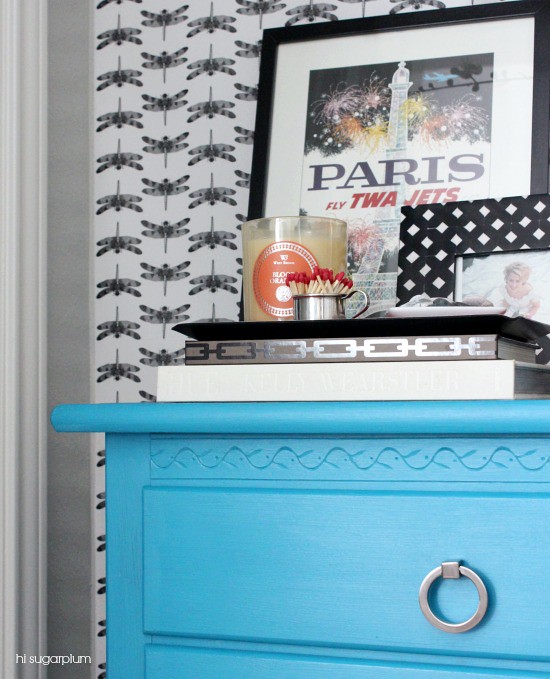
To create the vignette on top, I followed my formula for styling coffee tables.
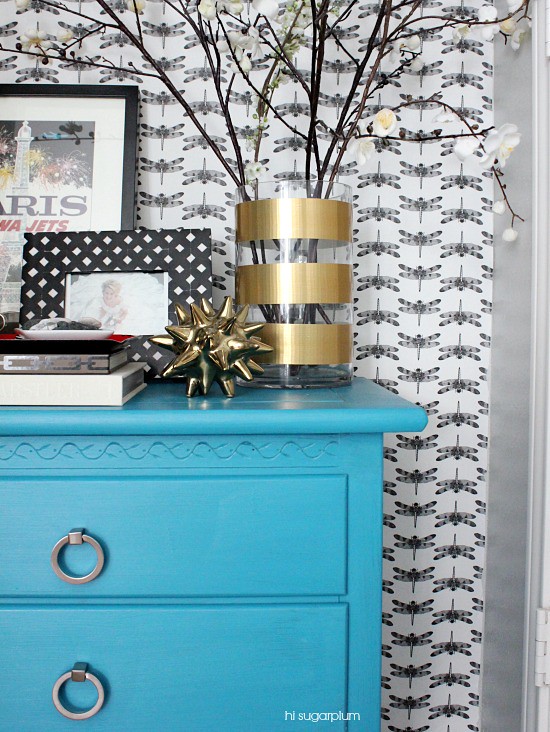
DIY Gold Vase
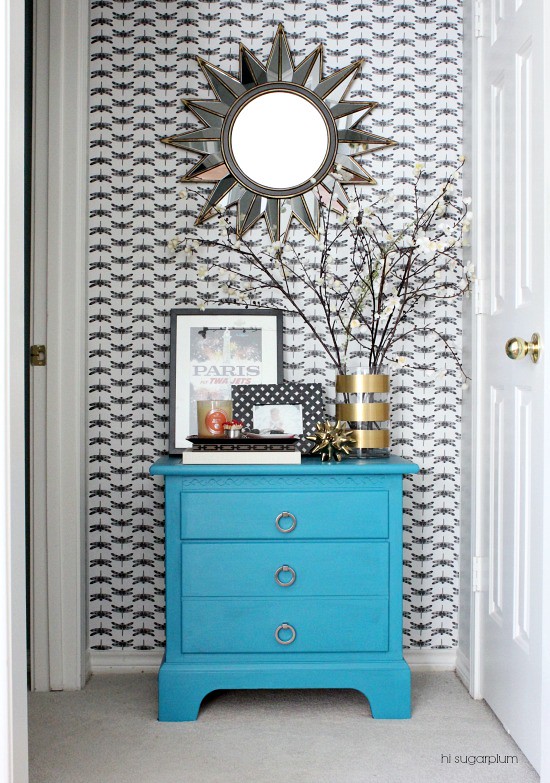
And now the nook makeover is complete (see the transformation here and here)! How's that for starting the new year off right?!
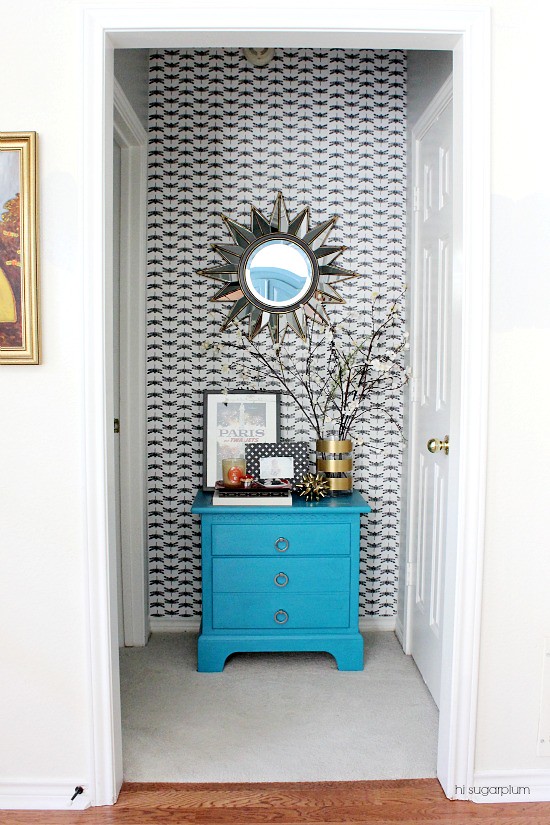
Let's bask in the Before & Afters...
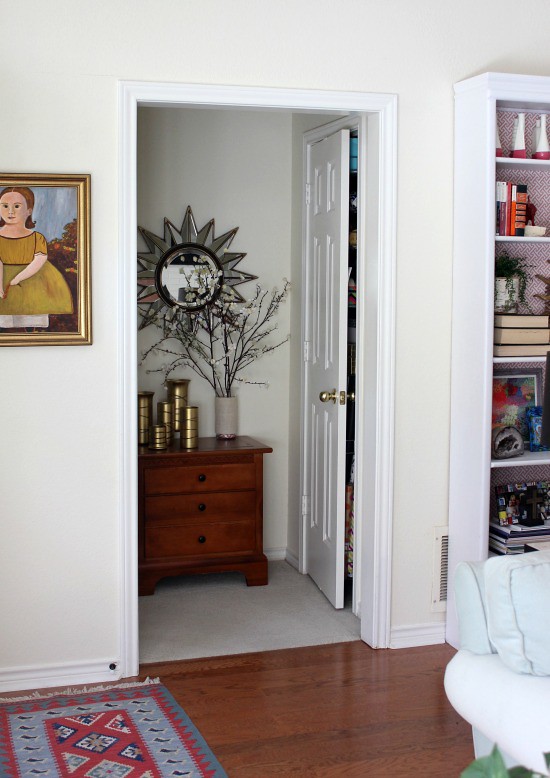 |
| My Gift Wrap Station lives on the back of that door. |
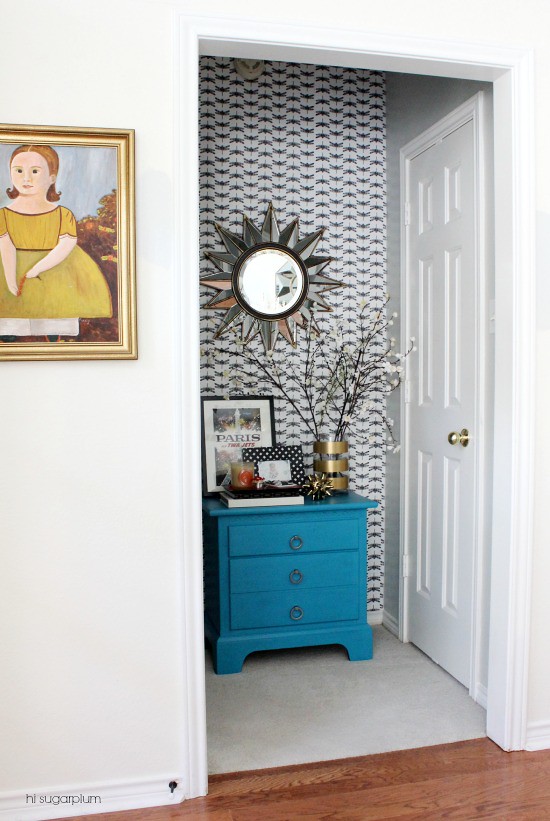
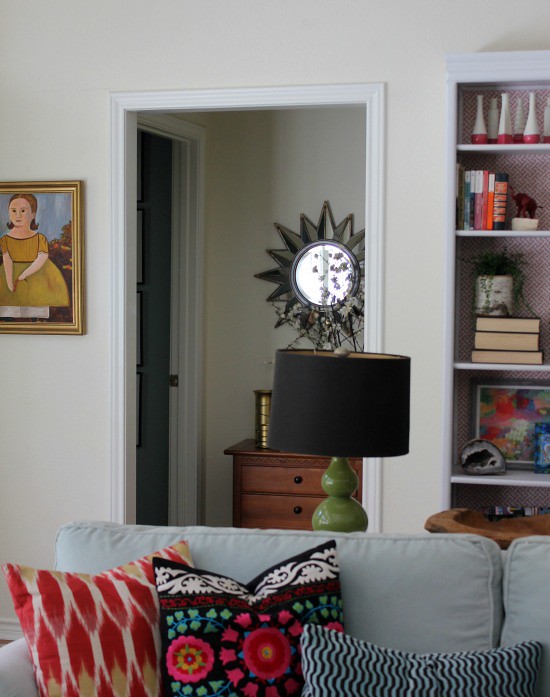
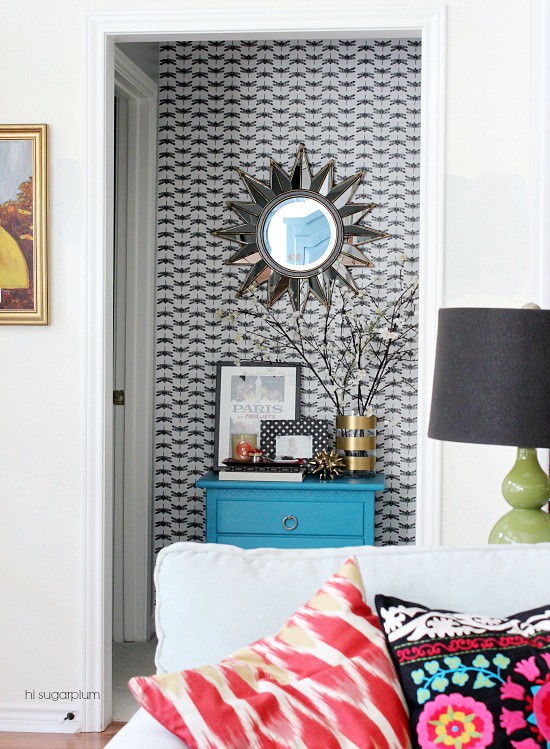
I'm especially fond of the view from our bedroom.
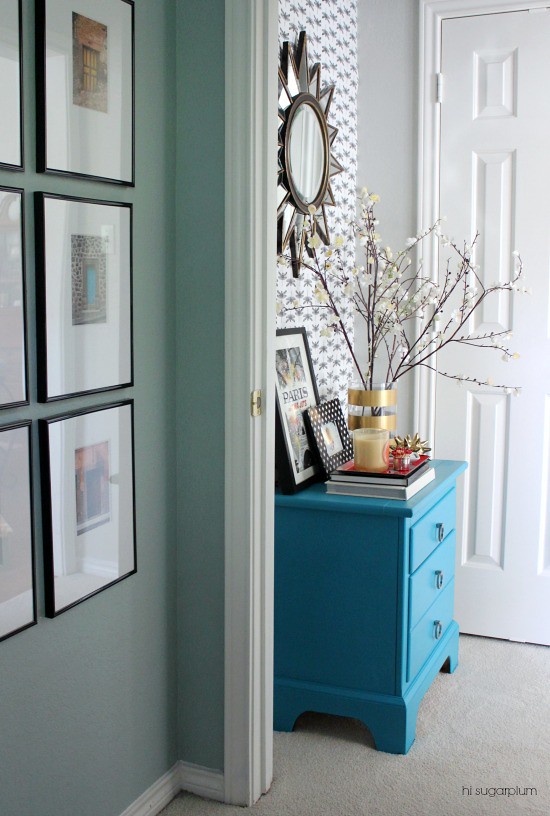
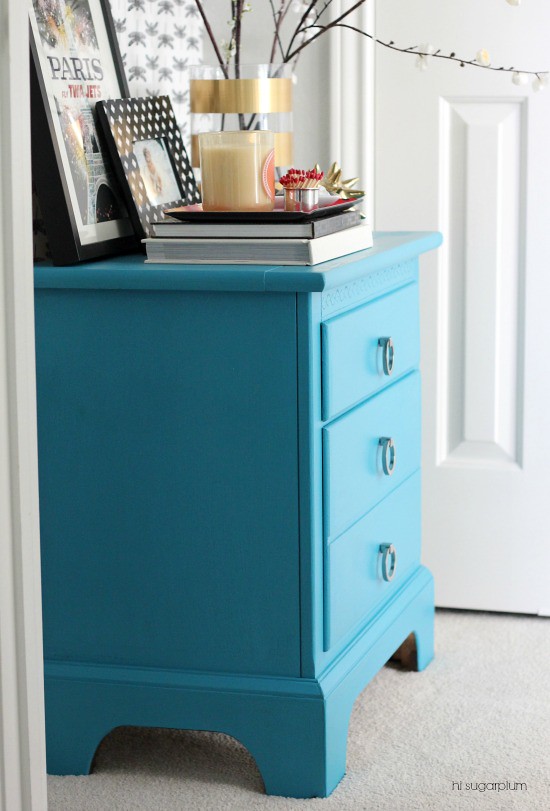
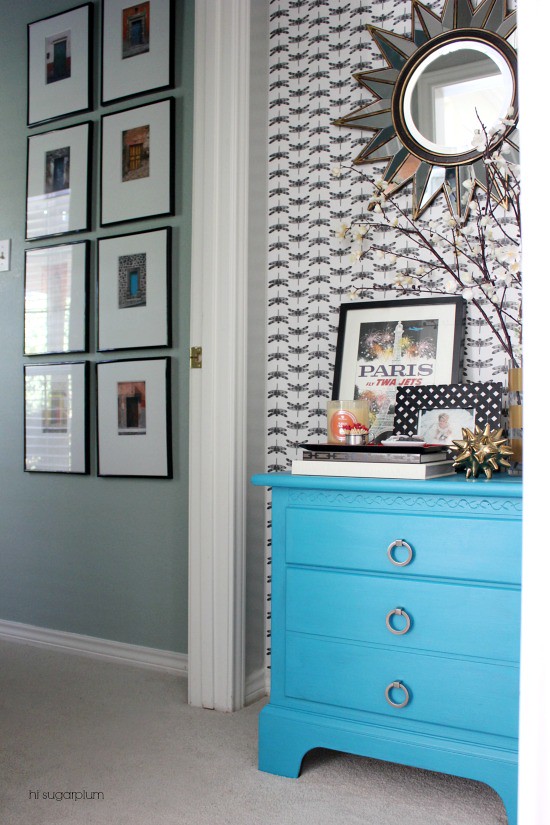
Yep, the power of paint (and paper, and a little bit of styling) strikes again!
For my tutorial and more details on the paint, check out my post on the Home Depot's blog, The Apron. Did you even know they had a blog?? It's a great source for inspiration and tips.
And just like that, another one bites the dust!!
And just like that, another one bites the dust!!
LIVING ROOM TO-DO LIST
Paint room
Paint Hall Chest
Paint Backdoor?
Add Nailhead to Wingchair
Add Nailhead to Wingchair
Sand & Stain Secretary
Gold Leaf Back of Secretary
0 comments:
Post a Comment