Last week I showed you the Big
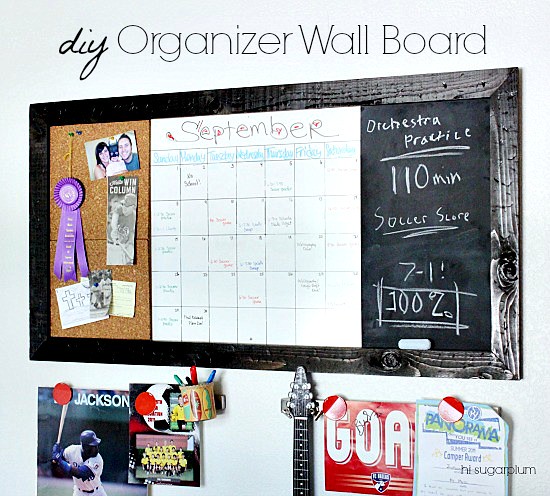
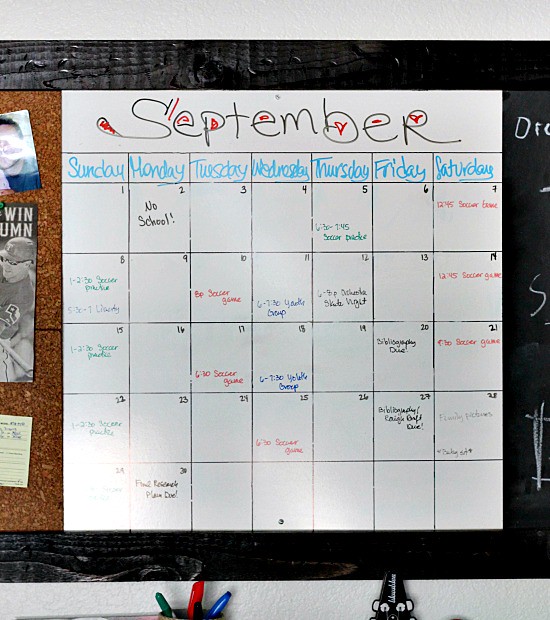
I scoured the internet for inspiration, and found Jen's oversized wall calendar. Amazing! We used that as our starting point, but wanted it larger to include chalkboard and corkboard.
{The Supplies}
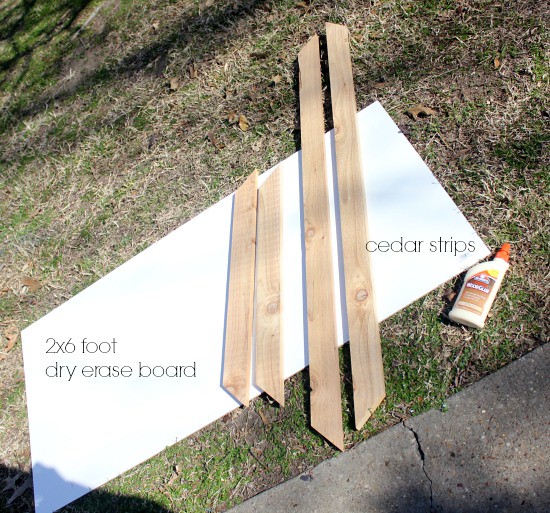
2 x 4-foot Marker Board (aka, dry erase) from Home Depot for $7
3-inch cedar board for the frame
Stain
Chalkboard paint
Cork tiles
Nail gun or wood glue
Want to know how long it takes to get projects done around here sometimes?! I teased this shot last February (thus the sweats)!! I had fully intended to cut the frame with a hand saw and miter box, and glue the pieces together. Then I found out my rockstar neighbor had a table saw and nail gun! #heyneighbor Can you believe in the 3+ years I've been home blogging, this is the first and only time I've used an electric saw and nail gun?!
This project is cheap and really simple...but there was some very taxing
{The Frame}
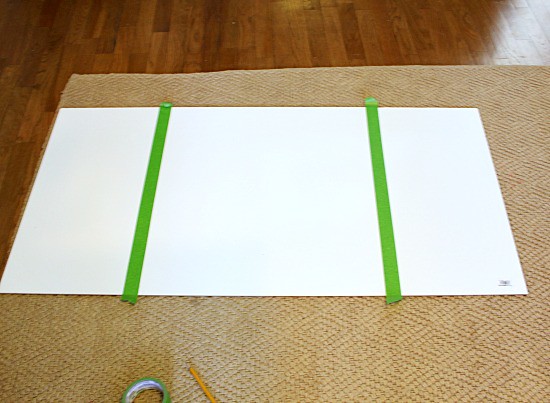
The marker board is 24 x 48-inches, and the frame needs to overlap it by 1-inch all the way around.
So the finished frame is 26 x 50-inches.
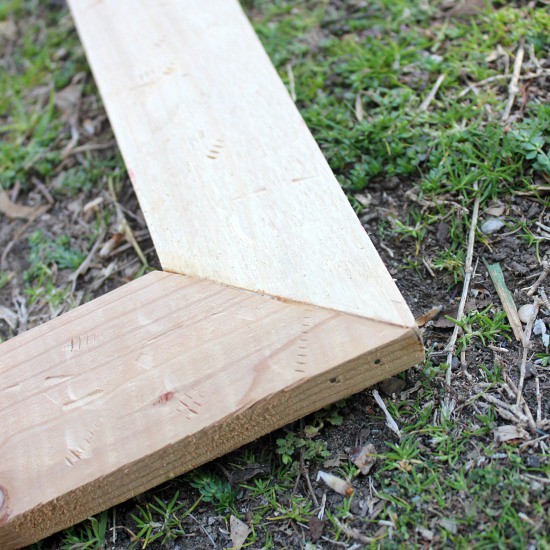
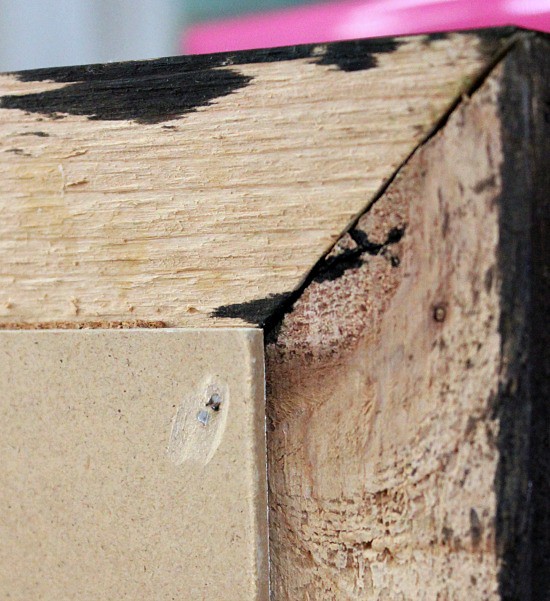
We assembled the frame with a nail gun, but you could also wood glue it.
If you don't have the patience tools to miter the corners, use Courtney's method.
And don't forget Home Depot will do straight cuts for you...free!
I lightly sanded the edges, then distressed it just like our Floating Shelves and Chunky Desktop. (P.S, do the distressing before you build the frame.)
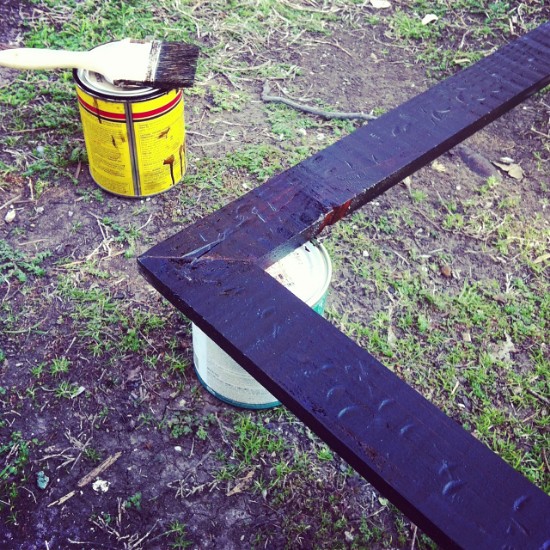
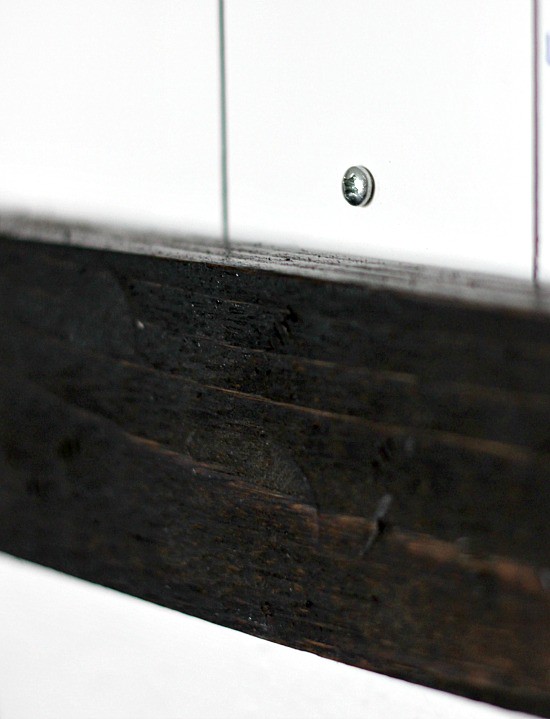
We propped the finished frame on some paint cans, and stained it with my favorite Dark Walnut.
Cute helper is optional.
Finish it off with a few coats of poly and let it sit for 7 months. Or 24-hours, whichever works with your schedule.
Now for the marker board part....I hope you've had your coffee!
{The Board}
Since the frame will overlap the board by 1-inch all the way around,
your useable board space is 22 x 46-inches.
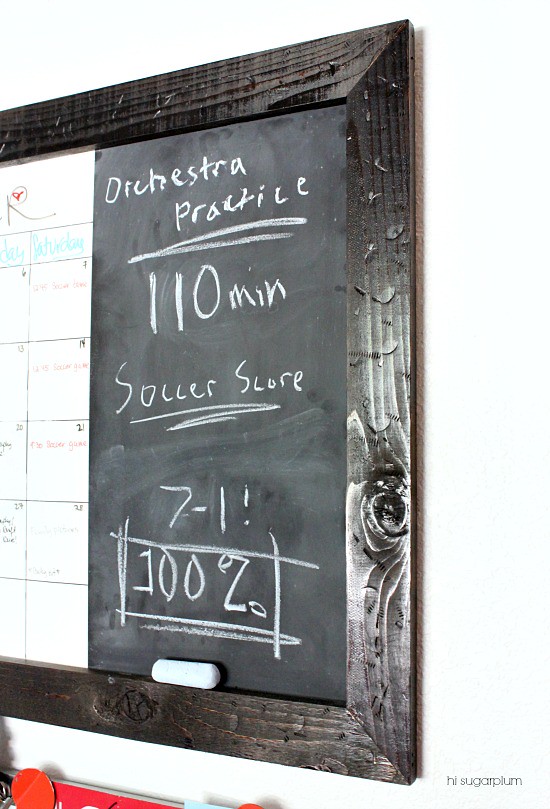
The cork tiles I had were 12-inches, so I knew that panel, and the chalkboard panel, would each be 12-inches wide.
That leaves 22-inches for the calendar.
No more math is needed for the cork and chalk panels (thank goodness), but the calendar was another story. Lucky for you ducks, I've done all the work for you....
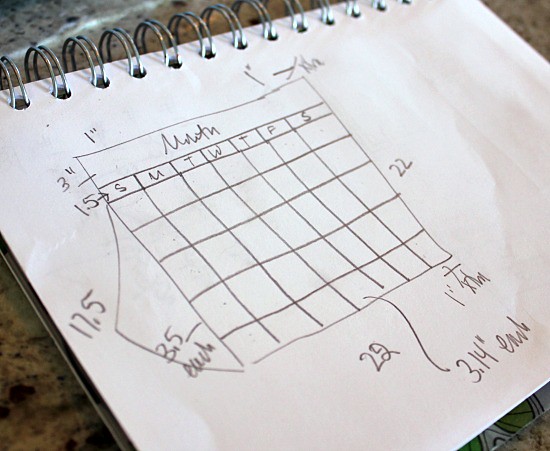
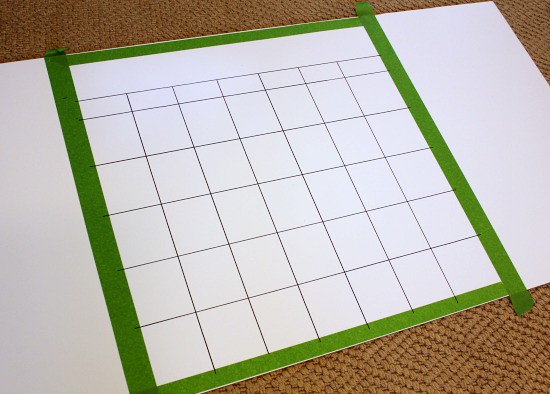
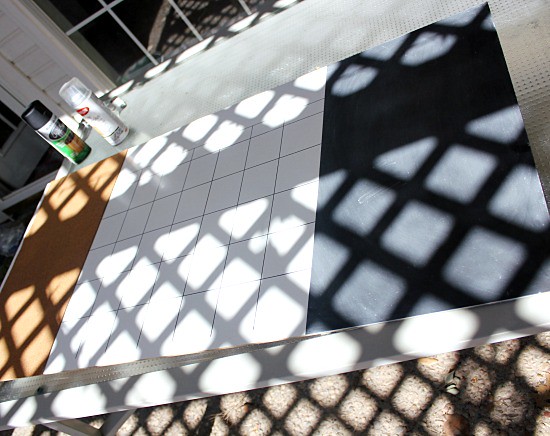
I taped off the perimeter of the calendar, and used a ruler and Sharpie to draw the permanent frame. In case you can't read my handwriting, here are the dimensions.
{The Calendar}
Entire calendar is 22 x 22-inches square
'Month' row is 3-inches wide.
'Days' row is 1.5-inches wide.
Each week row is 3.5-inches wide.
Each day column is 3.14-inches wide.
Once that's done, move the tape inside of the calendar frame (so you don't have a white gap between panels), and spray with chalkboard paint. When dry, season the board by rubbing the entire surface with chalk and wiping it clean.
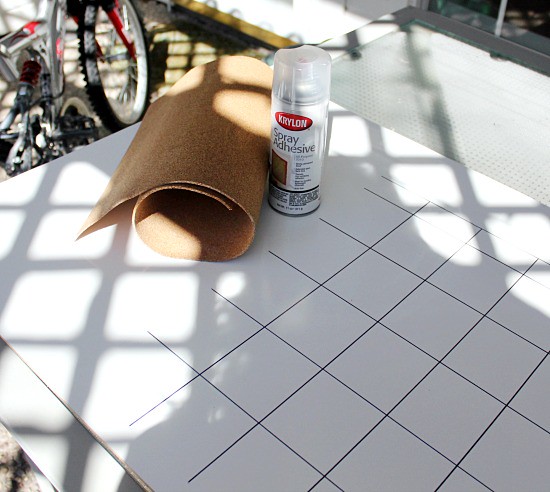
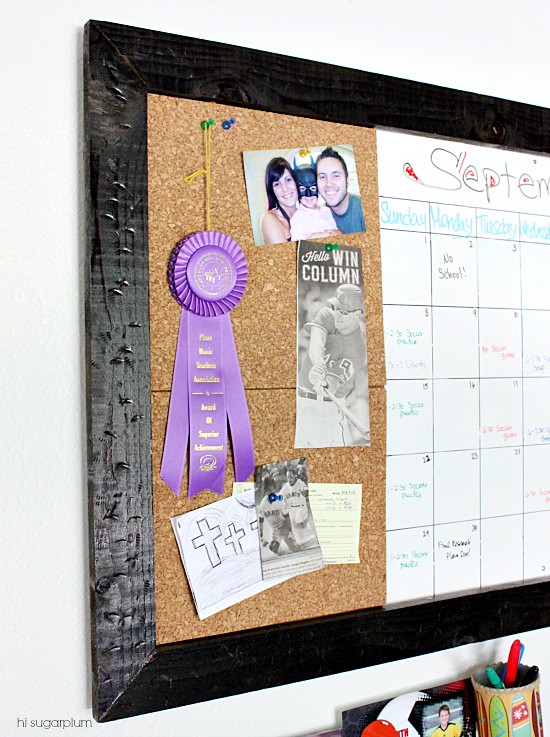
Use spray adhesive or a glue gun to attach the cork panels to the other side.
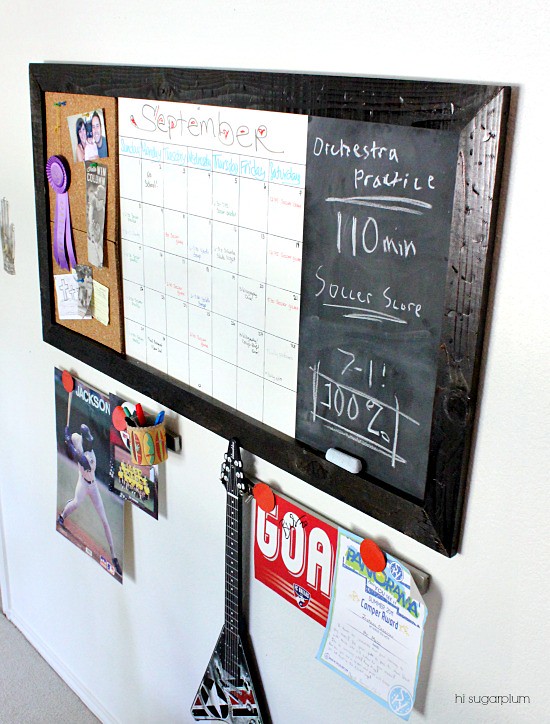
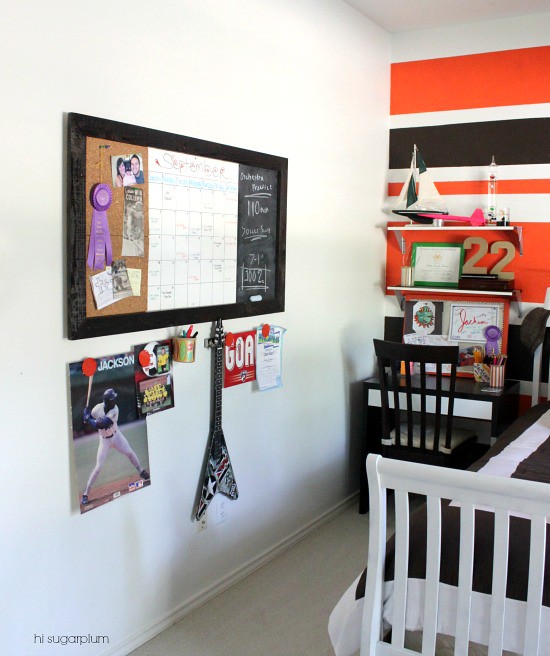
And there you have it!
You could glue the frame to the front of the board, or use brackets, but since we had access to awesome-neighbor, we nail gunned it. Is that a verb?
Surprisingly, it's only a few pounds, so I intended to attach it to the wall with Command strips. Turns out his walls aren't completely level, so we just screwed it directly to the wall.
Not only is it useful, but it's a cool way to fill the large wall. You can also customize the panels to whatever meets your need.
I know it sounds horribly boring and complicated, but it was very simple. Especially now that I've done all the brain-work for you! You could easily cut the board down for a smaller version...so great for a Family Command Center or in a Mudroom. Where could you use a big




0 comments:
Post a Comment