A few weeks ago, I showed you the new curtains in our Breakfast Room, which we're totally and completely smitten with. Part of the adoration has to do with the curtain rod we whipped out for them. The previous rod (used for the original pink curtains) was being held together by
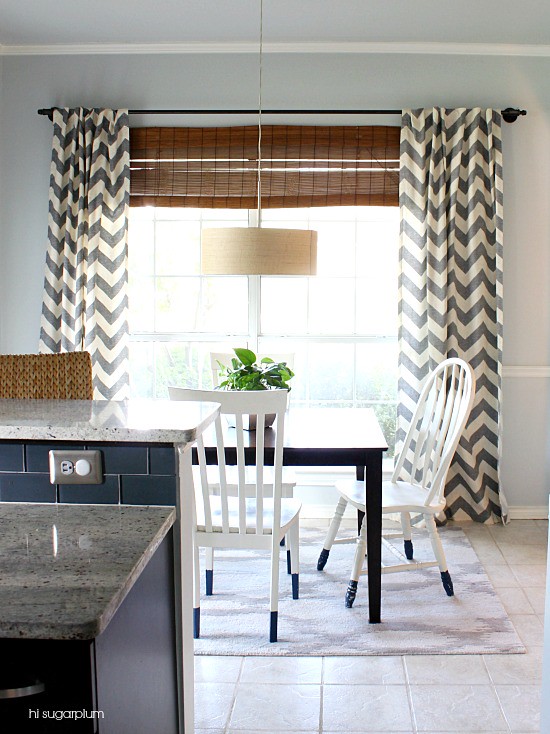
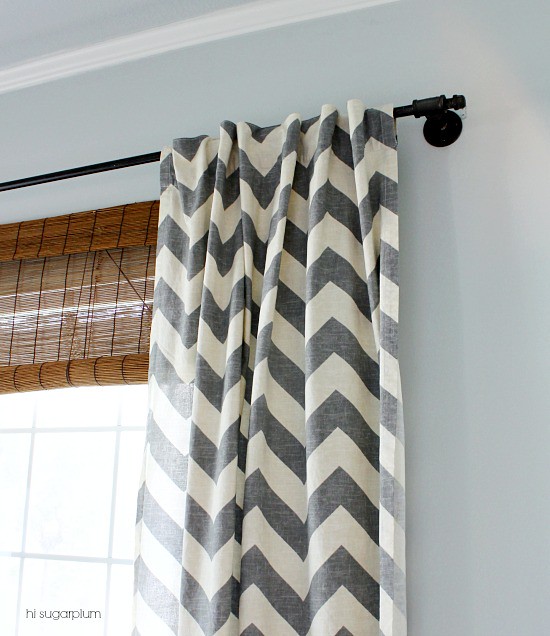
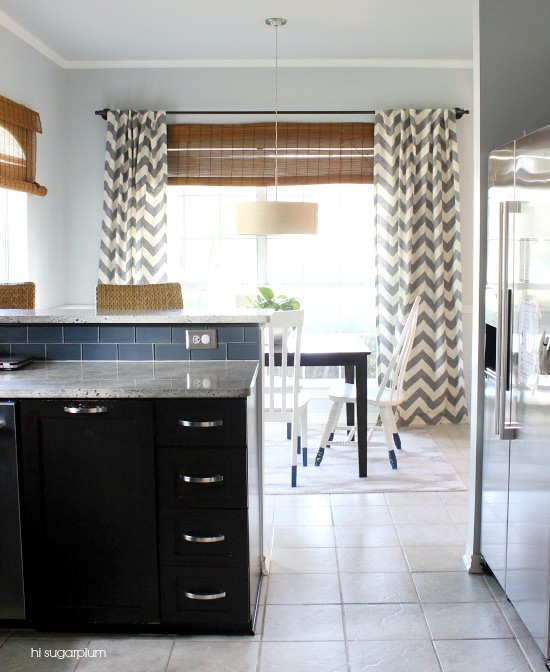
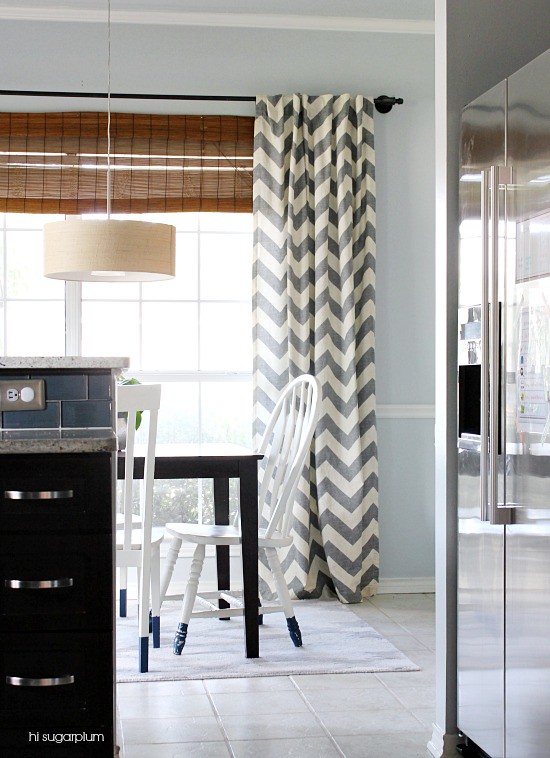
I know it's hard to gauge scale in photos, but this window required a whopping 110-inch rod...not exactly cheap or easy to find. TWSS The window itself is 71-inches, but I like the curtains hung high-and-wide. So I pulled an old trick out of my hat, and made them with galvanized pipe.
I know, you're thinking, "Dude, didn't you just do those in your son's room? Nice recycled post." But don't be hating yet! While the original style of galvanized pipe curtain rods worked well in his room, I wasn't going for the industrial look in the Kitchen. But it's hard to beat the sturdiness and price of galvanized pipe, so I switched up the parts and assembly for a more traditional rod.
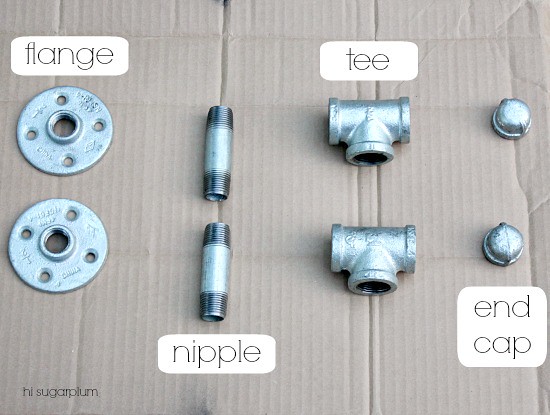
{Supplies}
1 ~ 1/2" wide pipe, longer than your window (Home Depot will cut and re-thread pipe free!)
2 ~ 3/4" x 2 1/2" nipples (the 2 1/2 represents the distance from the wall to the rod, so that's at your discretion)
2 ~ 3/4" tee joints
2 ~ 1/2" end caps
Yep, the rod is a different size than the parts...we'll get to that.
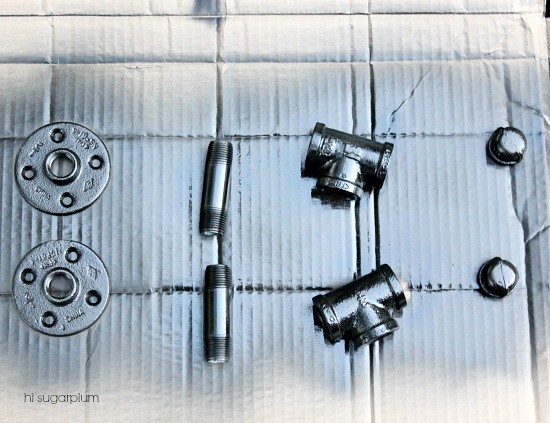
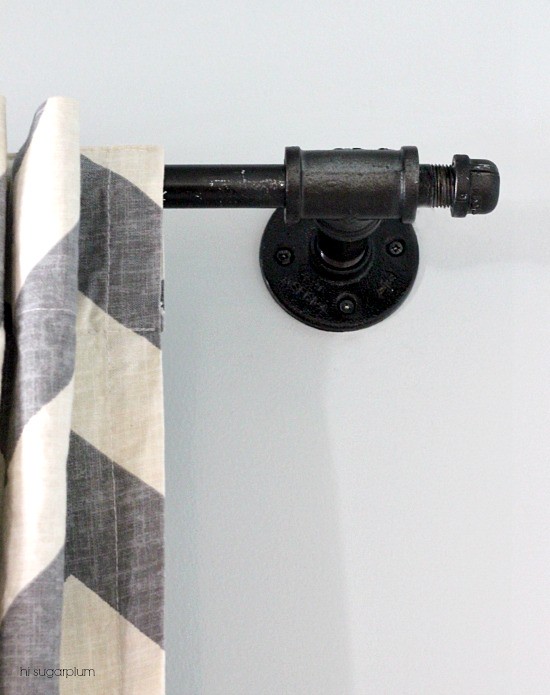
I didn't really want these to look like galvanized pipe, so I sprayed everything with oil-rubbed bronze
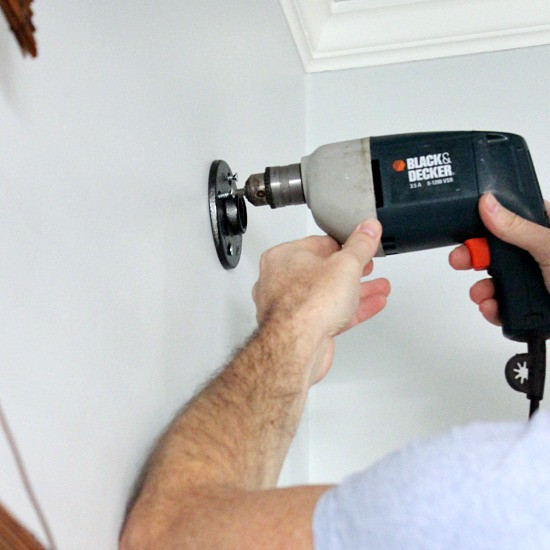
You'll want the rod to extend a few inches beyond the brackets, so consider that when determining your flange placement.
Tip: use anchors to hang flanges because the pipe + curtains are pretty heavy.
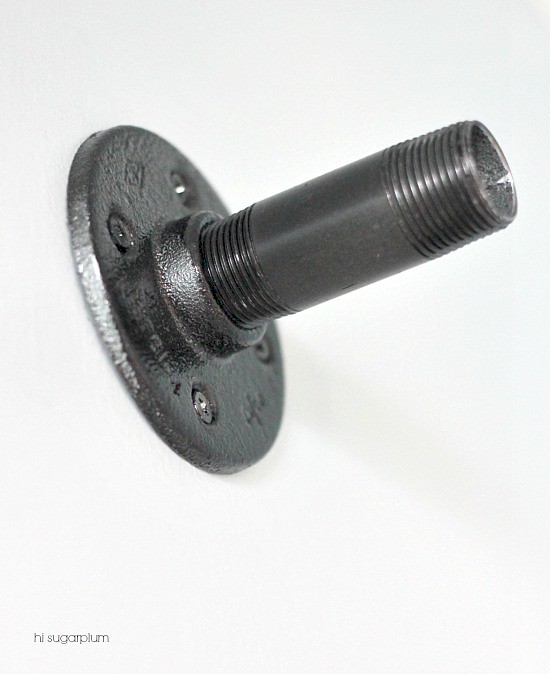
I hate to spring this picture on you, but you need to see that the next step is screwing the nipple in to the flange. Proceed with snickering.
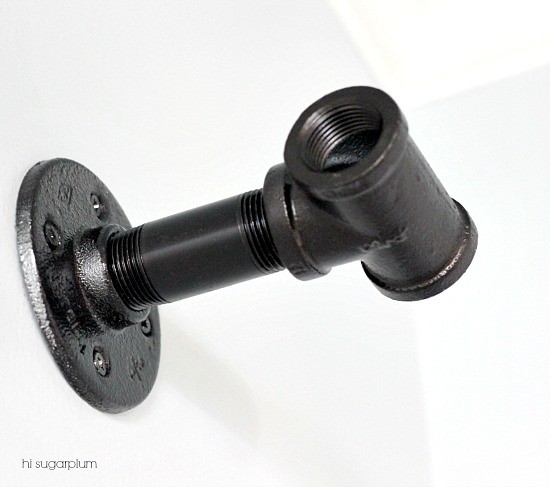
Next screw on the tee fairly tight, but the final position should be parallel to the floor.
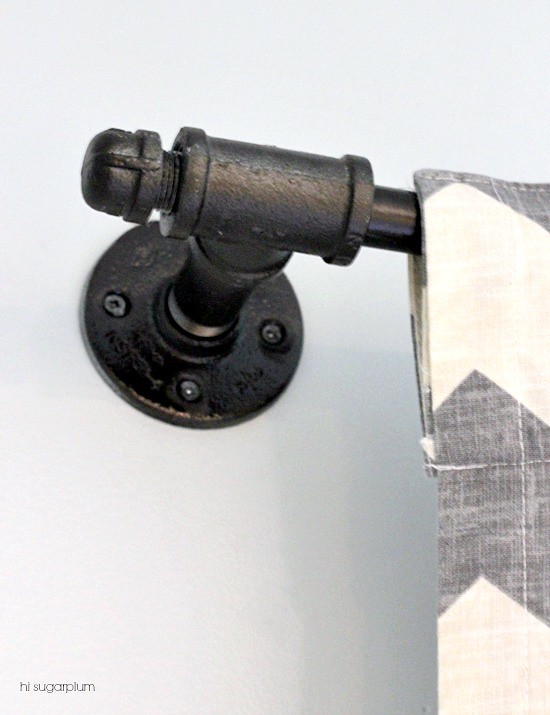
It took too many hands for this next step, so I wasn't able to photograph it. Basically you need to thread the pipe through the tees...so hold the pipe in the middle and place one end through a tee, sliding it through until the other end is able to go in the opposite tee. This is why our pipe is skinner than the mounting hardware. I may or may not have figured this out the hard way. Proceed with your blonde joke. End caps give it a more finished look, and keep the pipe from sliding out of the bracket.
The threads are sharp, so you have to be careful with the pipe to keep the paint from scraping. I used a black Sharpie to darken the screws in the flange, too.
Tip: make sure your curtains are on the rod before threading it through the tees.
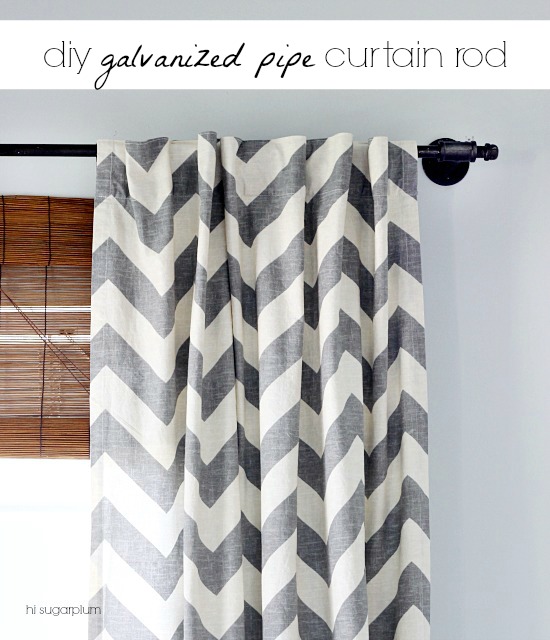
The pipe is so sturdy, no middle brace is needed, giving it a really clean line. I think they look pretty similar to these, but longer, and at a fraction of the price tag. I'll proceed with patting myself on the back.
Update: Some have asked about the cost of supplies...a 10-foot pole was $14, and the remaining parts were around $25. Not too shabby, right?!
Update: Some have asked about the cost of supplies...a 10-foot pole was $14, and the remaining parts were around $25. Not too shabby, right?!
What do you think of our new curtain rods? Would you have guessed they were galvanized pipe? Fifty points goes to the person with the best nipple comment or blonde joke.
* Do something to the Fig basket so it's not so matchy with the bar chairs
(moved it to a new room)
* Consider amping up the drum shade
(oops, did this, forgot to blog about it)
0 comments:
Post a Comment