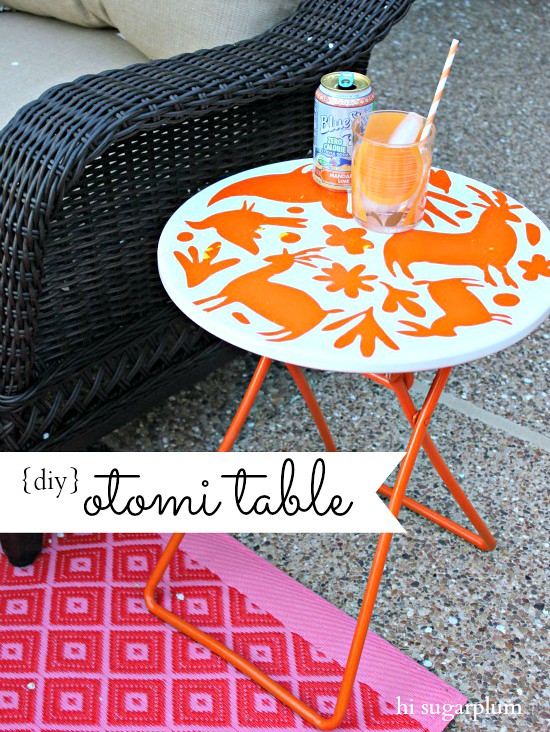
This outdoor table was in sad shape, so I gave it a fresh coat of Rustoleum 'Real Orange' (to go with the DIY Dry-Erase Serving Tray). It was a quickie makeover, and I didn't plan on posting anything about it. After all, how many times have we seen the power of spraypaint? (But really, does it ever get old?!) I threw this image up on InstaGram (@cassiesugarplum), and many of you commented that you couldn't wait to see what I was going to do with it...so that got me thinking (which doesn't usually end well).

I was brainstorming all the usual patterns and shapes, then my aunt suggested otomi! It was an ah-ha! moment...clearly I'm a fan of Mexican decor and bright colors. And who didn't fall instantly in love with Grace's Otomi Headboard?


After cutting them all out, arrange them like a puzzle on your surface...the busier the better.
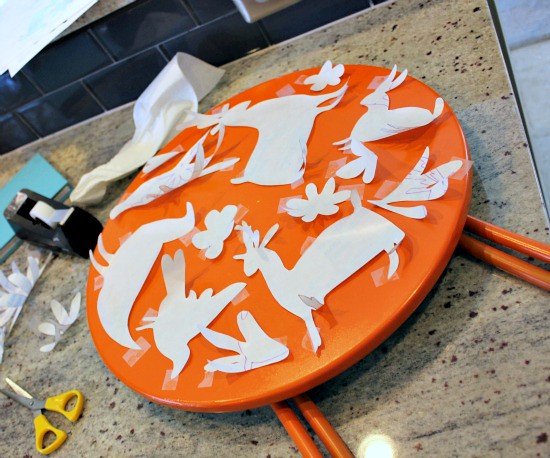
Then carefully peel the backing off the shapes, and apply them to your surface. Lightly smooth around the edges so paint doesn't get through, but not so hard that you can't peel them off after.
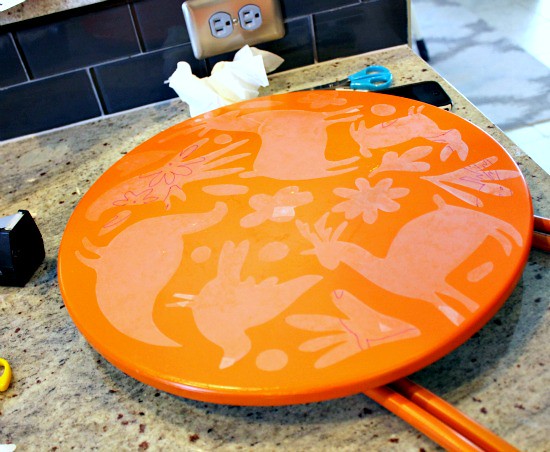
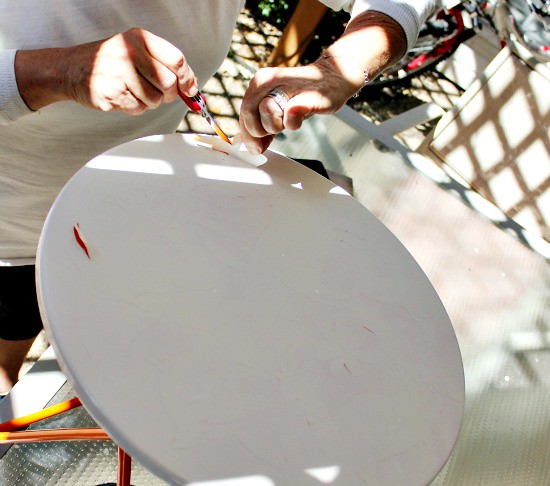
Then give the surface several light layers of a contrasting color paint. My aunt was too anxious to wait for reveal pictures, so she came over to see for herself. Of course I put her to work helping me peel the shapes off once they were dry, using a razor blade to get each one started.
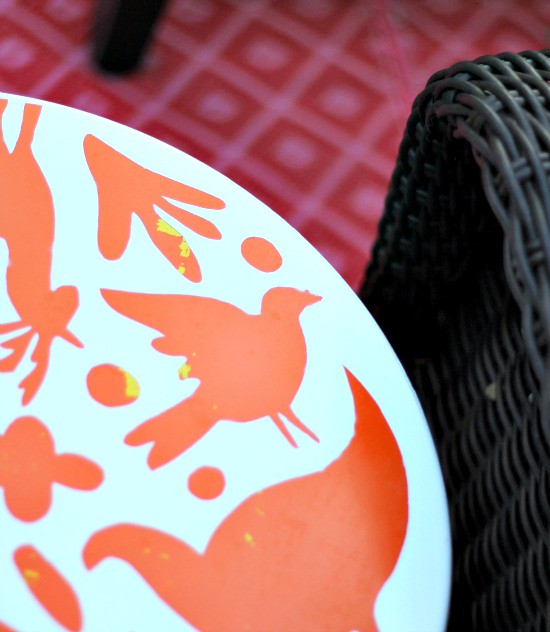
We literally gasped and high-fived at the finished table...I adore the lively colors and vibrant pattern, not to mention the uniqueness.
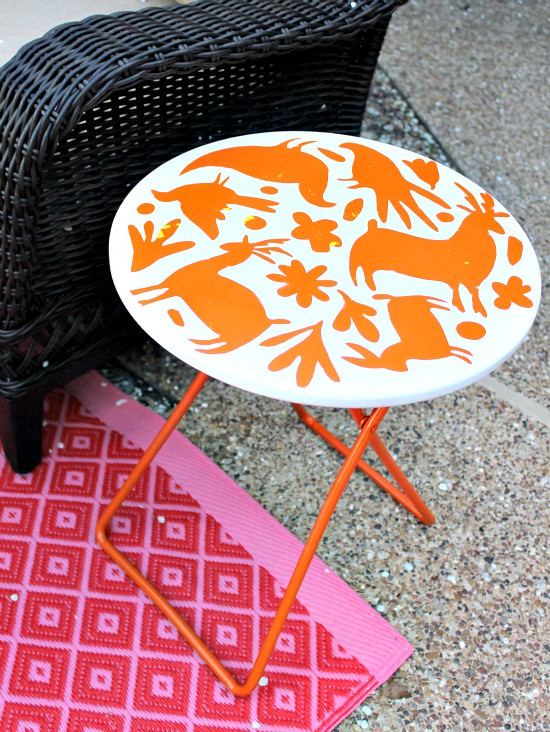


The table has been painted so many times that some of the orange peeled off with the contact paper. But I actually think it adds more character and patina to it.
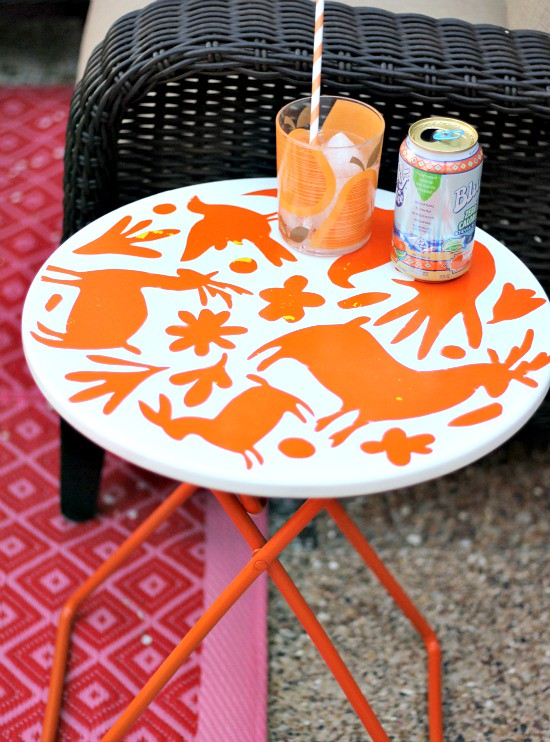
I can hardly wait to show you the entire patio, but I think you can probably guess the colors we used. Oh, and total time spent on this project was only about two hours! I've already started looking around for more things to otomi. Oh geez, I'm using it as a verb now. What do you think of my crazy little table? Are you as smitten as I am?! Do you love otomi, too?
0 comments:
Post a Comment