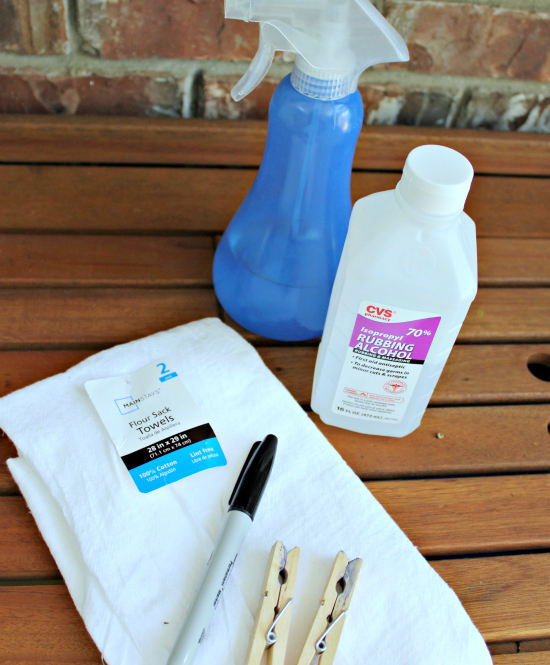
Cheap and easy supply list....rubbing alcohol, black Sharpie marker, spray bottle, clothes pins and white dish towels. Since I wasn't sure of the outcome, I went with a $2 pack of flour sacks from Wal-Mart.
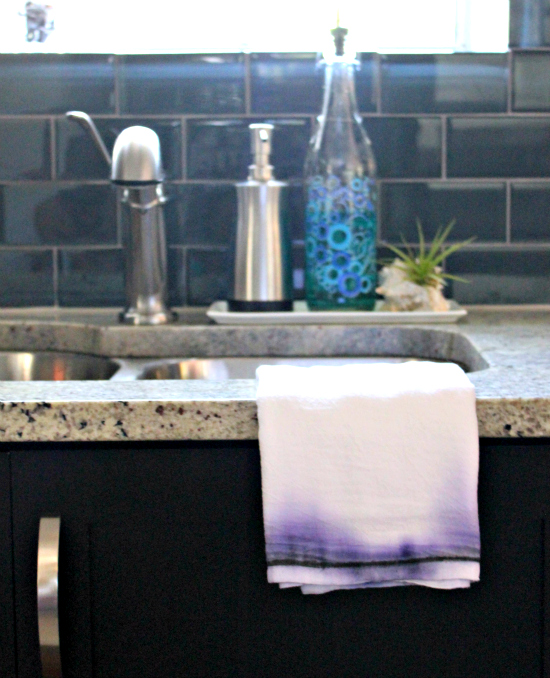
Turns out, when rubbing alcohol is sprayed on permanent black Sharpie, it bleeds in a lovely lilac hue! So first step is to draw a thick line along the edge of the towel...I just used the seam as my guide, we're not looking for perfection. Make sure you have a protective layer underneath to prevent bleed-thru.

Through trial and error, I found I prefer to first saturate the ink with alcohol while the towel is flat, so it bleeds out in both directions.

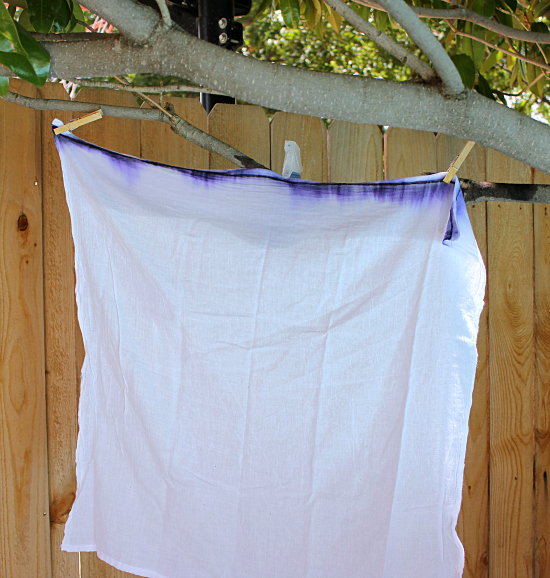
Then spray again once the towel is clipped up so the ink bleeds down.

The more you spray, the more the color spreads, but also becomes more diluted.
Once it's dry, just toss in a hot dryer for 15 minutes to set the color. After that, it's machine washable!
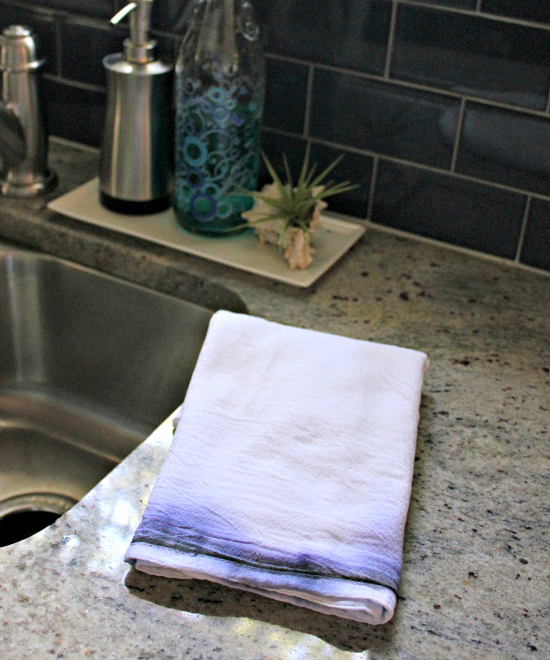
I experimented with different patterns of dots and stripes, but none turned out as well as a single line.
I think it would look lovely on cotton napkins or throw pillows, too.
Have you done any projects with dye or Sharpies? I'm hooked on the possibilities!
Psssst- I announced the Home Zada free membership winner, so click here to see if it's you! There's also a discount code for everyone!
***I shared this project with Sarah, the best link party in town!***
0 comments:
Post a Comment