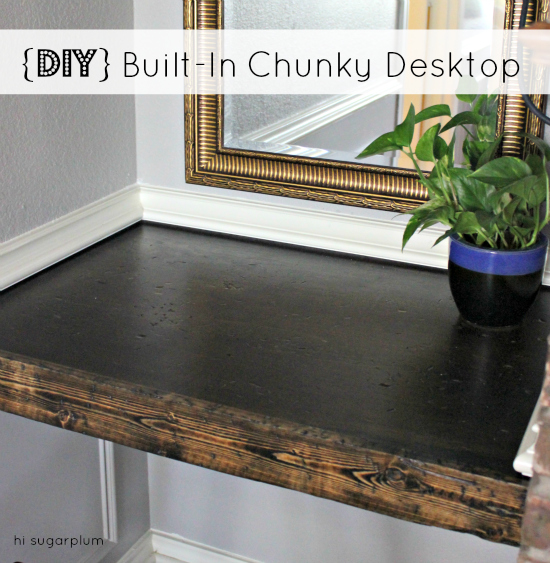
Today's project is really simple, but was time consuming due to all the steps and dry times. We finally finished this weekend, and I'm thrilled to share it with you....the new built-in desktop for our nook (no association to Barnes & Noble *har*)!
To catch you up, we ripped out the old wet bar in our Family Room, and enclosed the pass-thru. Then the TV moved to the mantle, which meant we needed space for the components. So we built distressed shelves. Instead of all built-in shelves, we decided to use the spot as a work space too, which meant we needed a desktop. I wanted a chunky look to go along with the distressed shelves, but couldn't find a large enough piece of wood with the thickness I wanted. (Are you kidding me right now?! TWSS!)
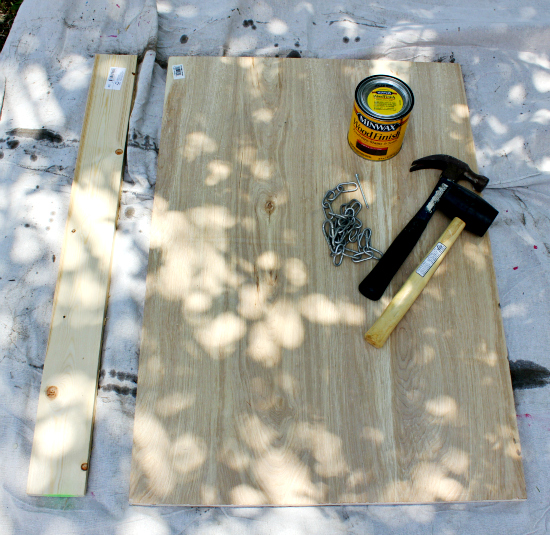
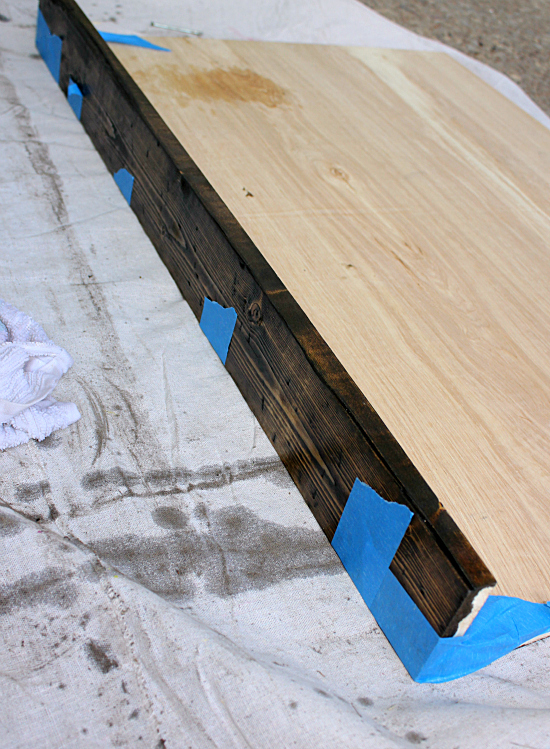
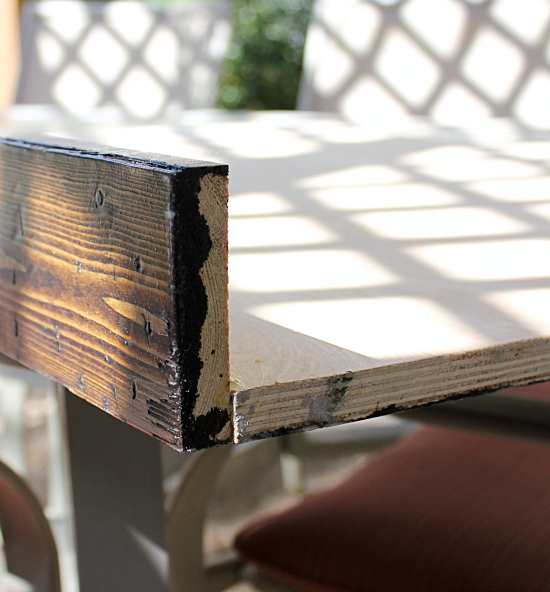
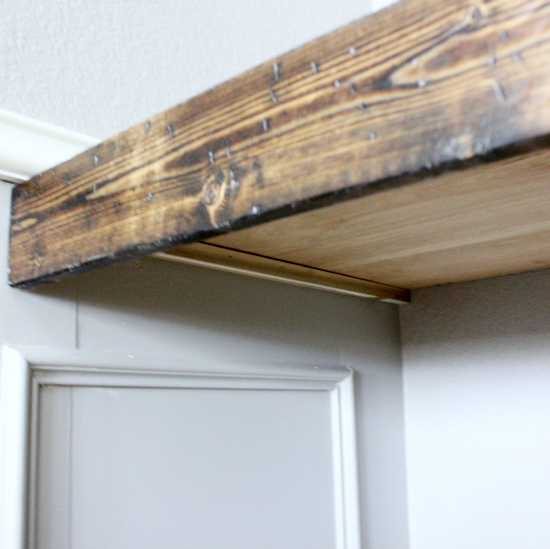
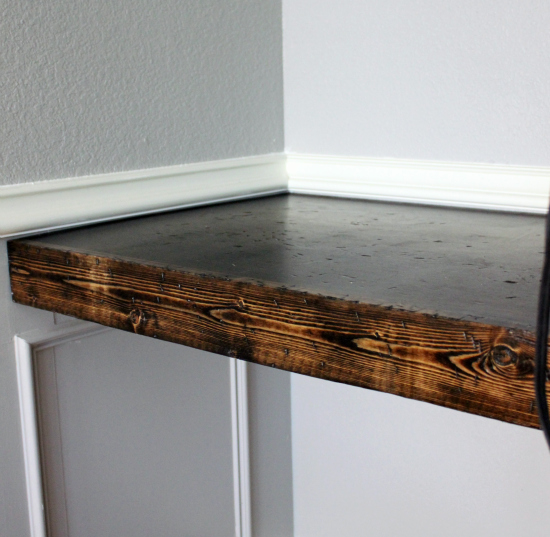
No worries, we can fake it around here (like Babygirl's crown molding!). All we needed was a thin piece of wood, cut to the desired surface size, and another one as wide as your desired shelf's thickness. That sounds confusing, but the pics will better describe it.
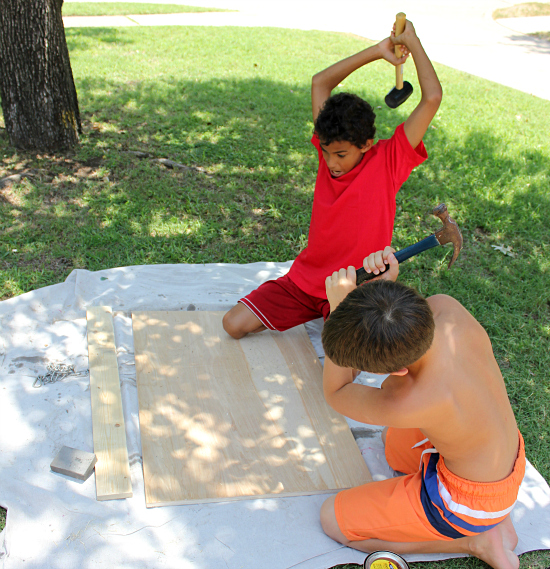
We wanted it to match the distressed shelves, so we used these steps to get our desired look. This time I brought in child labor. Didn't take much convincing to get these boys to swing hammers!
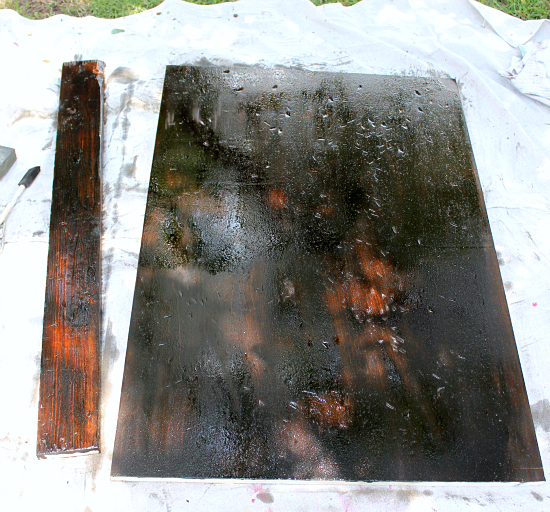
After sanding down the splinters my over-eager helpers created, I gave the wood several coats of Dark Walnut stain, wiping off the excess each time.
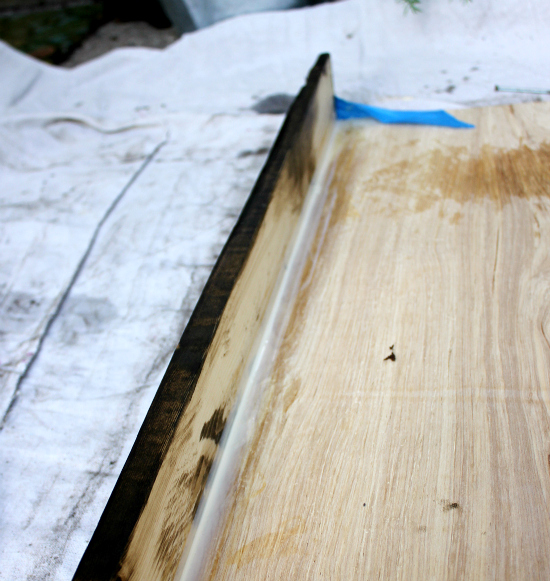
Here's where the Faux part comes in....once dry, lay the large piece on a flat, sturdy surface where it can live for awhile. Then, using wood glue, attach the smaller piece to the front. This was a messy, hectic step for us, as glue was leaking out everywhere, and the wood was slipping. It certainly helps to have an extra set of hands.
Once the glue sets a little, use painter's tape to hold everything in place like a clamp. Make sure to clean up any glue seepage on the front of the wood before it dries.
We let it cure for a few days, then gave it three coats of a satin poly to seal the wood.
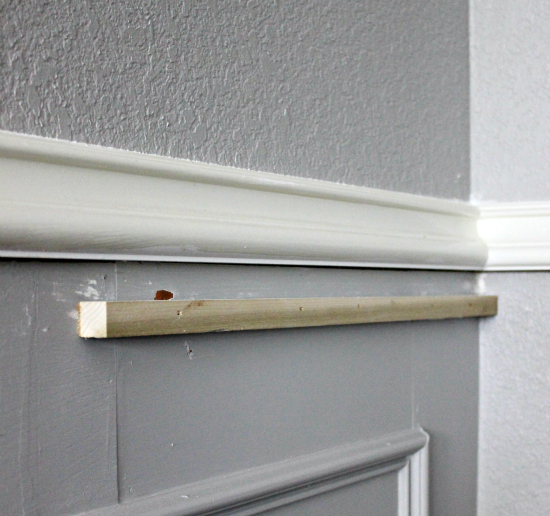
To install the desktop, use the same principle as the shelves...attach small dowels, cut shorter than the top's depth, to both sides of the wall.
Then just slide the desktop in, allowing it to rest on the dowels.
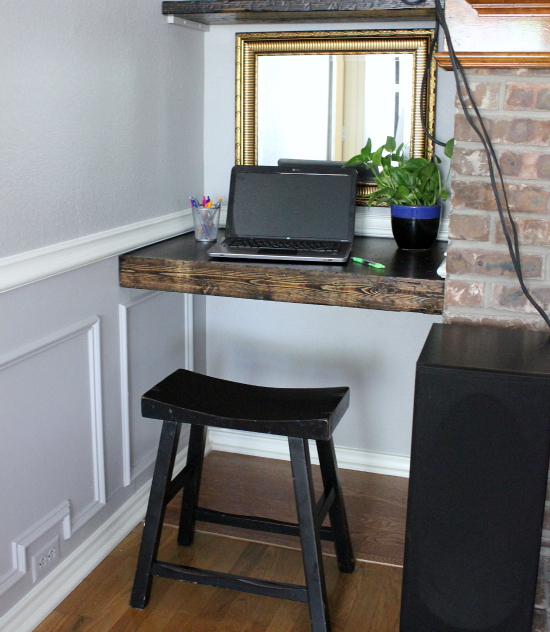
Looking at it, you'd think it's a 4-inch thick chunk of wood, right? I love how substantial it looks, but is lightweight to handle.
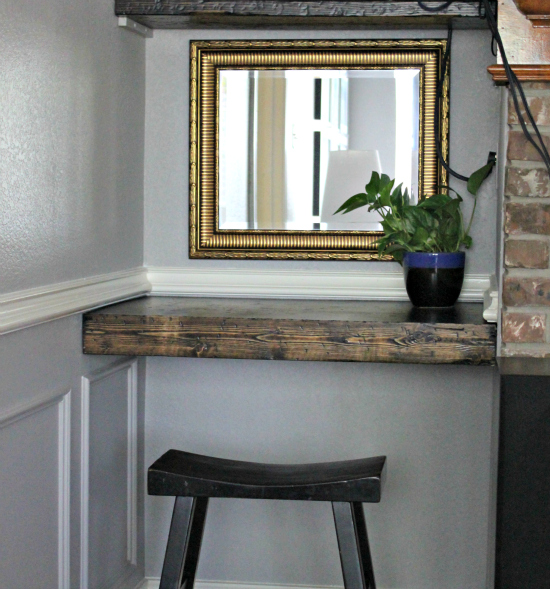
There's still work to do in this dark little corner, but I couldn't wait to stage it a little. The mirror is perfect for reflecting light from the parallel windows.
And who doesn't like to gaze at themselves while working on the computer? I'm not exactly sure what this space will evolve into, but I'm envisioning a little office nook.
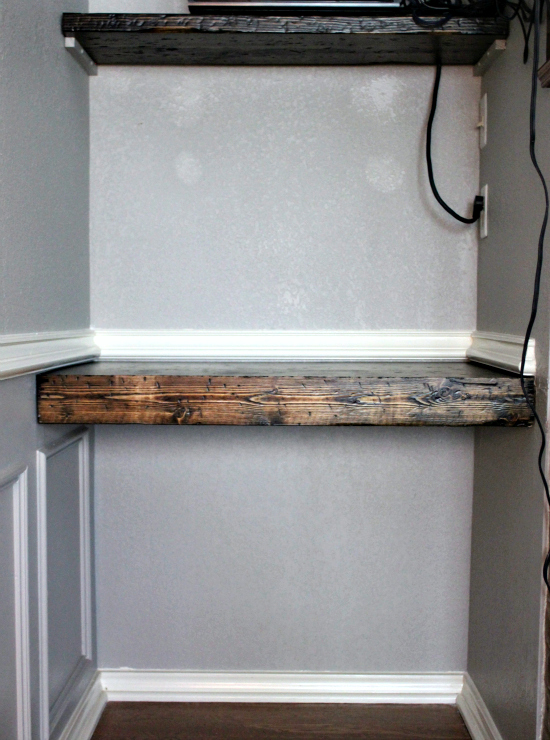
Now let's zoom out from my strategic cropping, and show you the big picture. The shelves are getting a coat of poly, so the top one is in the backyard. And we still have to deal with that mass of cords.
But today I'm enjoying the progress! Did you get things crossed off your list this weekend?
FAMILY ROOM TO-DO LIST
(click links to see project)
Mount TV & Hide Cords
Paint Mantle
Find Desk Chair
Hang Art Over Sofa
Paint/Stain/Replace Sofa Legs
Re-Hang Art Over Chair
Decide Fate of Rugs
New Light Fixture
Window Coverings
Decide Fate of Matching Tables
***I shared this project with Sarah, the best link party in town!***

0 comments:
Post a Comment