Things moved quickly last week on our Big Box Bathroom remodel...in fact, our rockstar-contractor is virtually done with his part...and now it's up to us to finish it off. Even though it's exciting to see the progress unfold every day on this end, I know it doesn't make for pretty posts. But I also know many of you like the details of these types of projects, so I wanted to be sure and document the steps and decisions we faced along the way. And Day 2 was a busy one!
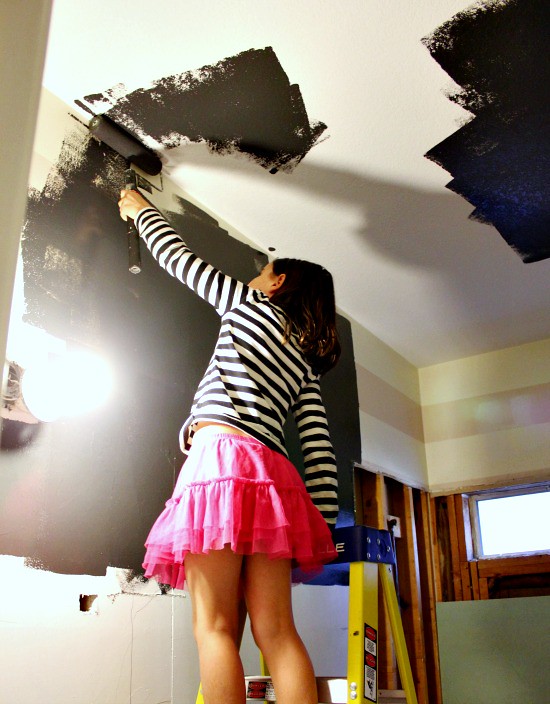
Once the demo was complete, we decided to go ahead and paint the ceiling and walls. The thinking was, it'd go faster since we wouldn't have to tape it off or cut around trim, nor would we have to worry about drips and splatters on our brand new tile. It ended up not really helping much, since the rest of the remodel process is so messy, we'll have to go back and paint some areas again. I put my best child-laborer on the job.
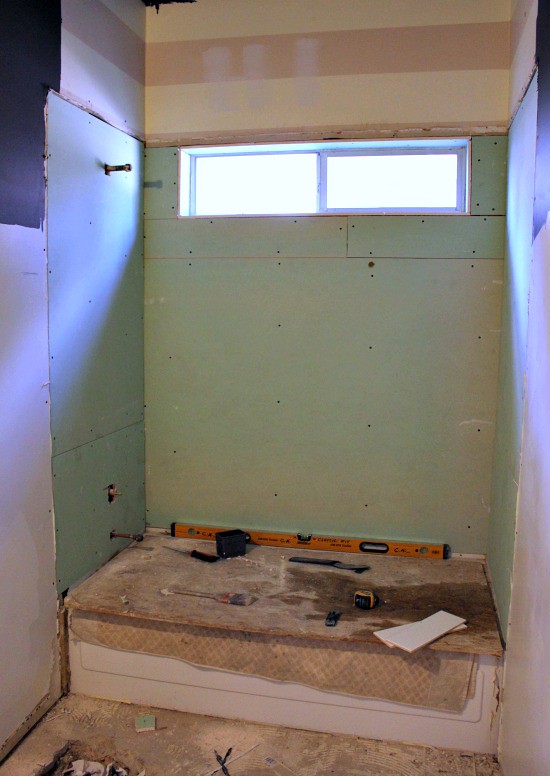
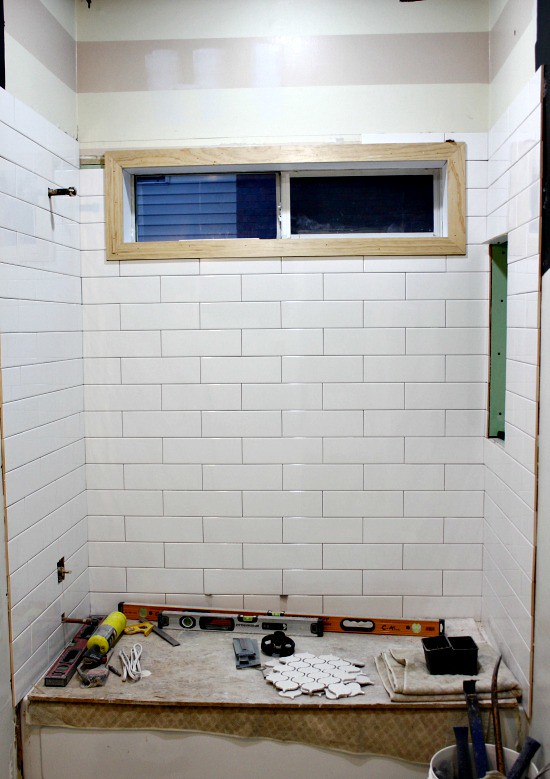
Day 2 started with new (dry!) wet board being installed in the shower stall, followed by the tile.
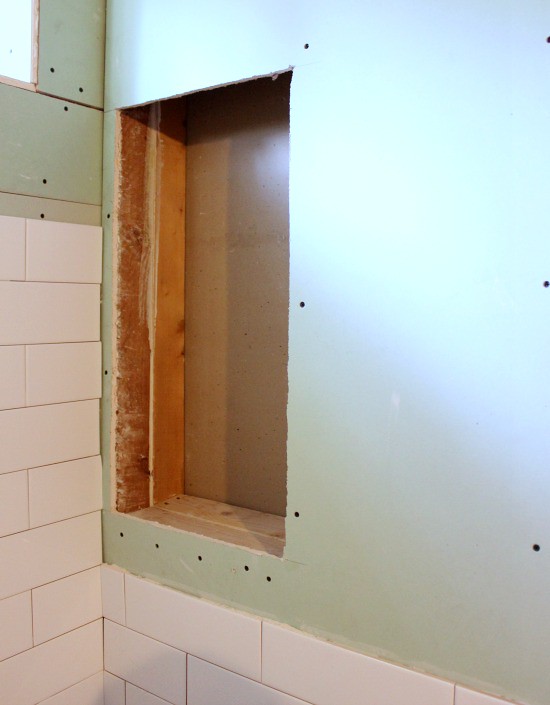
I sketched the cut-out I wanted for shampoo bottles and soap, and they created the area between studs. Yay for no more parade-of-bottles on the edge of the tub!
You may have noticed the sliver of window in the Before shots...well, we beefed it up by framing it out with 3-inch trim. Now instead of being awkward, it will be part of the room's design.
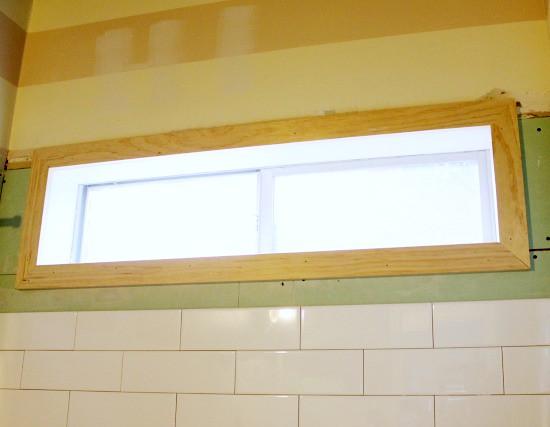
My intent was to paint the trim white, but now I'm kind of digging the raw wood against the shiny tile. The design board also called for the shower tile to be laid on a herringbone pattern, but I was concerned that would get too busy...not to mention, more time-consuming to install...so I went with Allen + Roth 4x12 white subway tile in a brick pattern. The larger size cuts down on the number of grout lines, which is less busy on the eye, and easier for me to clean later!
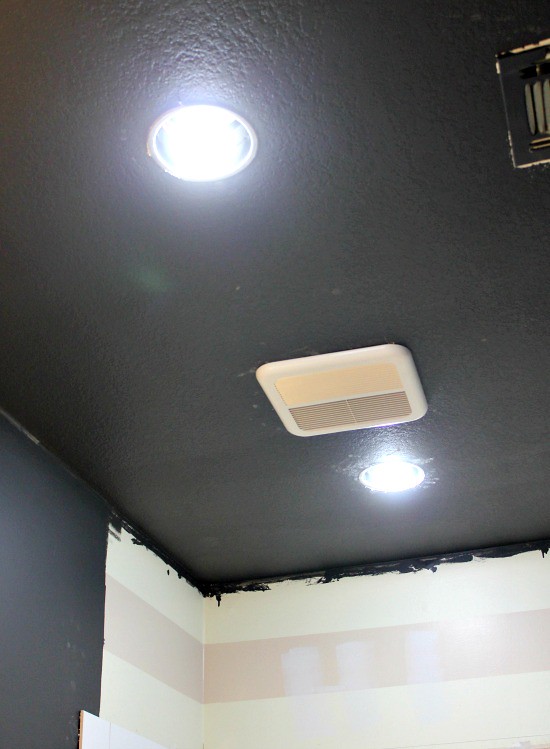
With only a single small window, the room can be pretty dark, so they installed two recessed lights (on dimmers!) in the ceiling, along with a jumbo-sized fan. For some reason the bathroom didn't have a ventilation fan, and I'm not taking any chances with that gorgeous wallpaper! (I'll paint the fan the same color as the ceiling.)
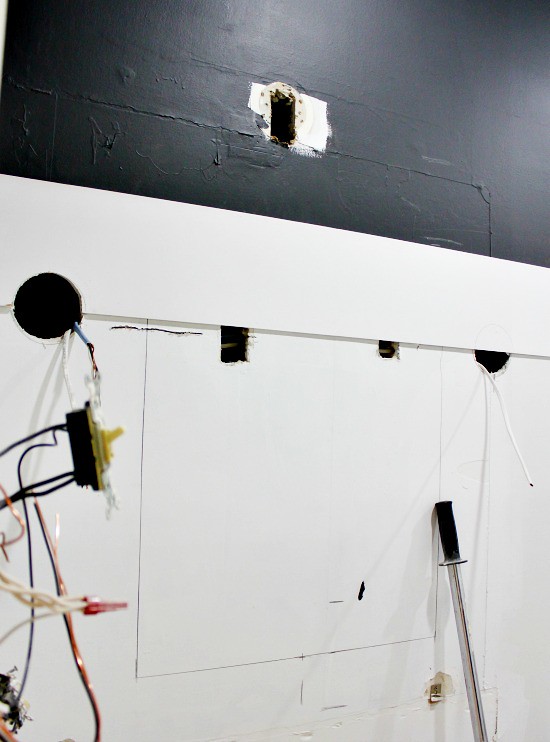
They also cut new holes and re-wired the wall for sconces. (Reason #87 we are grateful for professional help on this project!)
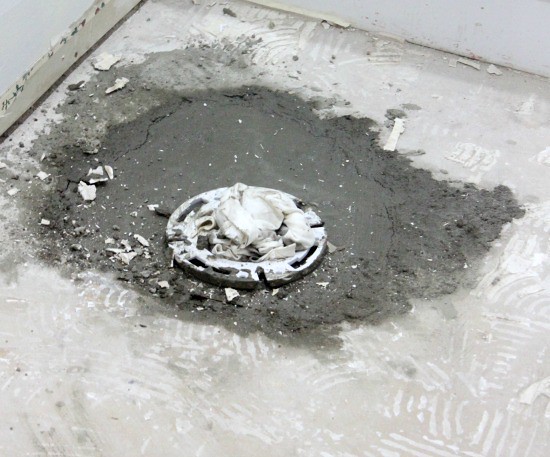
Remember we had a wonky, wobbly toilet...and they had to jackhammer the floor? Well, they re-installed the toilet thingie at the proper depth, and filled the surrounding hole with fresh concrete. (Reason #92)
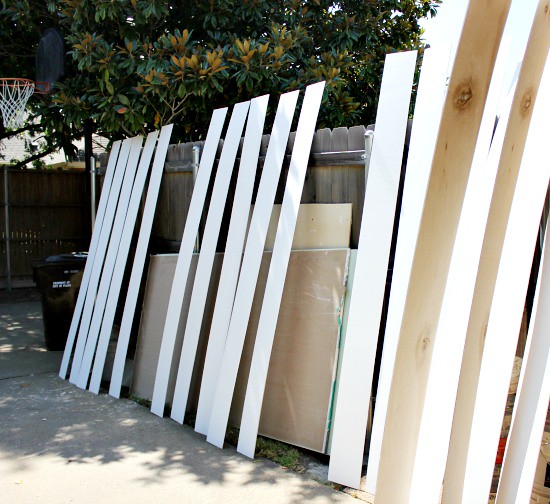
In the meantime, they cut the 1/4-inch thick sheets of plywood in to 8-inch strips, and primed them. These will later be used to panel the bottom two-thirds of the walls.
We special-ordered this Roth + Allen vanity from Lowes, and I'm thrilled with the quality! It's solid wood with dovetail joints, and even though it means we have to tile the entire floor, I love how it sits high like a piece of furniture. Not to mention, it almost doubles the storage space of the previous vanity.
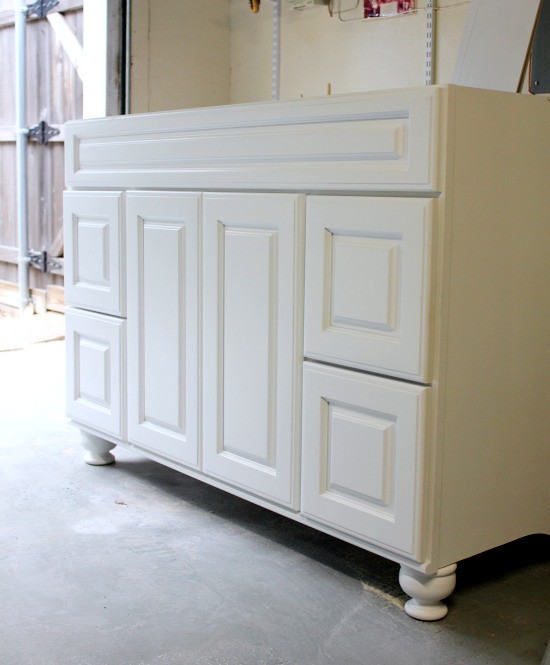
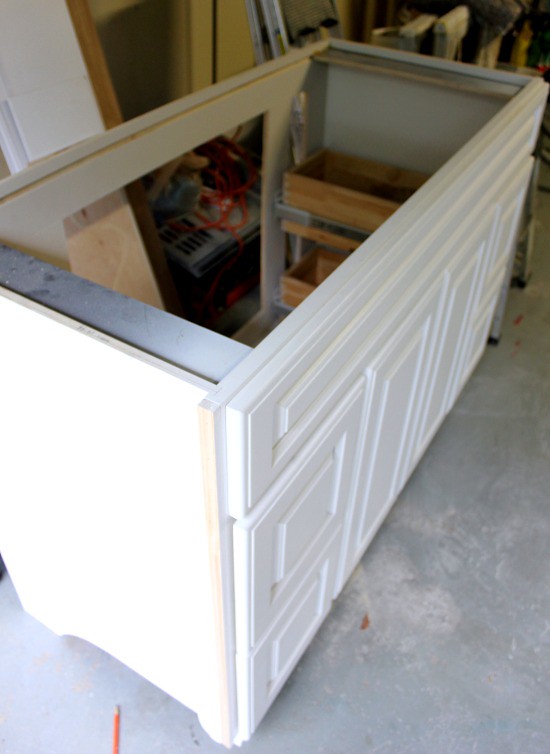
It was a creamy-white, so we sprayed it the same bright white as the rest of the room. You can't really see it, but they also added a piece of trim to the left-side edge so it will sit flush against the bathroom wall once the top is added.
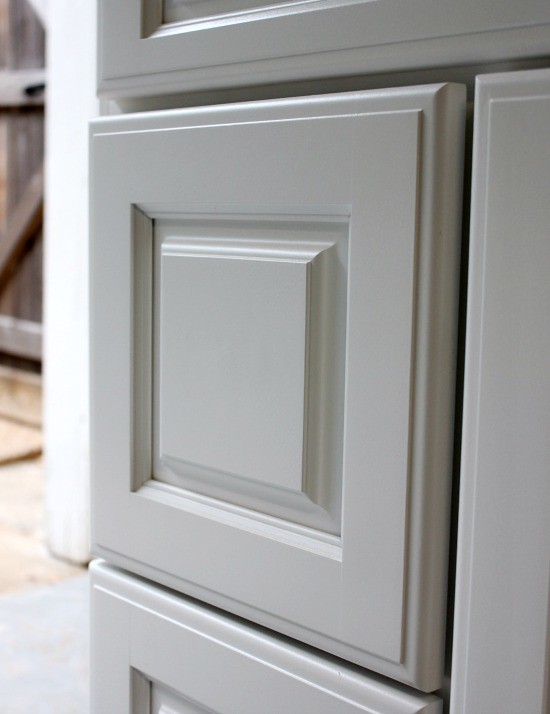
I'm not sure what hardware I'll use on it, so they puttied over the holes, as well.
They finished out the day by taking the shower tile all the way to the ceiling.
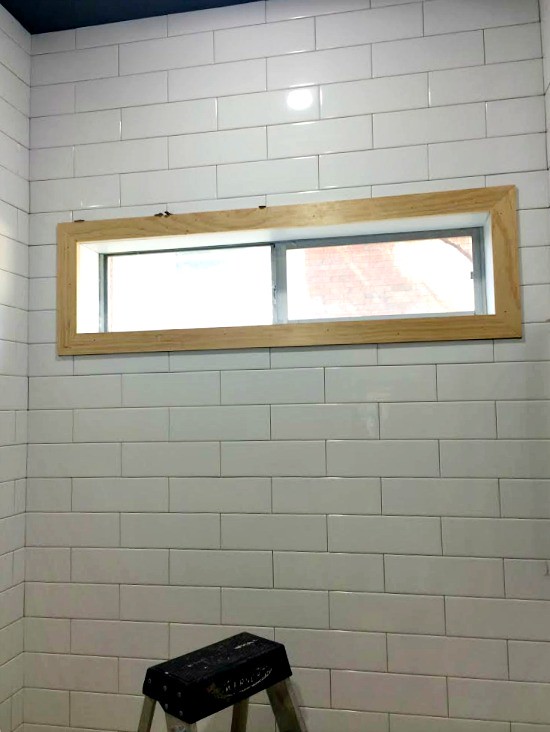
Now the shower feels twice as big! And I'm crazy about the dark paint against the white tiles!
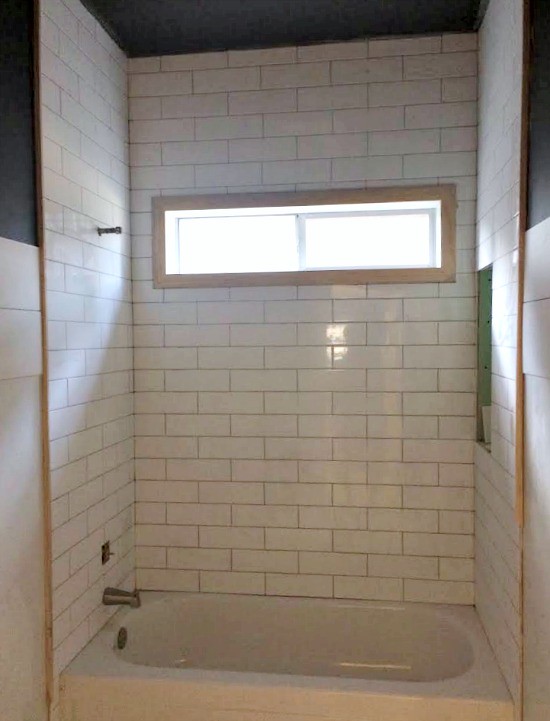
What do you think about the wood tones? Should I leave them with just a clear seal, or paint them white? Can you even believe the transformation of this room in only two days?!
Follow along from the beginning:
*** For those of you asking about my rockstar-contractor, I highly recommend Classic Kitchens & Baths (214-349-5999)! But be patient, affordable greatness like theirs books up fast! ***
0 comments:
Post a Comment