I've loved this pillow from Amber Interiors Shoppe for awhile, but wanted to recreate it myself, and for a lot cheaper. There are no shortage of pom pom tutorials online (including this one from my talented friend Kristin of Hunted Interior), but I ended up combining a few methods for one that worked best for me. It turned out to be perfect for the video, and one of my favorite projects! Plus, it's fun to say Pom Pom Pillow.
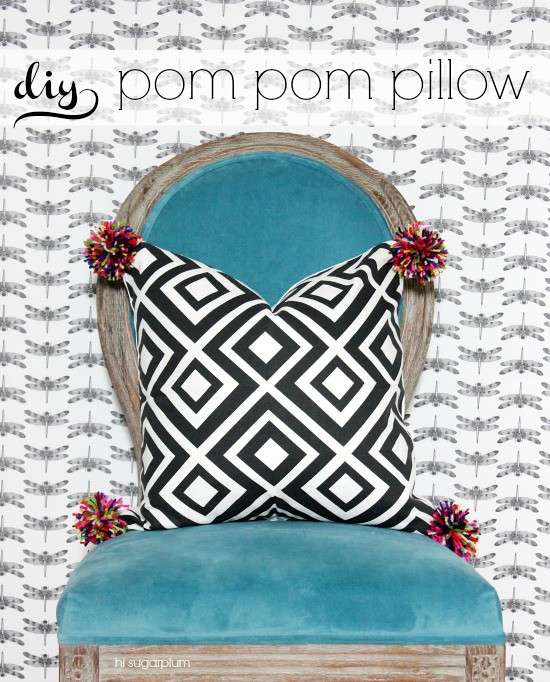
// Blue Chair (on sale!) // Nook Makeover //
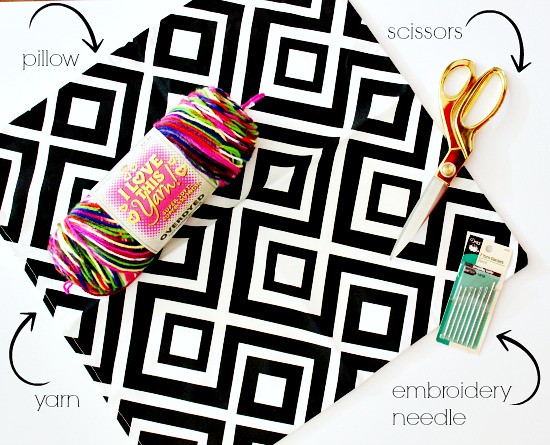
{What You Need}
Pillow Cover
(This David Hicks 'La Florentina' look-a-like is $10 at Hobby Lobby! #score)
Yarn
Scissors
Embroidery Needle
{What You Do}
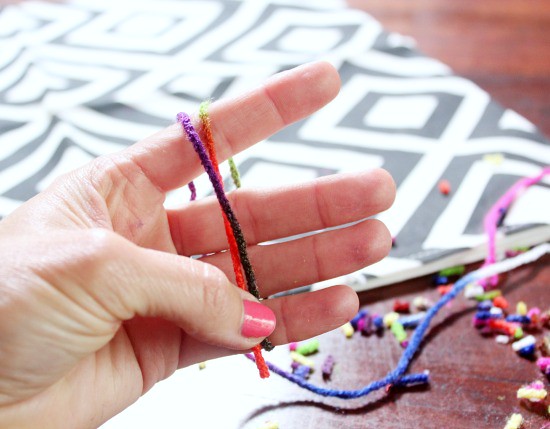
Hold the end of the yarn, then start wrapping it around your fingers. If you want larger poms, use a bigger surface like a piece of cardboard, and likewise for smaller poms.
Tip: Don't wrap too tightly, you want to be able to slip it off your hand easily.
Continue wrapping the yarn until you have a big bundle. I wrapped mine about 60 times.
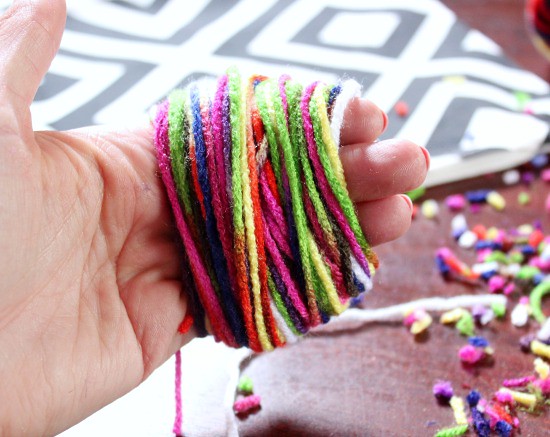
Gently slide the ball off your fingers, and place it on a 10-inch long strand of cut yarn. #twss
Tip: Cut the longer strand before wrapping the yarn on your hand, so it's ready for this step.
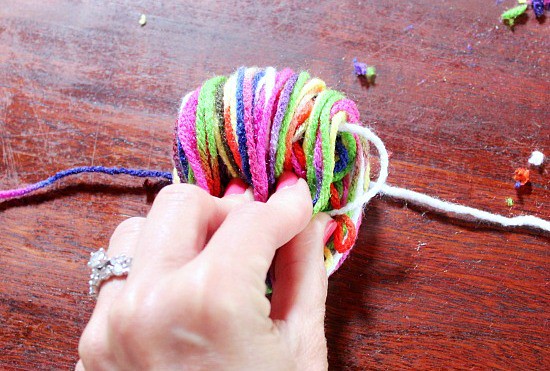
Tie the yarn tightly around the middle of the bundle, flip over, and tie again.
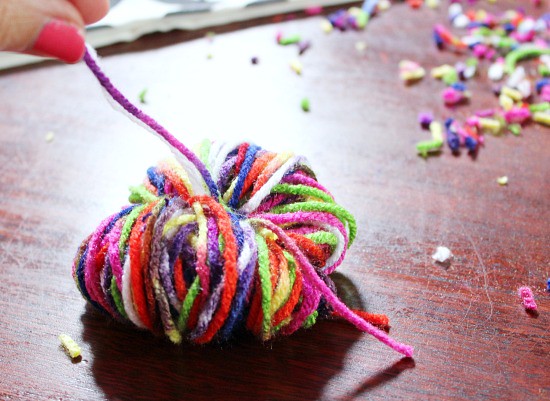
Slide the scissors through the loops and cut.
Tip: Careful not to cut the two long strands tied around the middle.
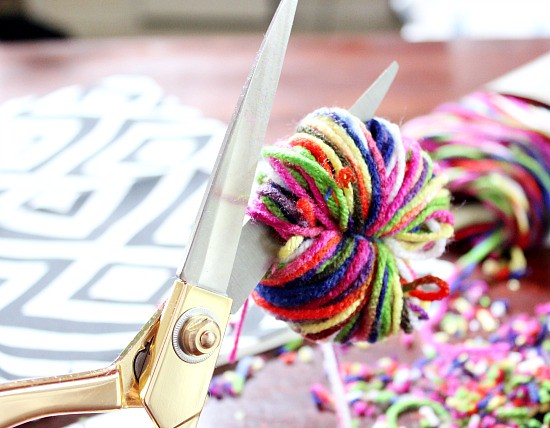
Once all the loops are cut, you're left with a shaggy pom pom.
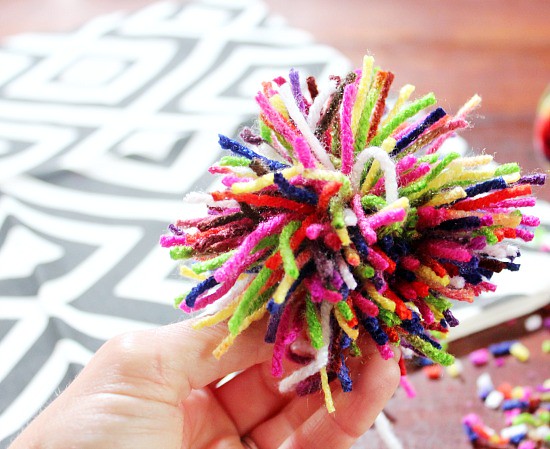
Trim the ends to even them out and make the pom look thicker.
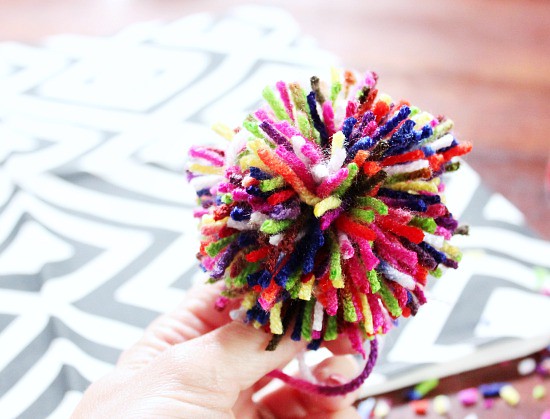
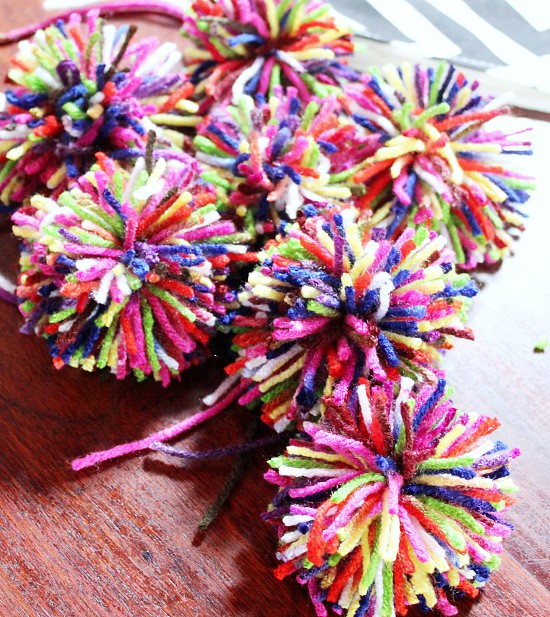
Use an embroidery needle to thread the long piece of yarn through the corner of the pillow, tie in place, and trim the excess ends.
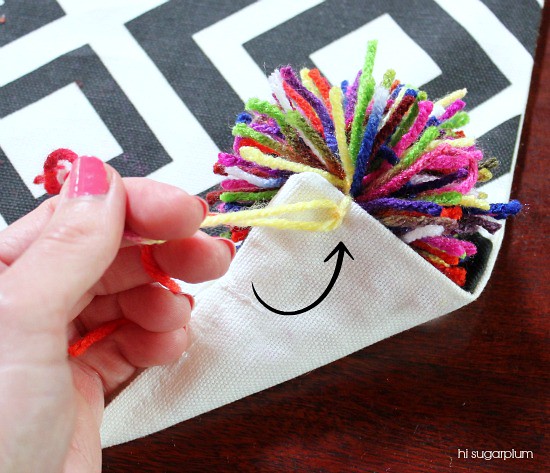
Hello, adorable!!
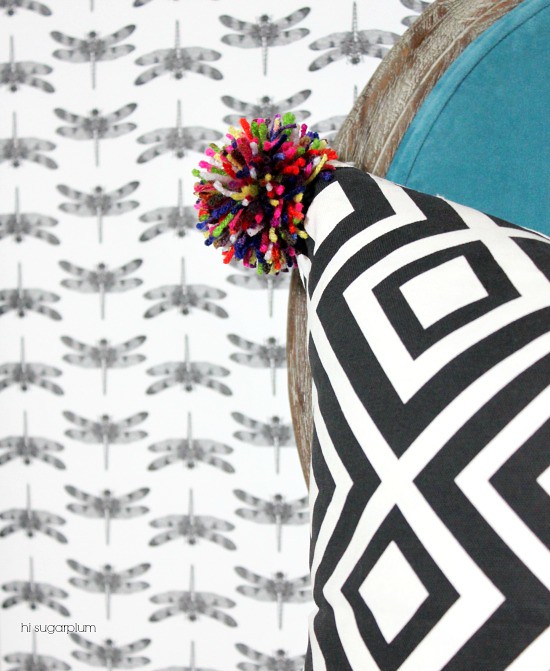

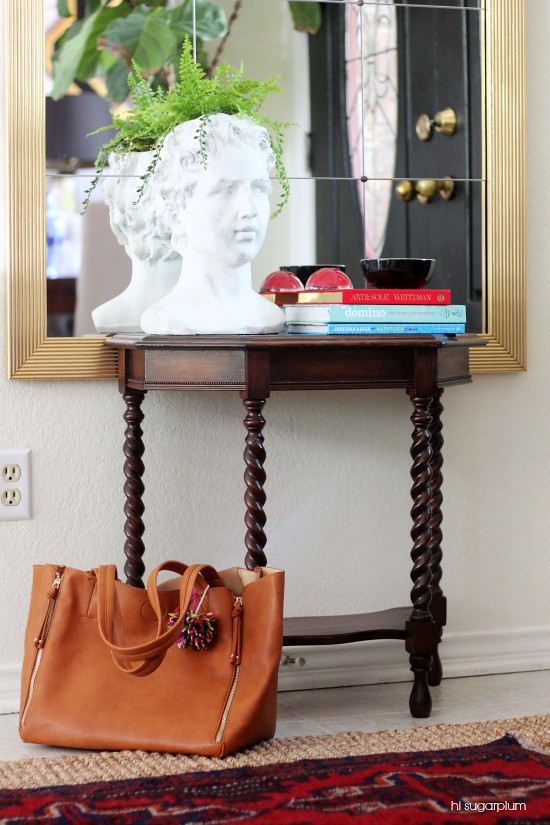
I can't get enough of these cute pom poms, and even tied one to my new bag!
Remember my {DIY} Tassel Pillow? Is there anything not made cuter by the addition of pom poms or tassels?! #nope
0 comments:
Post a Comment