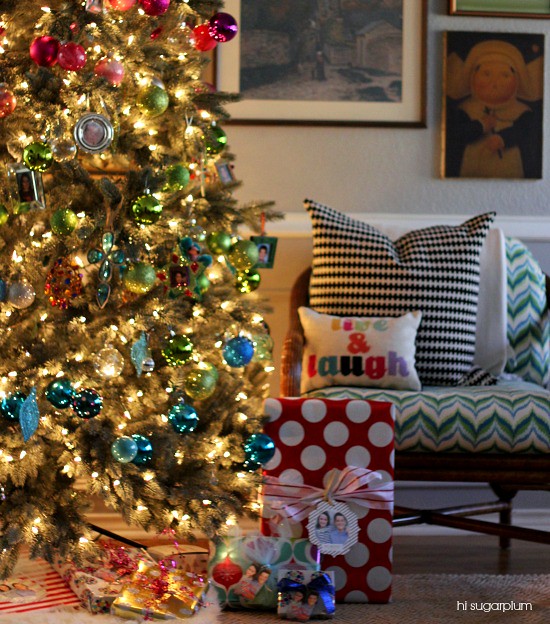
We had a jewel-toned theme last year, and obviously I wasn't going to buy all new decor, but I wanted a different look. When I opened up the bins this year, and saw the ornaments organized by color, I knew our tree would be color blocked.
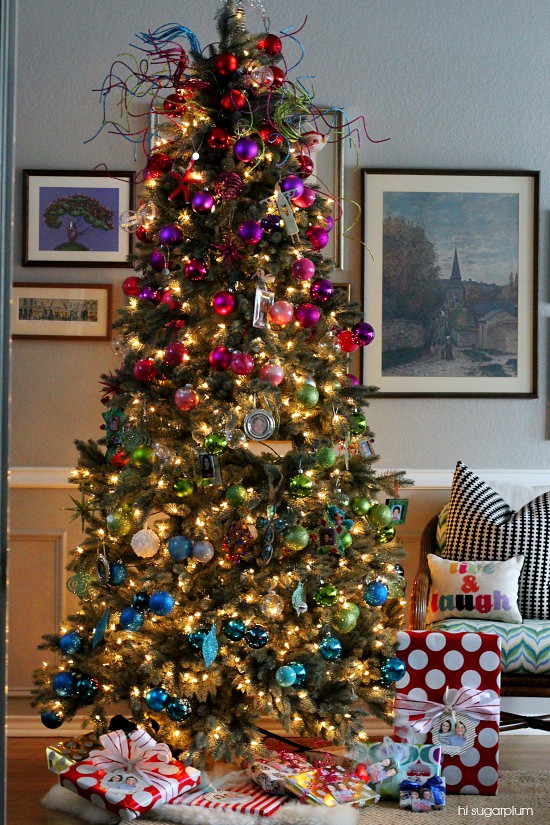
My color-loving heart has palpitations just looking at it! And isn't the tree itself gorgeous!? We'd been using a hand-me-down tree for the past few years, and it was too wide for our spaces, so I jumped at the chance to choose a new one from Tree Classics this year. They have every style and size imaginable, but I went with the 8-foot Majestic Blue Spruce because of it's real feel and narrow space-saving size. It's amazing and certainly a tree we'll have for years.
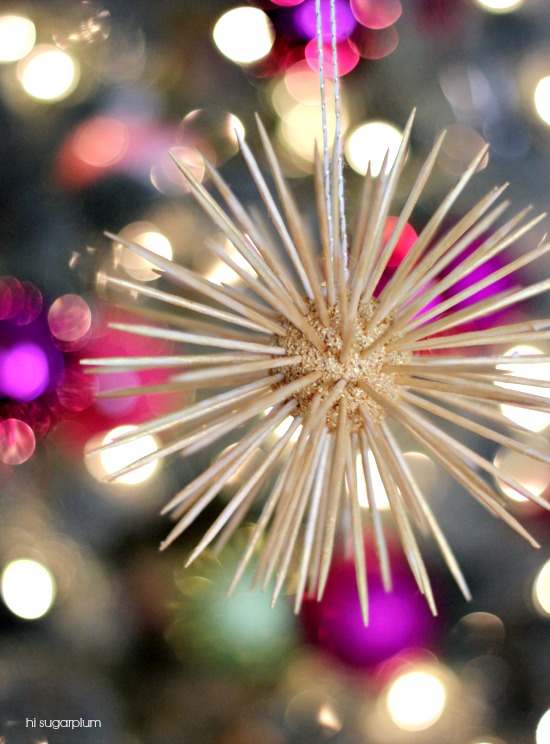
But you guys saw our tree in Monday's House Tour post, so today I'm sharing a new tree-related project...DIY Gold Urchin Ornaments! Yep, I'm still playing with balls.
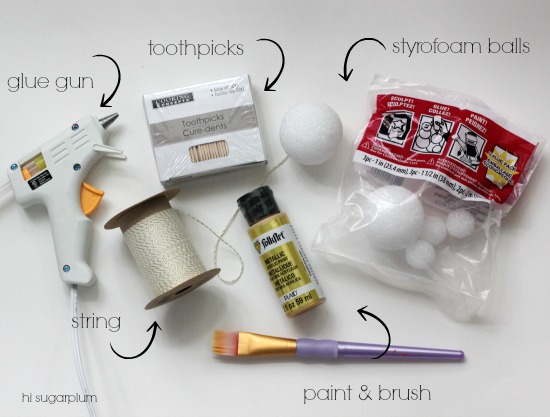
{SUPPLIES}
Styrofoam Balls
(Dollar Tree sells bags of small ones that are perfect. And only $1.)
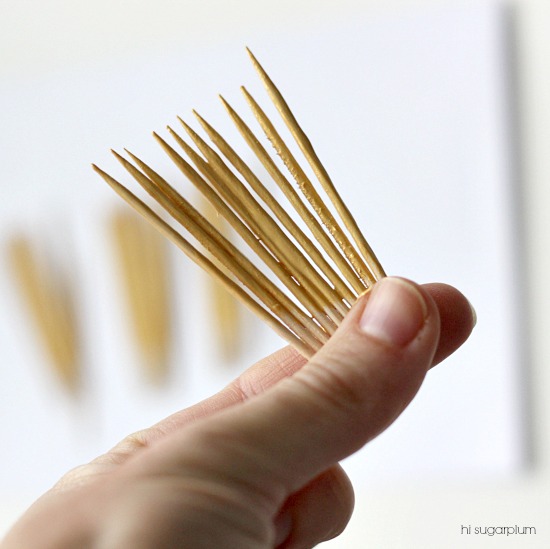
Toothpicks
String
Craft paint & Brush
Glue Gun
There are a few versions of DIY urchins online, but I couldn't find one for ornaments...so here's my simple version.
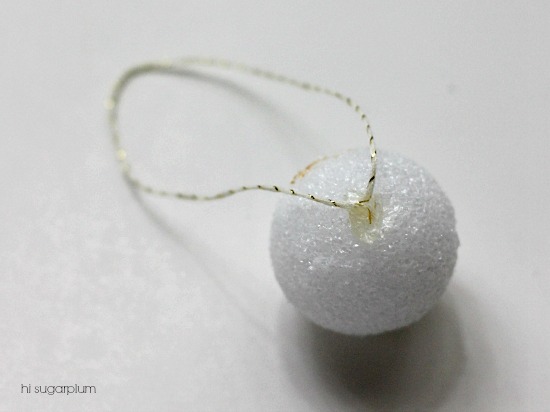
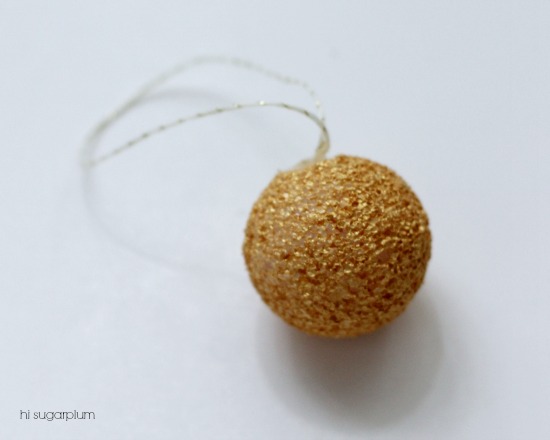
Cut a loop of string and hot glue the ends to the ball.
Paint the ball...I obviously went with gold because Liberace is in my lineage. And it reminded me of these.
Paint the toothpicks the same color as the ball. There's no need to paint both ends, so just hold them by the tips to paint. You could also assemble the urchin first, then spray paint it, but since it was 9-degrees last weekend, we settled on craft paint inside. Glitter would be a fun touch, too.
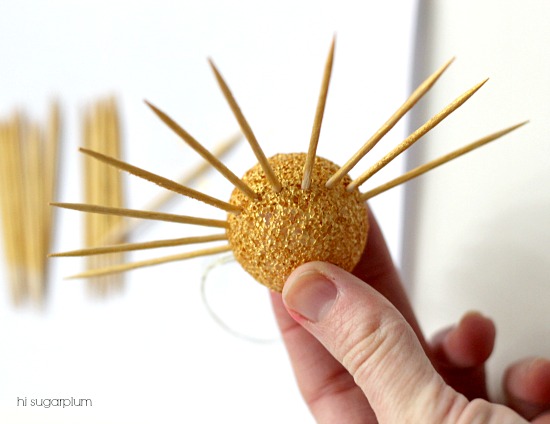
Once the paint dries, push the sticks in one row at a time, staggering each row.
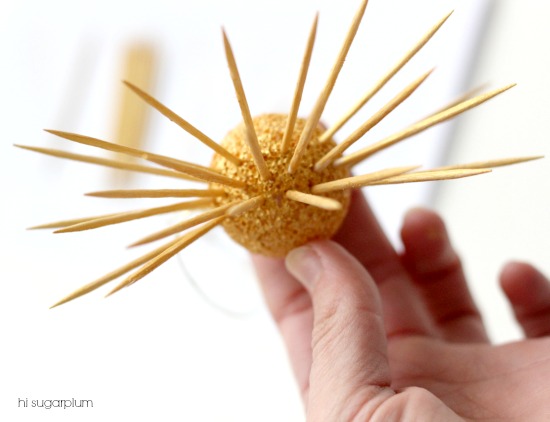
Voila!
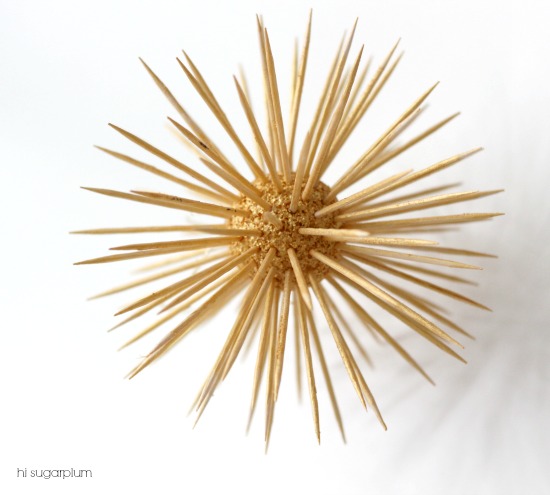
Use the string to hang it on your tree, then admire your work!

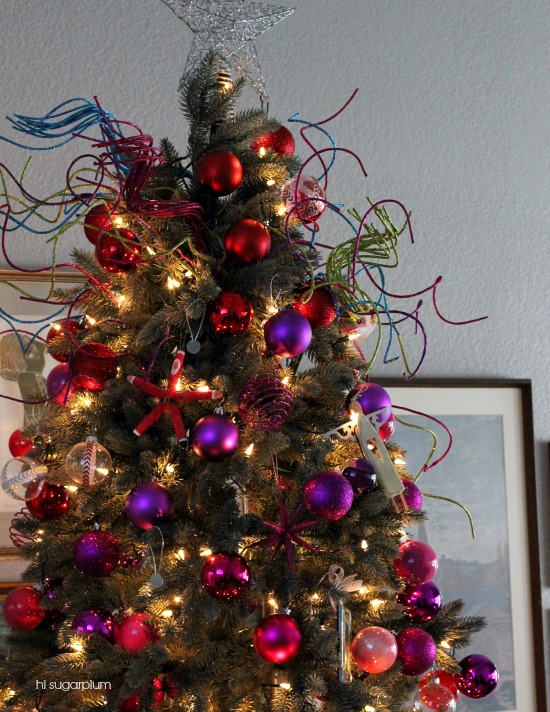
It's safe to say I'm smitten with this tree and all it's DIY Ornaments (see them here and here).

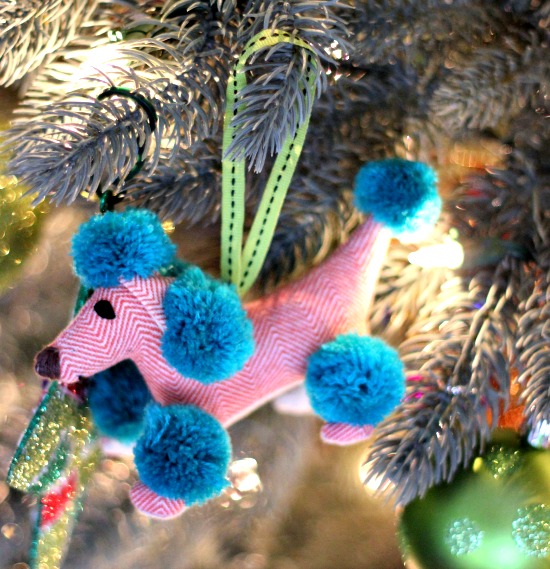
We added this cute pup to celebrate Maggie's first Christmas with us.
My aunt passed on the genius tip of using these hooks to hang ornaments in clusters...love it!

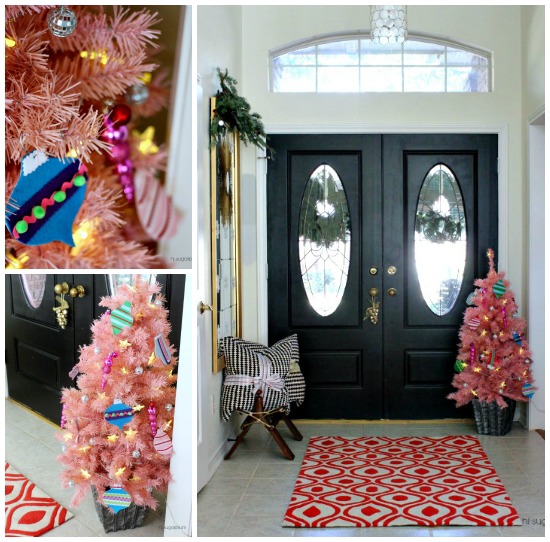
The kind people at Treetopia know I'm a pink-a-holic, and sent me this adorable potted tree...so cute by the front door! I decorated it with last year's felt gift tags.
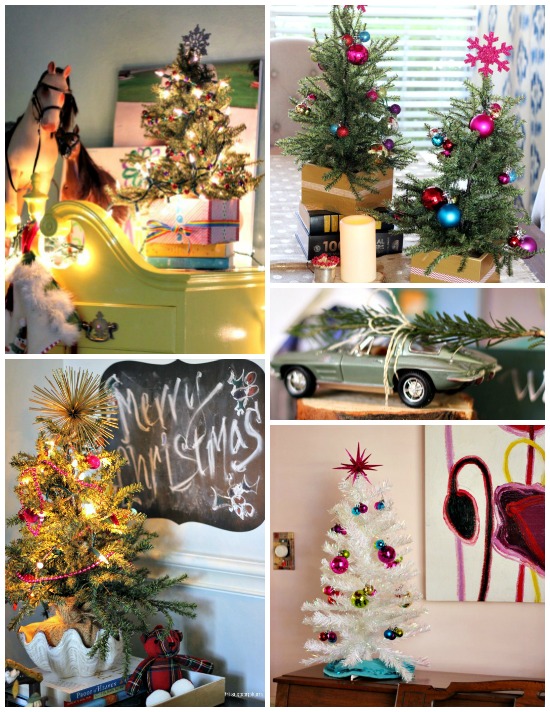
And since this is a Christmas Tree post, here's a peek at the rest of the little trees around our house. You can see more in the full Home Tour.
Hop over to Megan and Courtney's to link up your tree, and be inspired by others. Do you switch up how you decorate your tree each year? Are you craving Skittles after seeing ours?

0 comments:
Post a Comment