You'll recall the purpose of his room makeover a few years ago was to welcome him in to tween-dom, so I'm a little confused as to why it no longer makes the 'cool kid' cut. But I'm all for making a space he's happy and comfortable in, so we've been making some tweaks here and there.
The first thing he wanted, was to block the sun from streaming in early every morning. (Teenagers = Sleepers, apparently) The DIY Drop Cloth Drapes still looked great, but didn't offer a lot of darkness, and his old curtain rod was barely anchored to the wall after a few rowdy sleepovers. For only a few bucks, we were able to solve both problems!
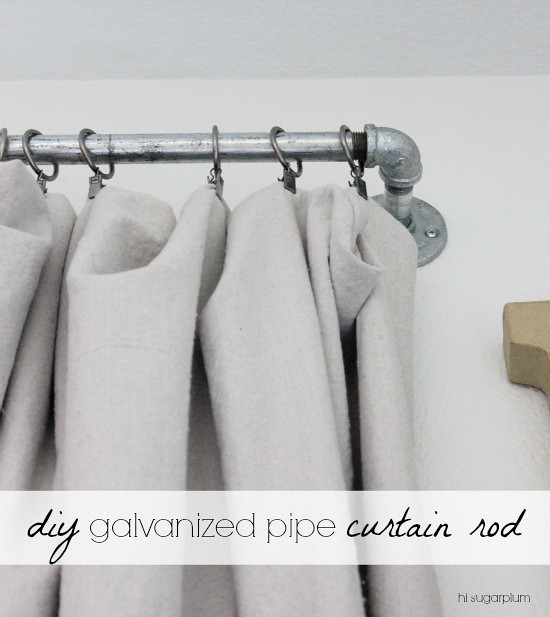
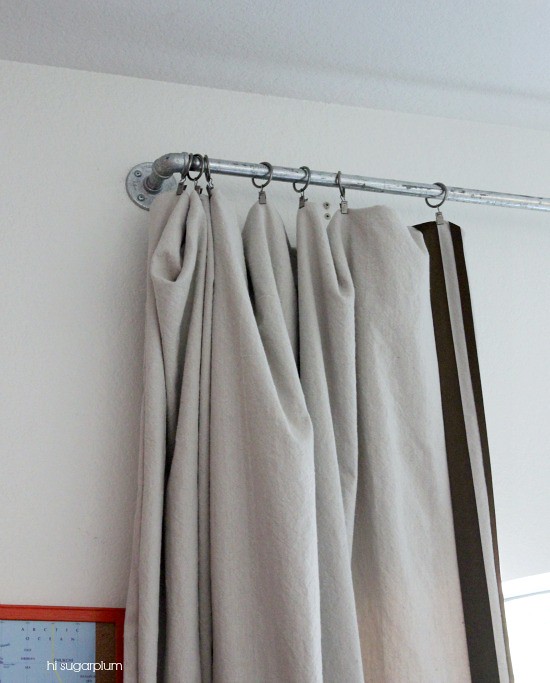
First thing we needed was a solid, sturdy rod...not only to support the heavier drapes, but to withstand boys who open-and-close said drapes with extra 'flair'. I thought an industrial aesthetic would be perfect for his room, and the internet had no shortage for these pipe curtain rod tutorials. (West Elm sells them, if you're not interested in DIYing your own.)
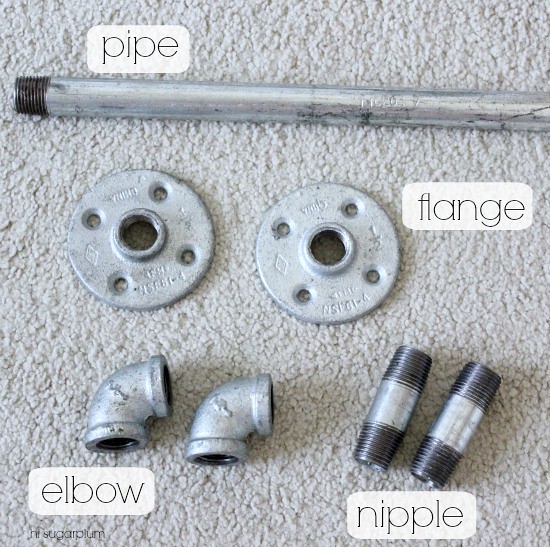
{Supplies}
1 ~ 1/2" wide pipe, longer than your window
2 ~ 1/2" floor flanges (the 1/2" represents the diameter of the opening)
2 ~ 1/2" x 2 1/2" nipples
(Really?! They couldn't think of another name for this part?!
I don't know who snickered more...me, or my 12-year-old son!)
2 ~ 1/2" 90-degree elbows
Our window is 70-inches wide, so we bought a 10-foot long pipe...and the wizards in the orange aprons cut it down to 90-inches, and re-threaded it for us. For free!

Since it's true galvanized piping, I cleaned everything with a wet rag first to limit the black smudges on our hands and curtains while working with it. Then assemble the flange, nipple and elbow like this:
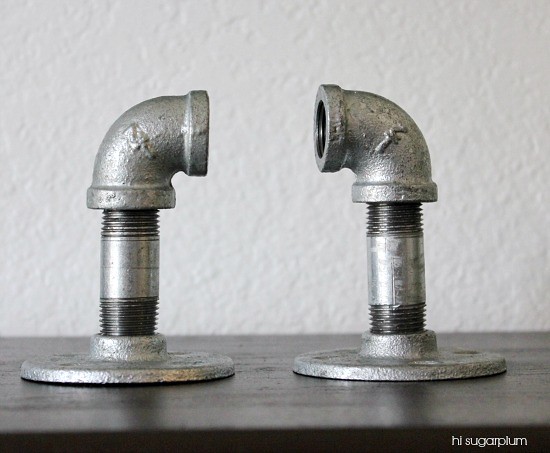 |
| Some thread edges are sharp, so be careful! |
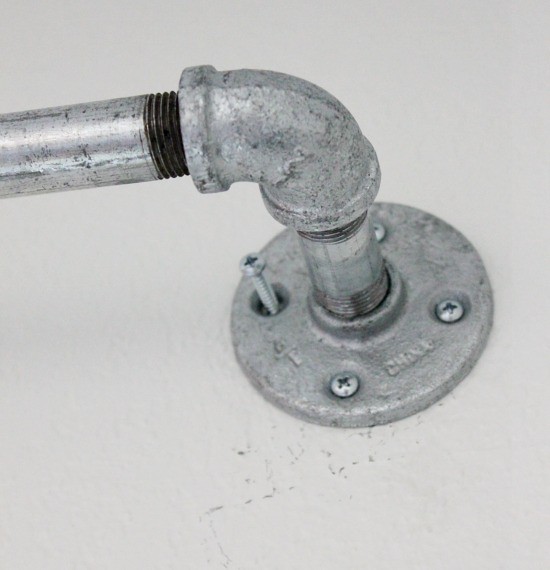
You need to screw the pipe into both ends, and hang the rod fully-assembled, so it's definitely a two-person job. If you're using curtain rings, put them on before assembling the rod!! I recruited Mr. Sugarplum who busted out his signature lunge to get the anchors and brackets in place. (Remember the wardrobe choice of this lunge?)

He held the rod in place while I marked the holes, then he placed heavy-duty anchors in the drywall for added security (the rod is fairly heavy, even without drapes). Then I held the rod while he screwed it in the anchors. Try not to bump the wall with the metal because it will leave a mark.
I used these silver curtain rings
Now, for the brightness issue...I wasn't interested in dropping a bunch of cash for 10 yards of blackout fabric. So I went back to my original penny-saver idea, and bought another pair of 6x9 drop cloths for $10, and sewed them on as liners. Yes, you read that right...I sewed them! (It went moderately better than this sewing attempt.)

The extra layer made the drapes look fuller and more substantial (see the before here), and his room is quite a bit darker now when they're closed.

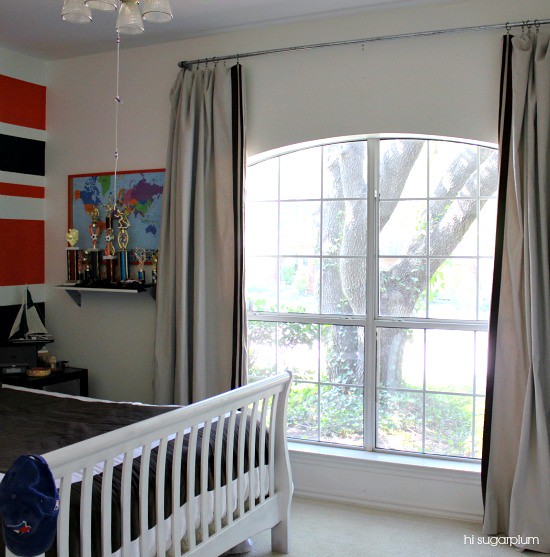
Now he has a cool new industrial rod, and prime sleeping conditions...all for less than $40! Success! Next on his radar, is the 'baby stuff' on the gallery wall.
Check out how Natasha used these rods in her son's adorable room. And my girl, Courtney, just glammed up a set for her gorgeous new living room drapes! I have seriously clever friends!
0 comments:
Post a Comment