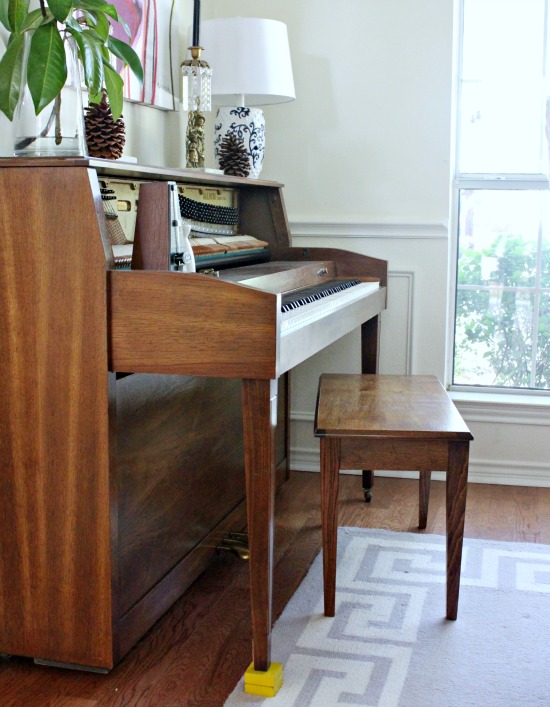
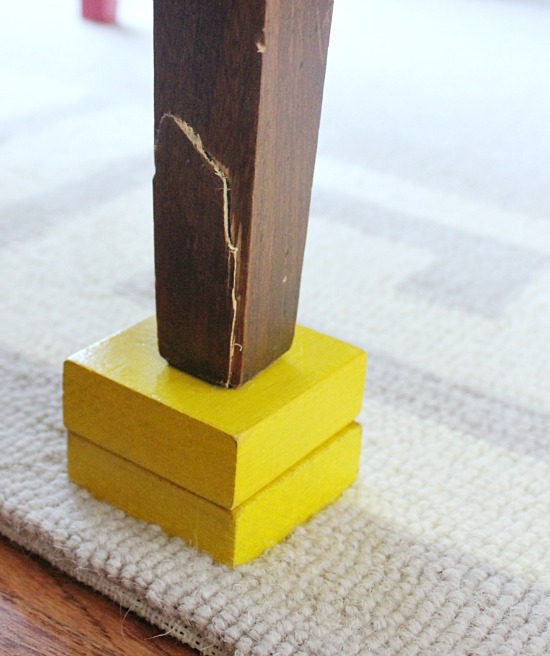
I'm talking, of course, about the little stack of yellow blocks we wedged under the broken piano leg YEARS ago. The wood split, causing the caster to fall out, and left the leg unsupported. (The piano was Mr. Sugarplum's as a child, so it's reeeeeeeally old.) Having the leg professionally replaced would cost more than the piano is worth, so the yellow blocks remained. Until now.
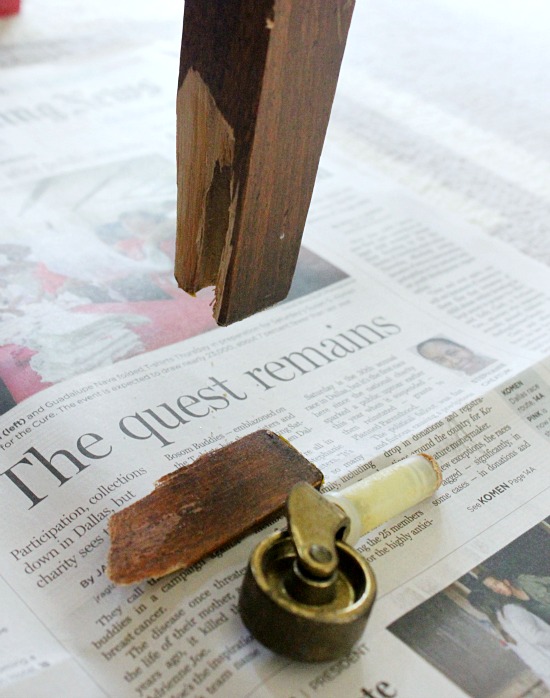
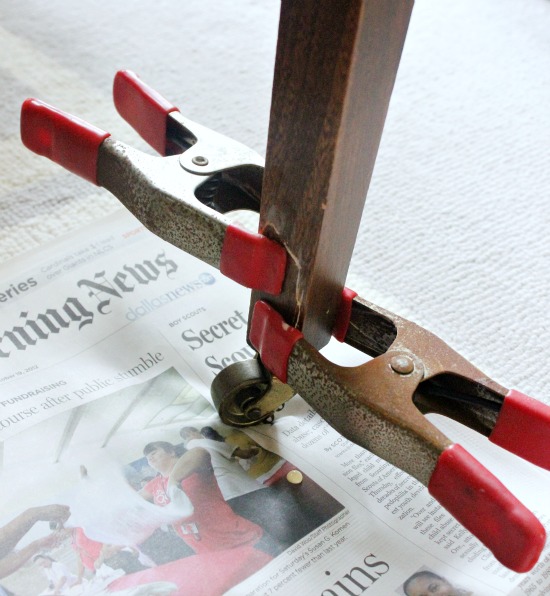
Fortunately, we still had the original caster, and piece of wood that had split off. And the leg isn't really weight-bearing, so we didn't have to prop it while doing the repair.
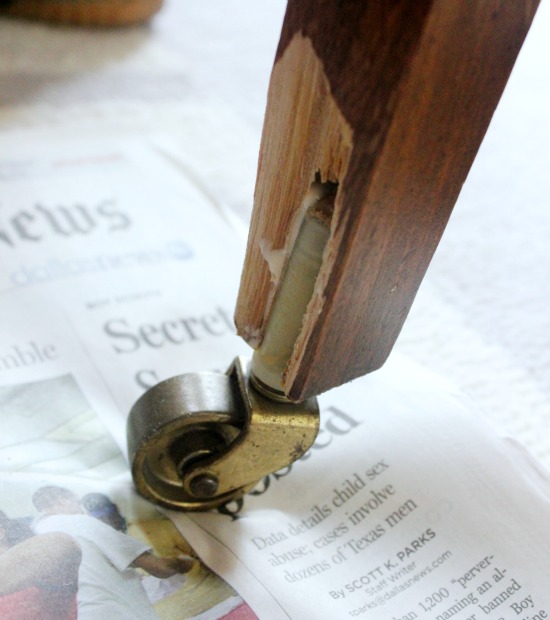
After brushing off any loose dust, we filled the inside tunnel with a generous amount of Gorilla Wood Glue, and put the caster back in place.
Then another generous dose of wood glue for the broken piece, followed by holding it all in place with the world's oldest clamps.
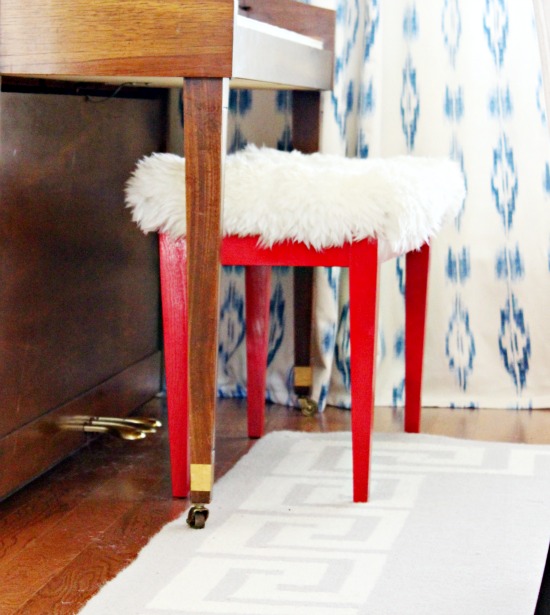
We left it clamped for a few days, mostly because we forgot about it, but also to be sure it was fully dry. Once the clamps were off, the caster and leg were sturdy, but the split was still obvious. Granted, you'd have to be laying on my floor to notice it. Trust me, you don't want to do that.
The true way to fix this, would be to fill the crack, sand it down and restain. Which means sand and stain the entire piano. No thanks.

So I borrowed Courtney's idea, and added brass Rub 'N' Buff to strips of painter's tape, and wrapped it around the legs. Voila....brass cuffs!
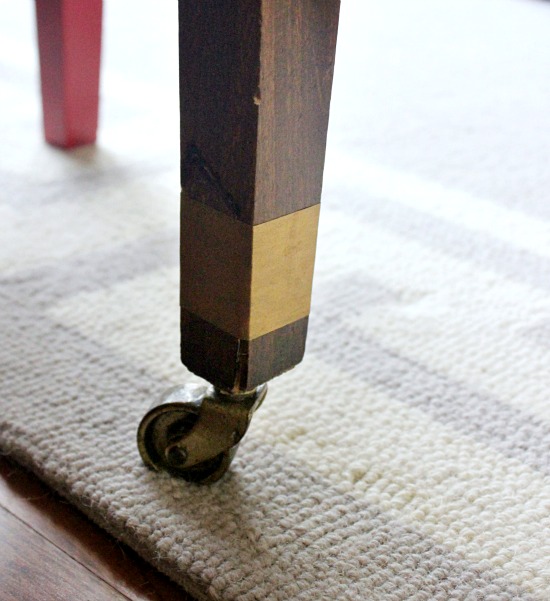
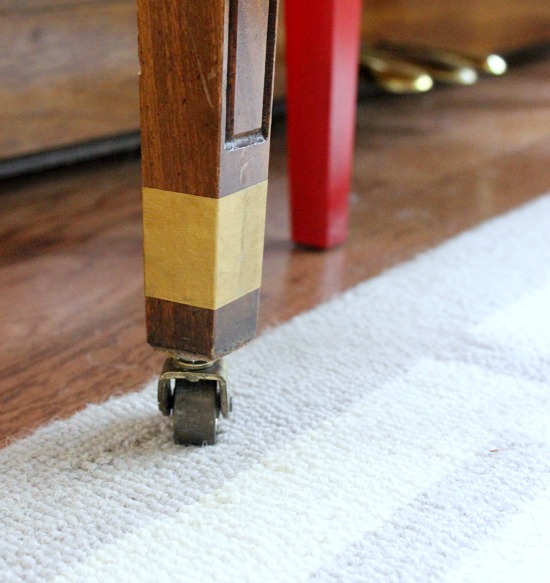
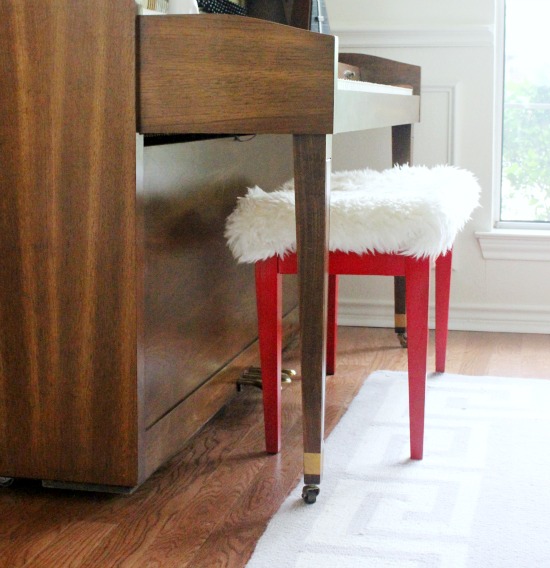
The other leg is fine, but I taped it, as well. Not only are the yellow blocks gone, and the leg fixed....but the piano also got a little upgrade.
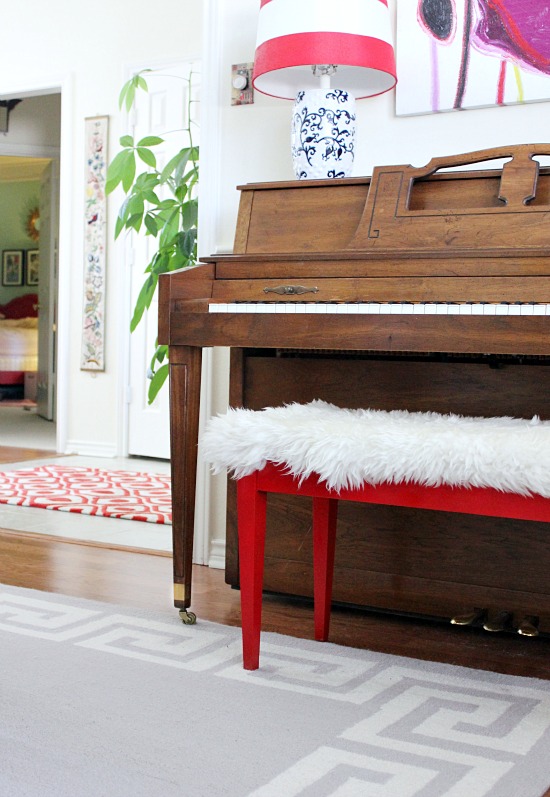
This angle shows how the new Entrance Hall rug ties in with the Dining Room. The striped lampshade is a project I'm still undecided on...I'll fill you in once it's complete.
Once more...Before...
And After.
Oh yes, those are drapes! They are finally hung and waiting for hems....so I should have them ready to show you next year. But for now, I'm thrilled to have the yellow blocks gone, and some pretty fine looking piano legs in their place! What took me so long to do that?? Please tell me you're procrastinating a few simple fixes in your house, too!
And here's the perk of making detailed lists...you get to cross even the little things off!
Dining Room List
New Drapes
New Wall Color
What to do with the Piano?
Replace Lampshade on Piano
Wall Art?
0 comments:
Post a Comment