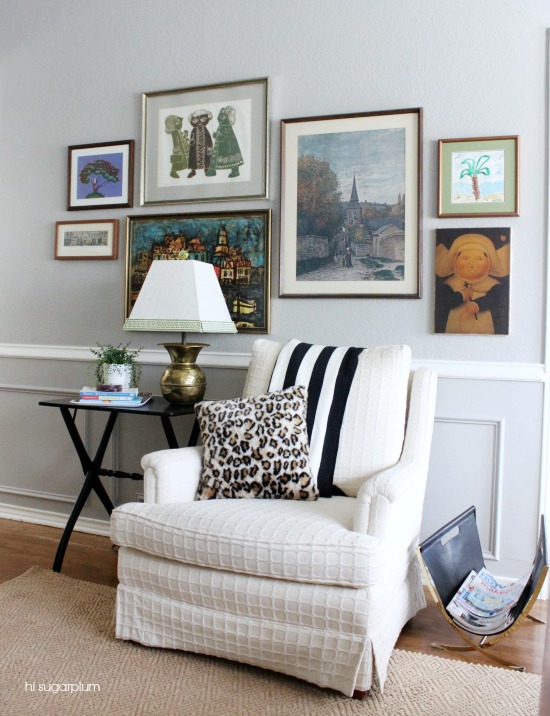
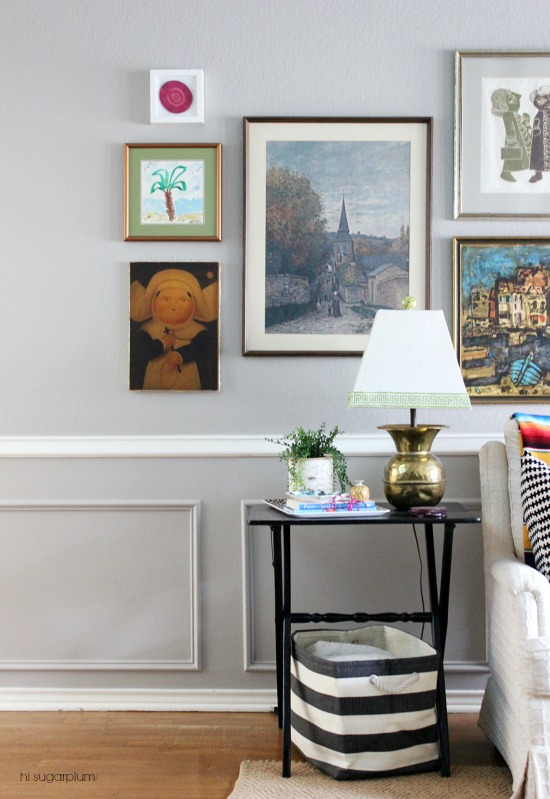
I loved the original gallery wall shown above, but when we rearranged the furniture, it didn't sit well behind the lamp. This is the wall I see first when coming home everyday...and everyday I'd think, 'I've got to swap out those pictures!' My 2013 self would wait and wait for the 'perfect' time, but my 2014 self finally stopped staring at them, and just started somewhere!
I thought I could flip-flop the big ones, but discovered quickly that wasn't going to work...so I took them all down for a clean slate.
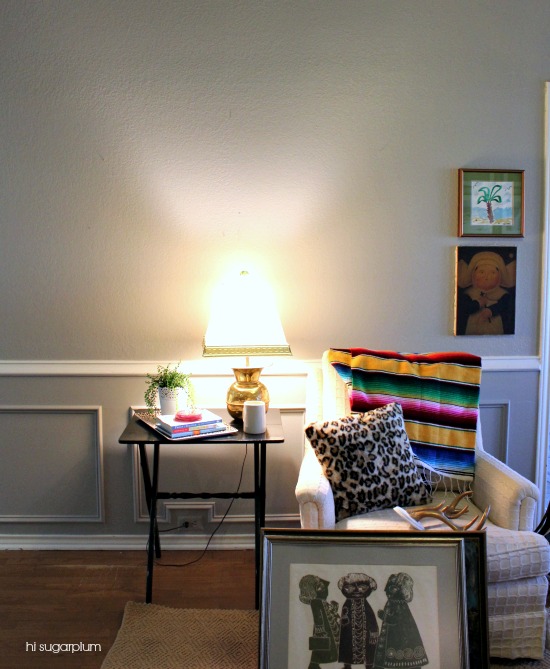
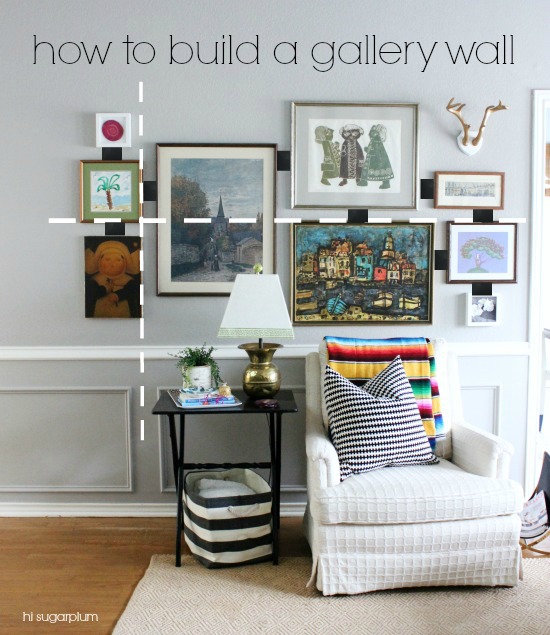
Most of the time, when I'm creating a gallery wall, I mark off an area on the floor the same size as the wall space, and play with the pictures like a puzzle until I find the right arrangement. This time I was a little more casual about it, and thought I share the process with you.
I started with the largest frame, and hung it in an anchor position...but made sure it was slightly off-center from the focal point on the wall. If it were centered, it would take all the attention, and I want the gallery wall as a whole to be the focus, not just one picture. It's okay for a portion of it to be tucked behind the lamp...it helps to tie the pieces together, but doesn't block the focus of the art.
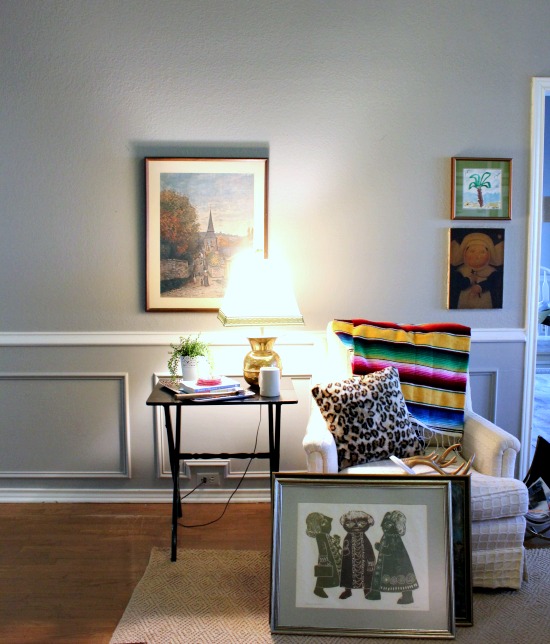 |
| Pretend the two small ones aren't there. It's hard to remember to take pics when you get on a roll! |
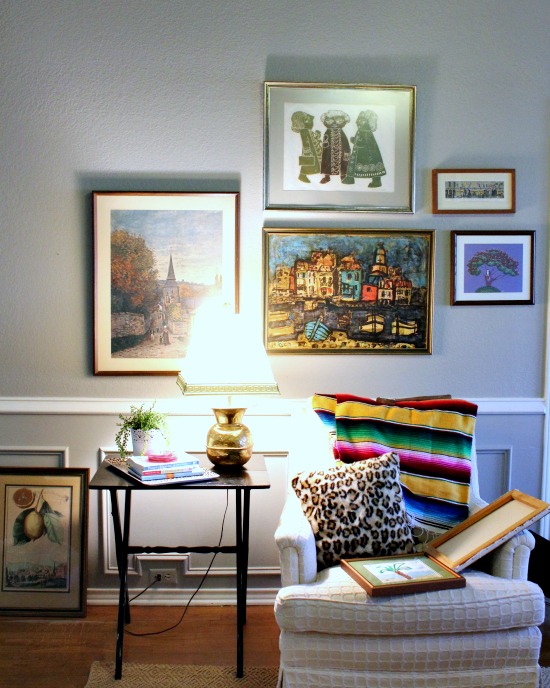
I like gallery walls to have at least one non-framed object...just to keep it interesting and make the arrangement appear 'collected' over time, so I added antlers I found here last Christmas. Always step back and view the wall after hanging each pic...it's pretty clear to see when it's working or not. In this case, I realized it was top-heavy on the right, and the frames were too high from the chair.
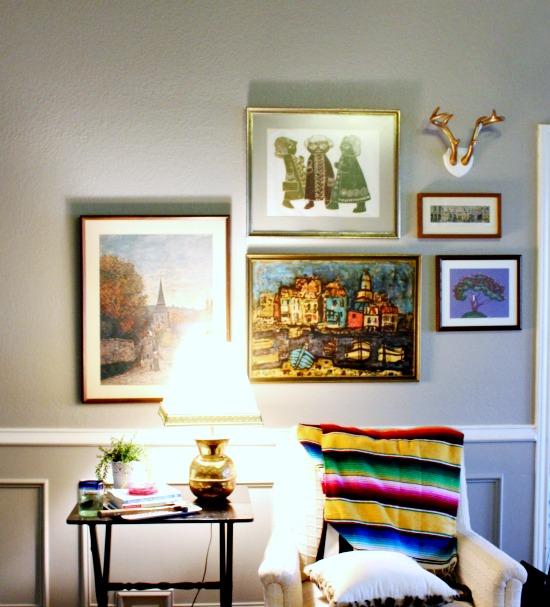
So I moved the two larger frames down, and the vertical frame up, then added smaller pieces to balance the left side. Obviously, if you're anxious about nail-holes, this hanging method isn't for you!
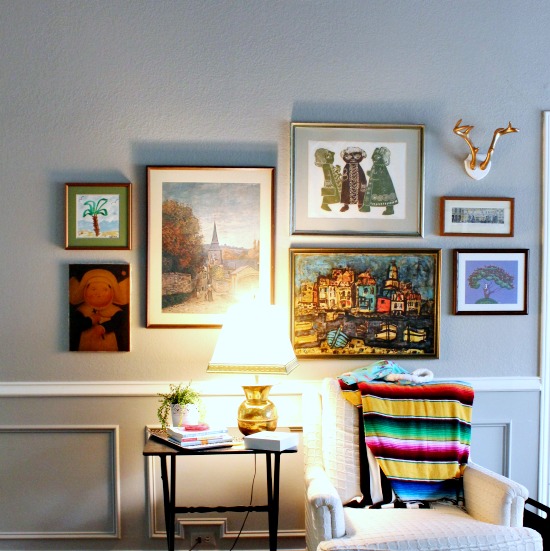
The antlers looked like they were floating on their own, so I added a small frame on the left to balance them out.
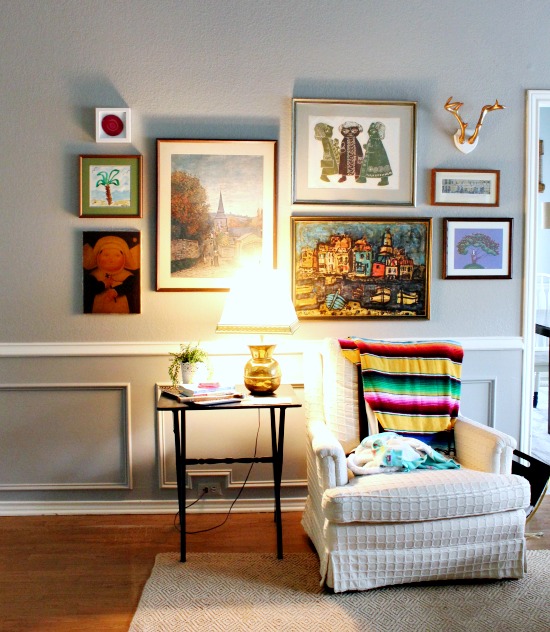
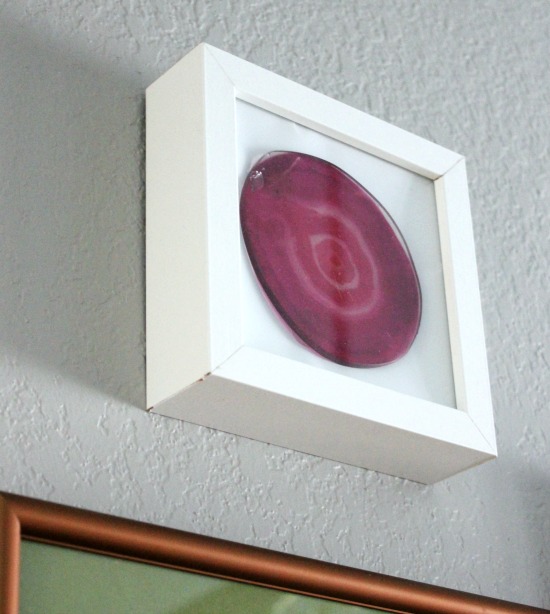
Get creative when looking for things to frame or hang...in this case, I stuck one of my DIY Gold Agate Coasters in an Ikea frame.
Then to balance the white frame, I added another one to the bottom corner.
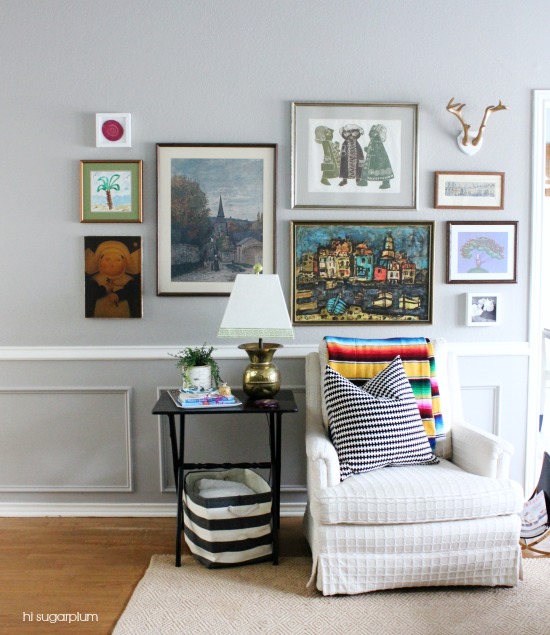
It's just a faux-orchid bloom taped to black scrapbook paper. One of these days, I might have something with more sentimental value to hang there, but for now, this works.
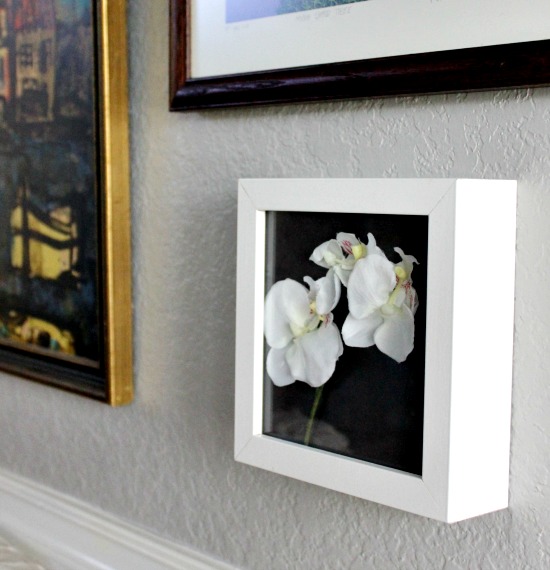
After viewing it from all angles, I finally determined the gallery wall was complete!
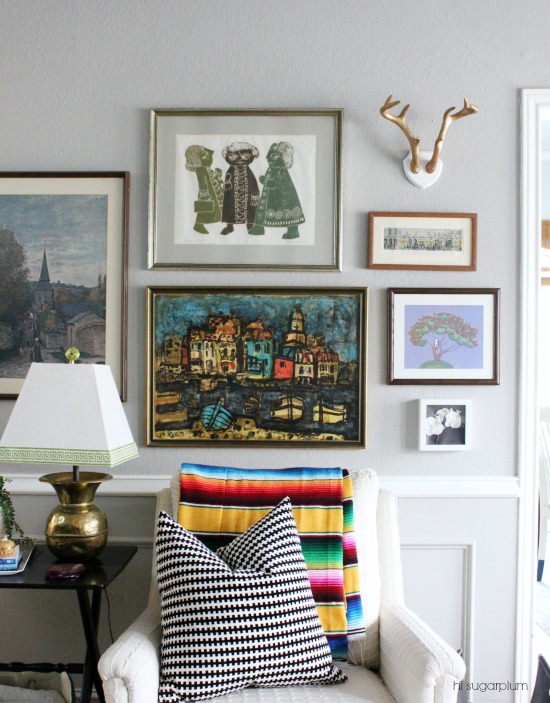
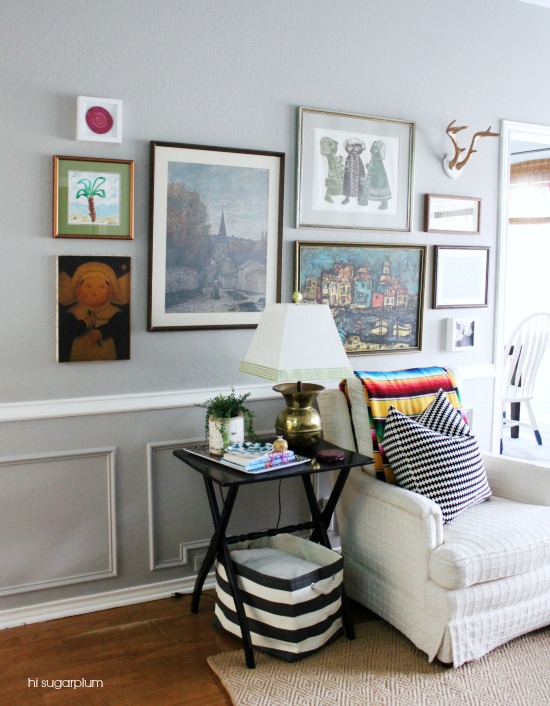
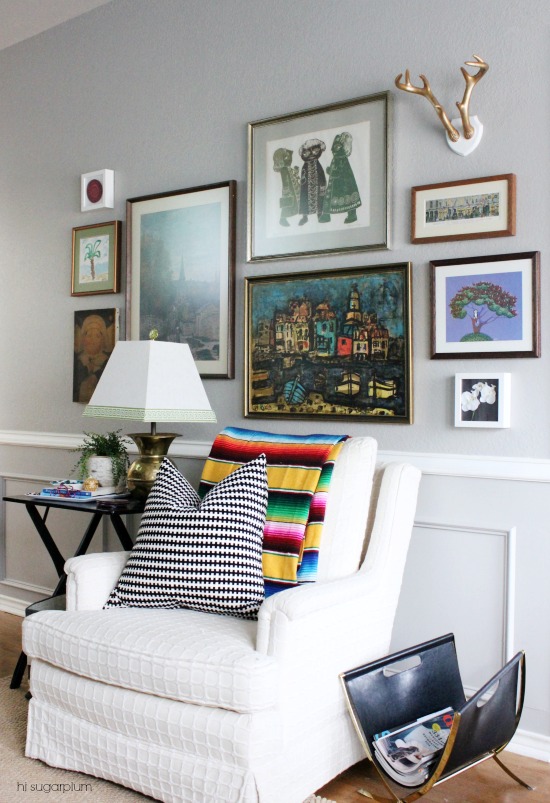
Pretty happy little spot, right? Not to mention one less project staring me in the face everyday! There are no right or wrong ways to hang a gallery wall, but with these few tips, it looks a lot cleaner and balanced:
Keep the spacing between frames consistent (I usually go for about 2-3-inches)
Align each frame to at least one other
Make sure there is visual balance so the gallery doesn't 'lean'
Incorporate random objects for a more collected feel
Hang it at eye level
When possible, anchor it to furniture underneath so they appear to be one unit, not floating separately
I obviously have a real love of gallery walls since I have an entire Pinterest board of them! Check it out here for more ideas and inspiration. And see my other gallery walls here and here.
And another one bites the dust! Are you crossing things off your project list lately?!
FAMILY ROOM TO-DO LIST
(click links to see project)
Paint Mantle
Find Desk Chair
Paint/Stain/Replace Sofa Legs
Decide Fate of Rugs
New Light Fixture
Decide Fate of Matching Tables
0 comments:
Post a Comment