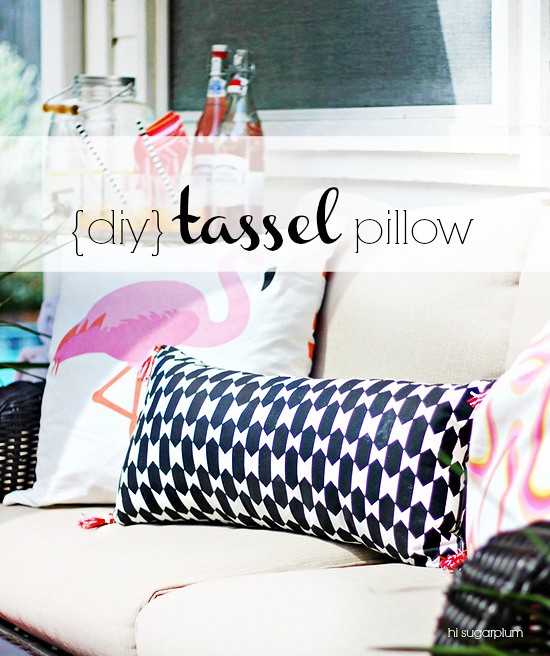
When we added the black and white striped umbrella to the patio, I picked up a lumbar pillow from Ikea in the same color scheme to unite the space. But he looked a little sad and plain...so of course I had to zhush him up. I immediately thought of Kristin's tassel pillow, and decided to do something similar.
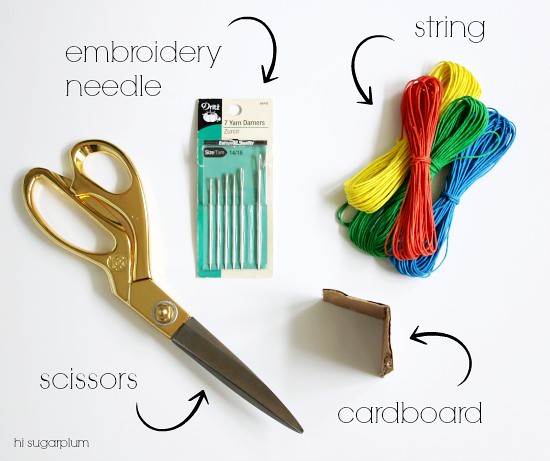
{What You Need}
Embroidery string or Yarn
(I actually used Hemp String for a sturdier tassel with more structure)
Embroidery Needle
Scissors
Cardboard Piece cut to size of your desired tassel
{What You Do}
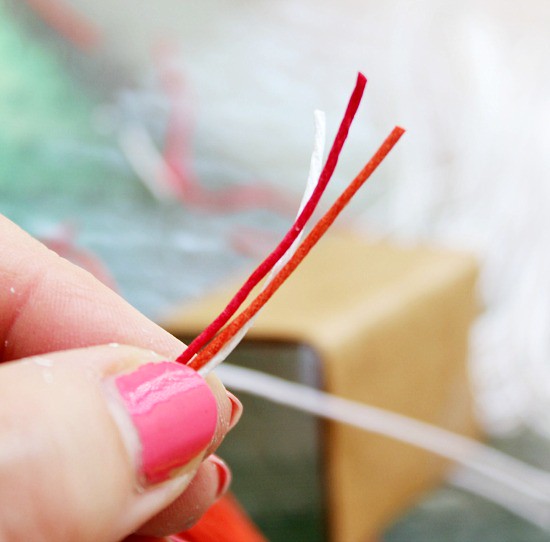
There are tons of tassel tutorials online, but I meshed a few together for a method that worked best for me. I wanted a multi-colored tassel, so I chose the three colors predominantly used in the patio...orange, hot pink and white...and lined them up as a single strand.
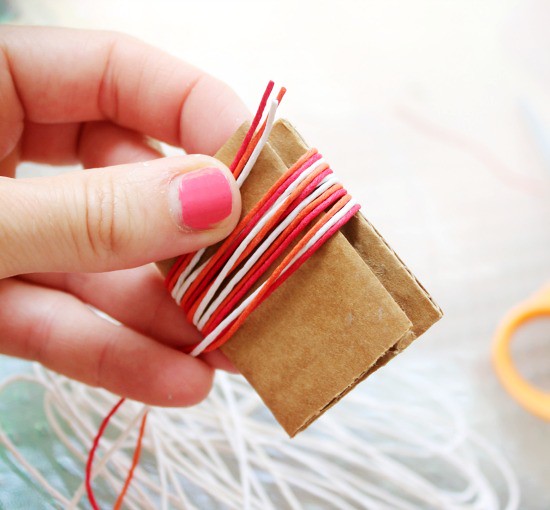
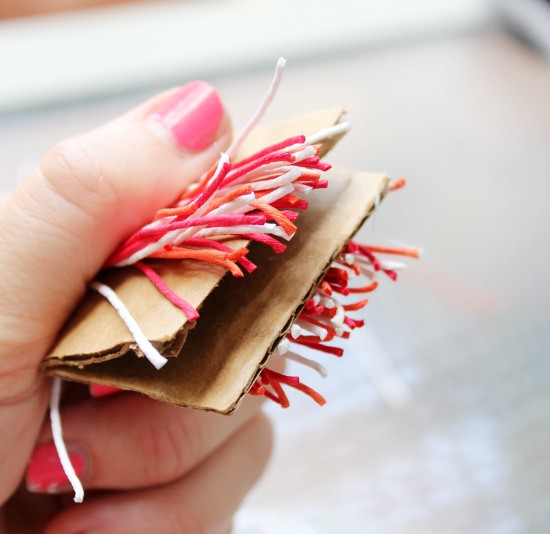
Holding the end of the strands, wrap the string around the folded cardboard until you have the desired fullness.
Tip: Your folded cardboard will represent the final length of the tassel.
Hold the strands on the folded end in place, and cut the strings on the open end. I don't recommend trying to take photos while doing this step. #justsayin
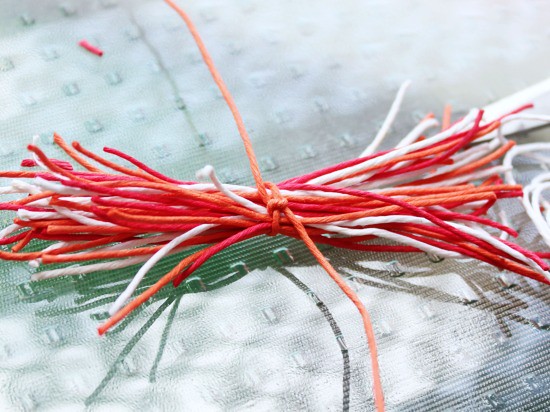
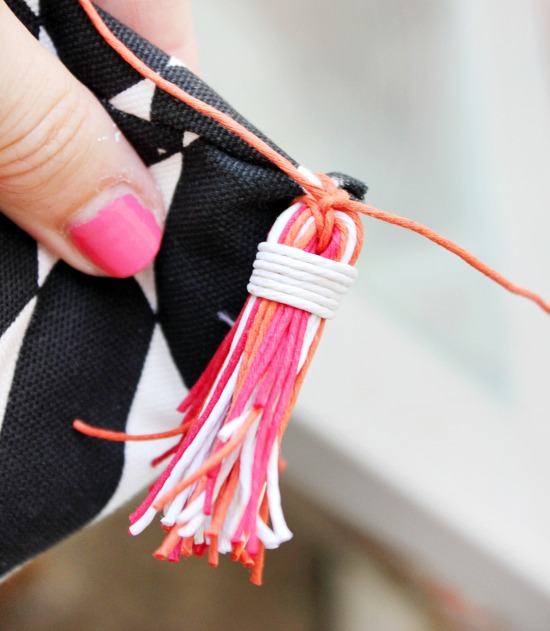
Cut another longer piece of string, and tie it tightly around the middle of the strands.
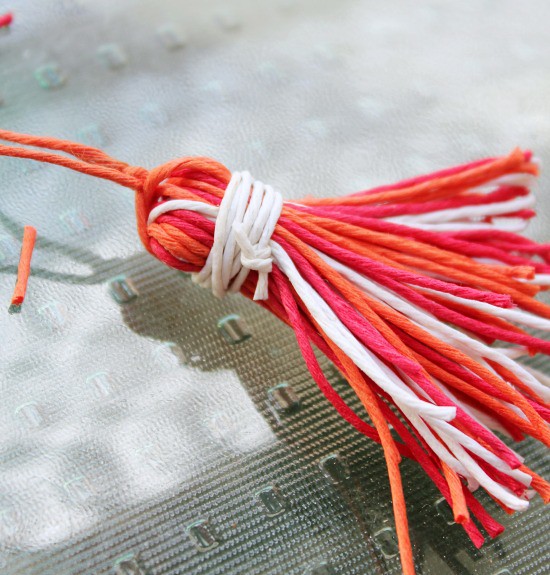
Fold the strands together, keeping the longer piece separate, and wrap another piece of string around the top, while holding all the pieces together tightly. Tie and trim. You may need to give the ends of your tassel a little haircut to even them out, as well.
Thread one end of the middle string in the embroidery needle, and poke through corner of pillow fabric.
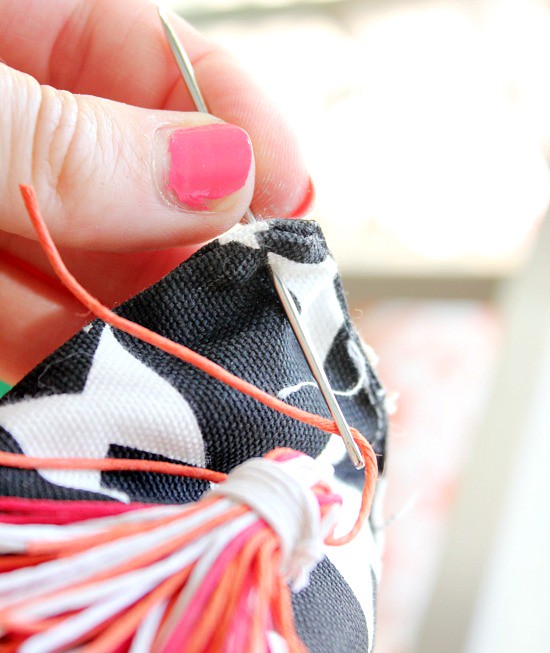
Tie it tightly in place, and trim excess string.
Voila....tassels, baby!
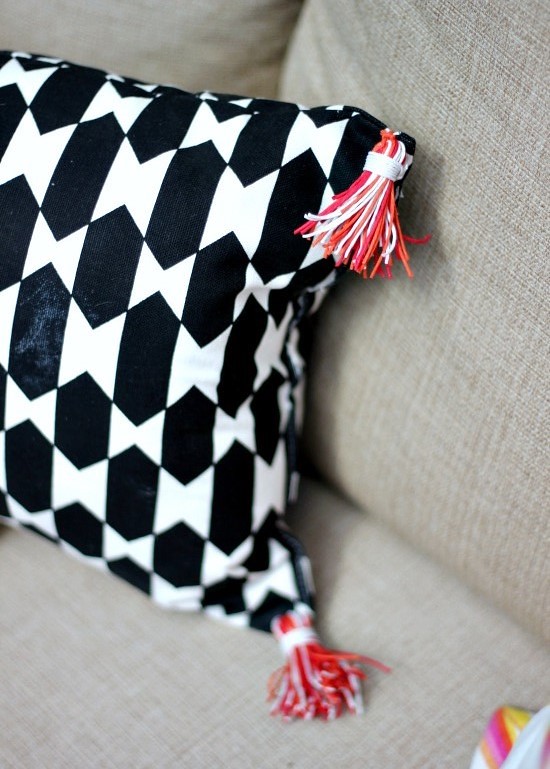
It's a subtle touch, but really unites all the pillows...and the detail makes the space feel more custom. Expect to see more tassels (and their baby sister...the pom-pom) appear inside my house soon!

And that, my dears, concludes the DIY patio projects! Who wants to come hang in the colorful spot with me?!
Other Patio projects include:
0 comments:
Post a Comment